Text to Image vs Sketch to Image: Krea 2 Lessons
Last updated: June 25, 2026
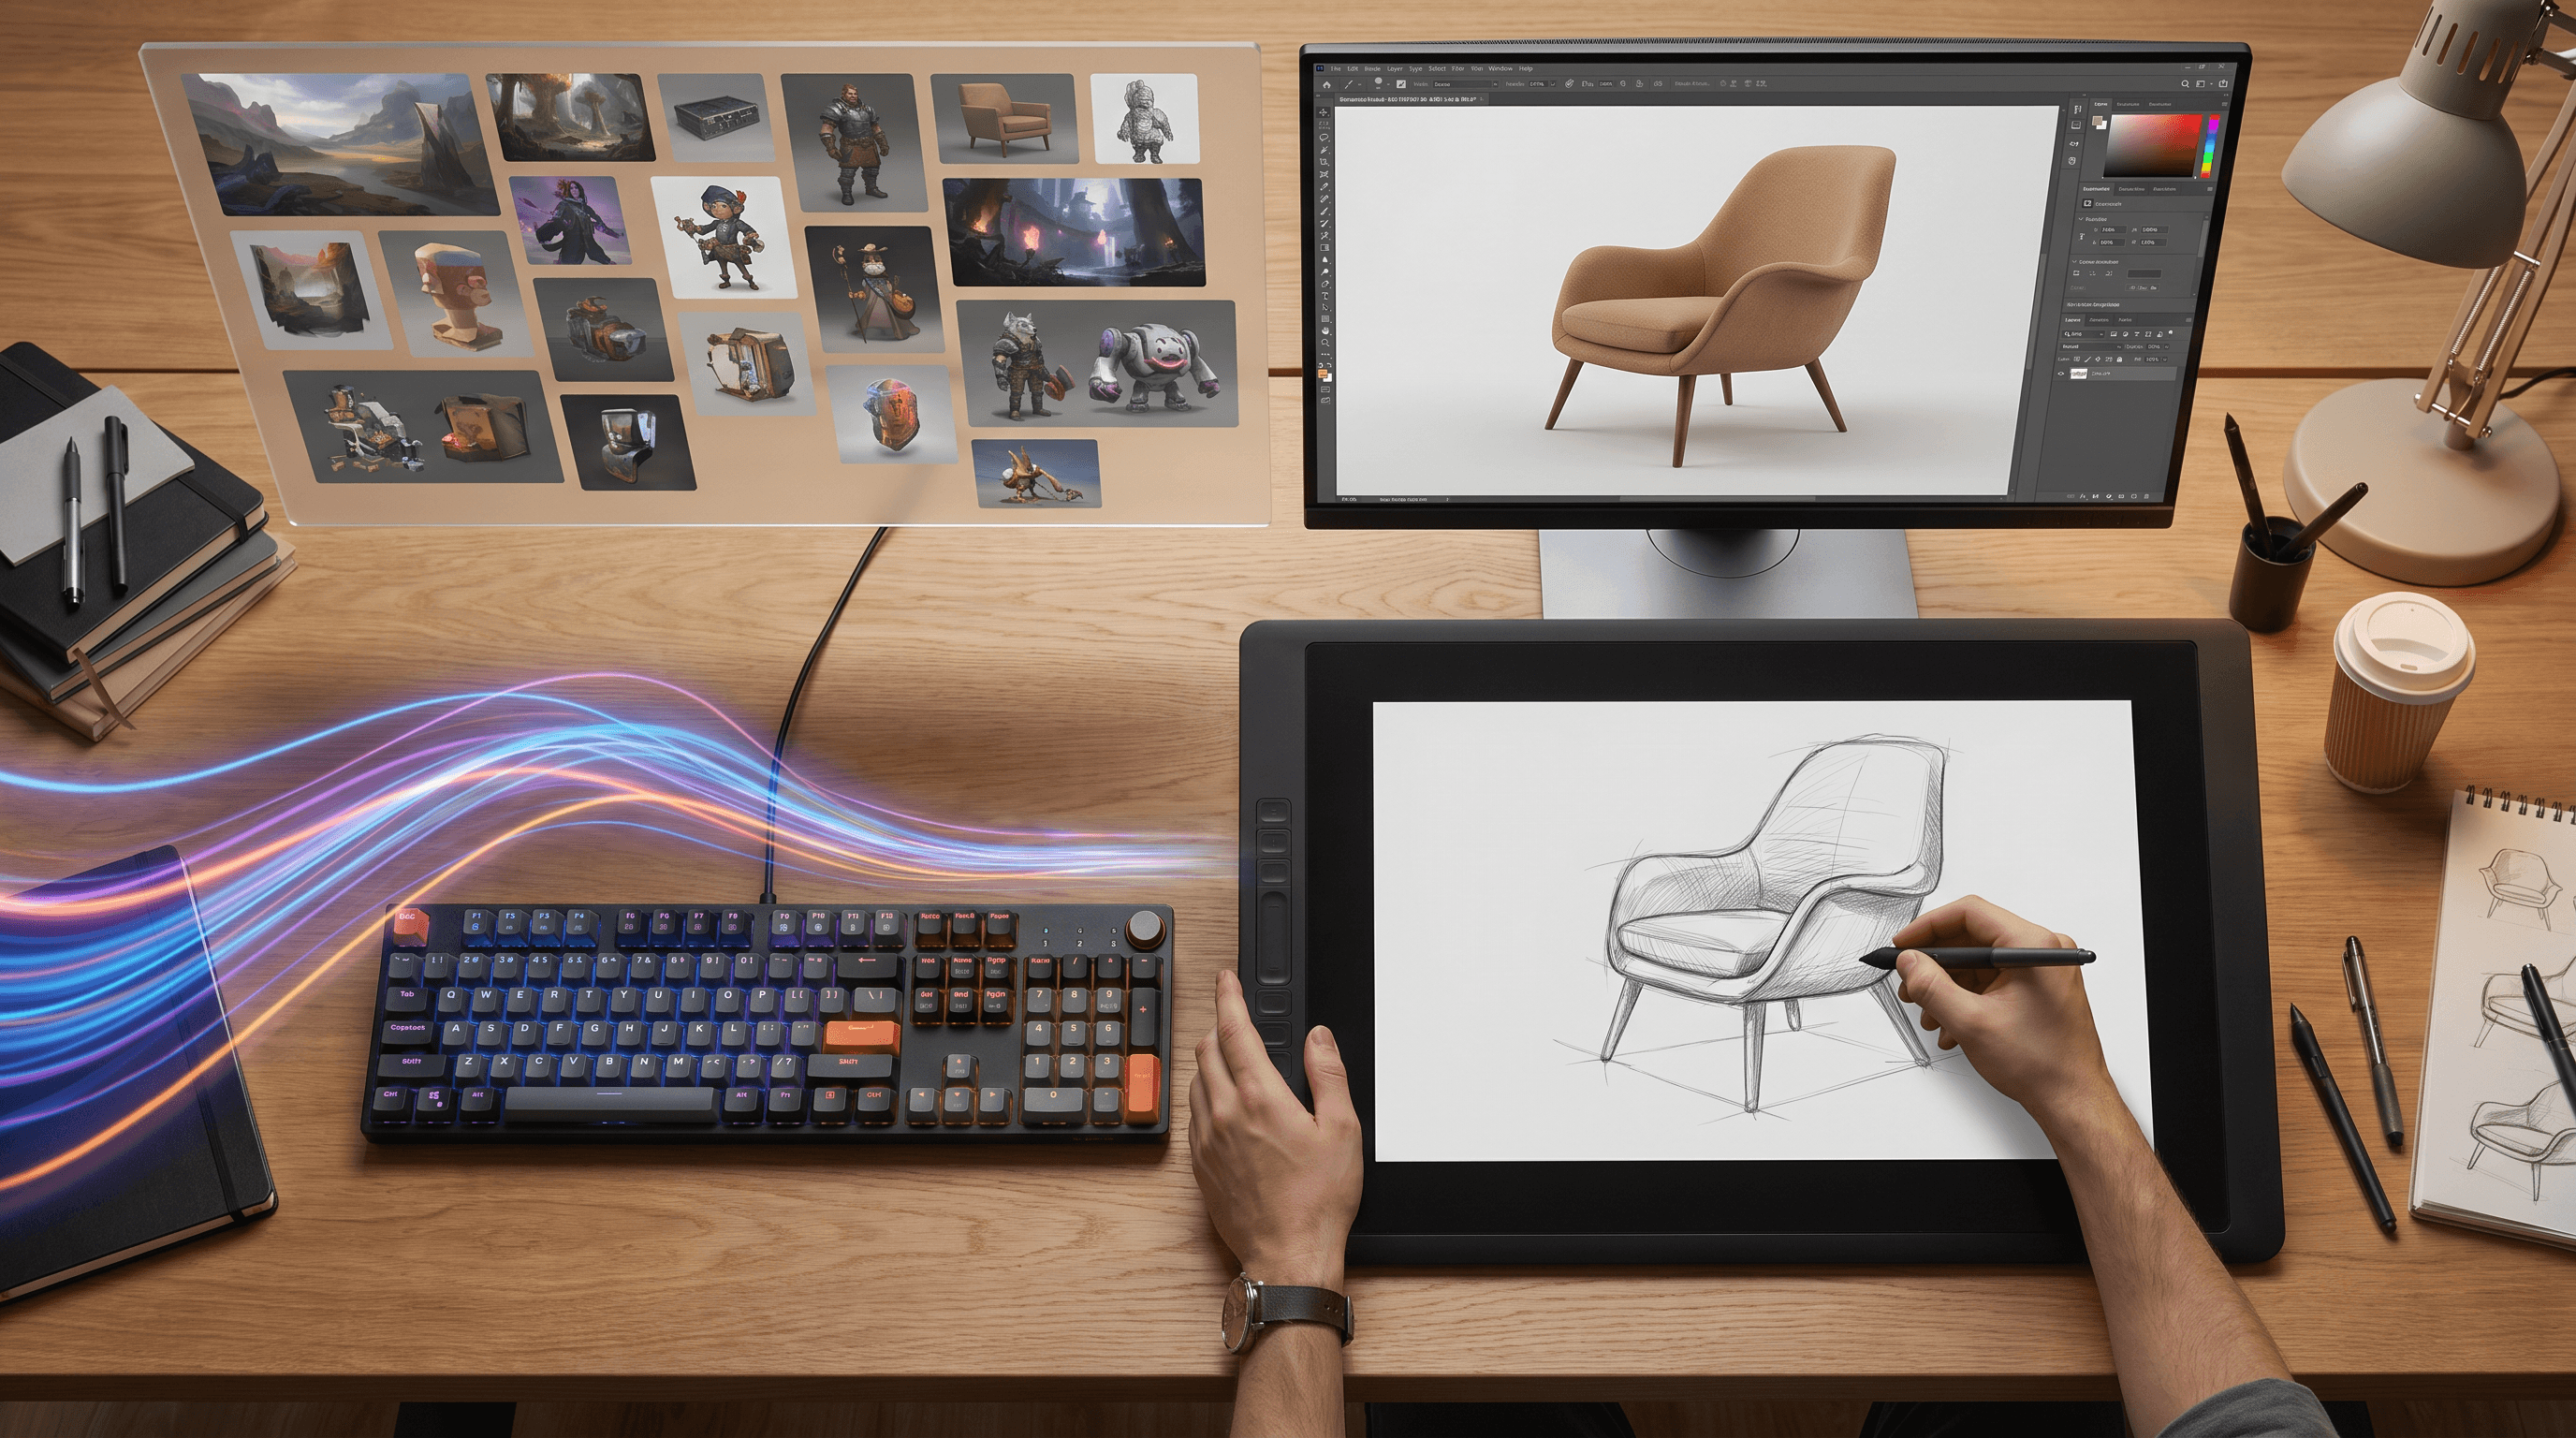
A designer opens a blank generator, types a prompt for a chair, and gets six polished ideas in under a minute. Then the same designer sketches the exact chair curve, camera angle, and negative space they need, and the output suddenly feels less random. That is the practical question behind text to image vs sketch to image: do you want the model to explore for you, or do you want it to follow a structure you already have?
Krea 2 makes that question more urgent. Krea's technical report describes Krea 2 as a foundation model built for wide aesthetic diversity and creative control, and its open-source release page ships RAW and Turbo checkpoints for text-to-image work. That raises the bar for pure prompting. It also makes the value of sketch input clearer: when composition, silhouette, product shape, or scene blocking matters, a sketch gives the model constraints that a paragraph often cannot.
Table of Contents
- What Are Text-to-Image and Sketch-to-Image Workflows?
- What Krea 2 Changes About the Choice
- Text to Image vs Sketch to Image: Core Tradeoffs
- When Text-to-Image Is Enough
- When Sketch-to-Image Is Better
- Feature Comparison Table
- How to Choose the Right Workflow
- How to Turn a Sketch into a Controlled Image
- FAQ
What Are Text-to-Image and Sketch-to-Image Workflows?
Text-to-image starts with language: you describe the subject, style, mood, and camera direction, then the model invents the layout. Sketch-to-image starts with a visual guide: you provide rough lines, shapes, or a composition map, then the model renders the final image while keeping that structure closer to the input.
In text to image vs sketch to image, the key difference is not quality. Strong text-to-image models can produce beautiful results, especially when the goal is broad exploration. The real difference is who controls the layout. Text prompts control meaning and style. Sketch inputs control spatial decisions such as silhouette, object placement, perspective, crop, and visual hierarchy.
For creators, that difference affects the whole concept art workflow. A text prompt is fast when you need mood, references, and unexpected directions. A sketch is stronger when you already know the rough idea and want the AI to finish it, not reinvent it.
What Krea 2 Changes About the Choice
Krea 2 improves the pure-prompt side of the debate because it is built around aesthetic range, style direction, and open-weight access. According to Krea's June 23, 2026 technical report, Krea 2 was designed for creative exploration across styles, moods, compositions, and visual directions, not only for one polished default.
The open-source release matters for adoption. Krea says Krea 2 Open-Source ships as two checkpoints: RAW for training and research, and Turbo for fast text-to-image inference. The Hugging Face model card lists Krea 2 v1.0 as a text-to-image diffusion model released on June 22, 2026, with a 12B Diffusion Transformer architecture. Artificial Analysis also added Krea 2 Medium to its text-to-image leaderboard in the last month, and Krea's release notes said it ranked highly among independent lab models on June 1, 2026.
Those facts make text-to-image more attractive for early ideation. You can ask for a cinematic object, a fashion concept, a brand mood, or a fantasy environment and get a wide spread of visual directions. But Krea's own Krea 2 product page also frames the model around references, moodboards, and style control, which points to a larger pattern: the best creative systems are moving beyond text alone.
That is the lesson from Krea 2 for text to image vs sketch to image. Better prompts raise the floor, but visual input still gives creators a clearer way to preserve structure.
Text to Image vs Sketch to Image: Core Tradeoffs
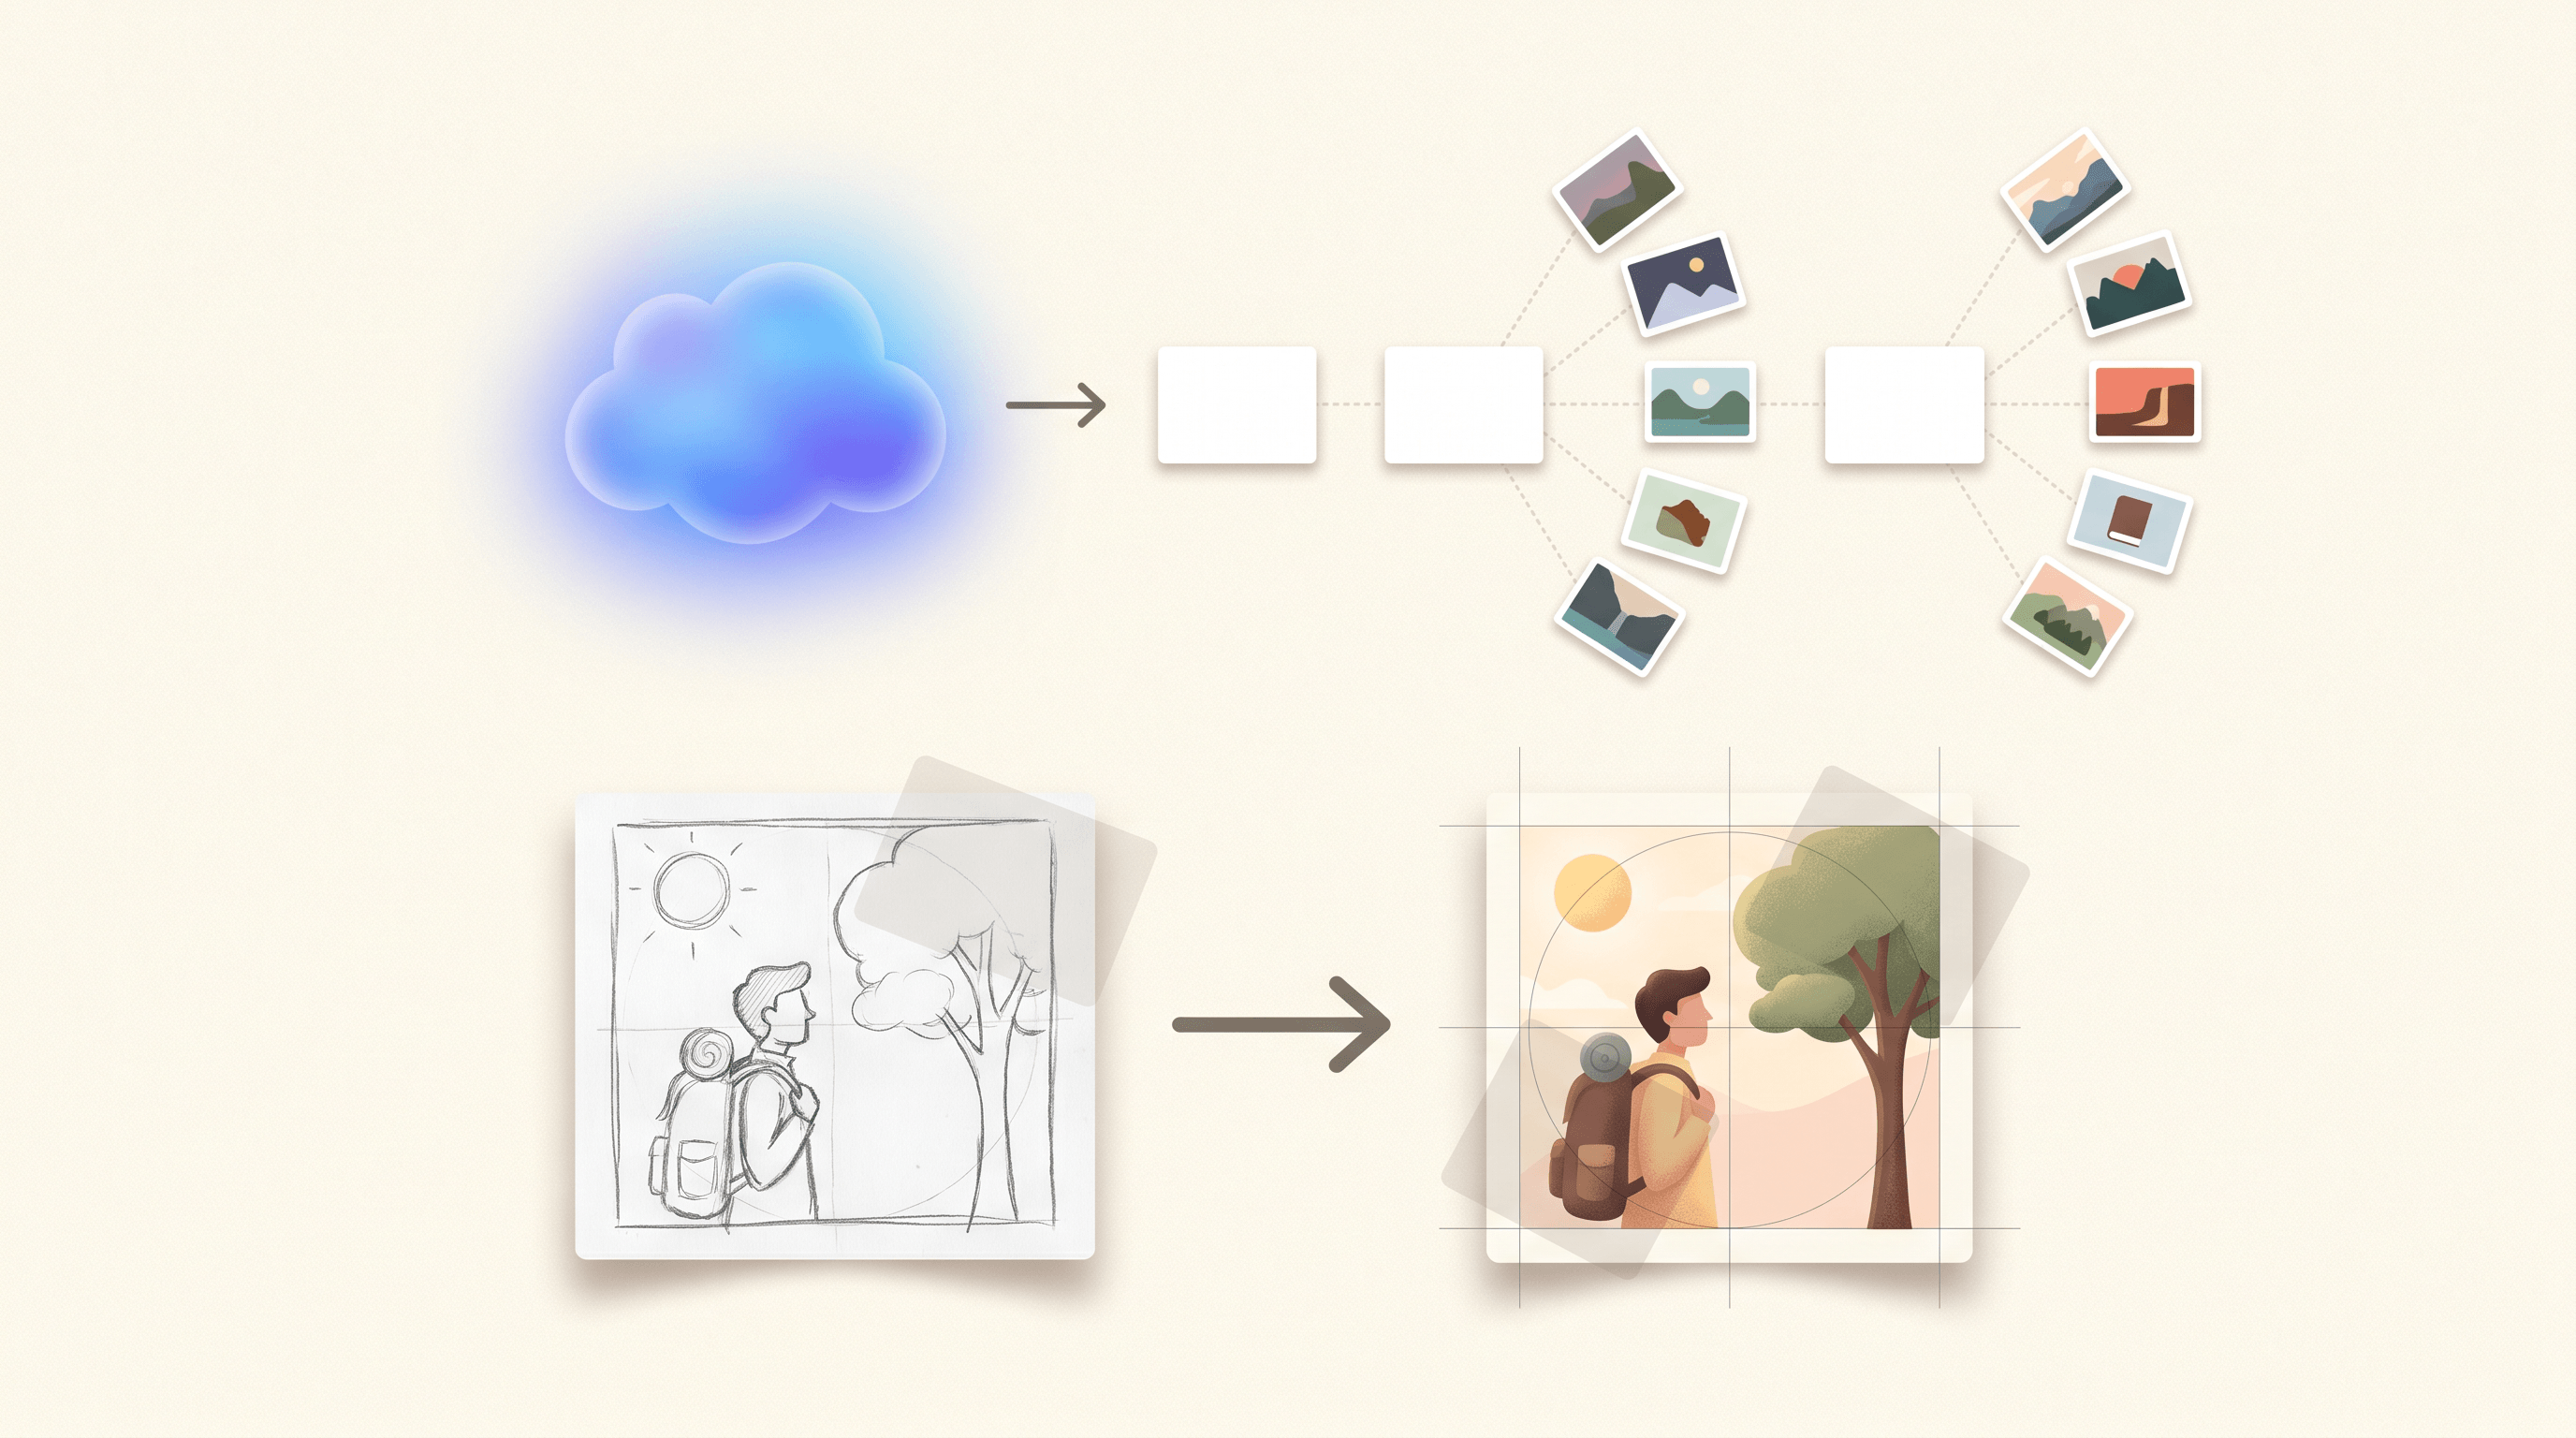
The fastest way to compare text to image vs sketch to image is to separate creative freedom from structural control. Text-to-image gives the model room to surprise you. Sketch-to-image gives the model a map, so it can render details while keeping your intended layout.
| Workflow | Best for | Not ideal for | Main control signal | Typical risk |
|---|---|---|---|---|
| Text-to-image | Moodboards, style exploration, quick concept spreads, unfamiliar subjects | Exact composition, product shapes, repeated layouts | Natural-language prompt plus optional style references | The model may choose a layout you did not intend |
| Sketch-to-image | Product sketches, concept art blocking, interior layouts, pose and silhouette control | Blank-page ideation with no starting idea | Uploaded sketch, line drawing, or rough composition | A weak sketch can limit the output |
| Hybrid prompt + sketch | Design directions where both style and structure matter | Teams that need instant random discovery only | Sketch for layout, prompt for material, lighting, and mood | Too many instructions can create mixed priorities |
This is why text to image vs sketch to image should not be treated as a winner-takes-all comparison. Text is a good discovery tool. Sketch input is a good control layer. Most serious creative workflows benefit from both.
When Text-to-Image Is Enough
Text-to-image is enough when the exact layout is not the core requirement. If you need 20 moodboard directions, a rough style territory, or a fast visual for a pitch, a text-first model like Krea 2 can cover more ground than a sketch-first workflow.
Use text-to-image when you are still asking open questions:
- What should this world feel like?
- Which lighting direction fits the campaign?
- Should the character be playful, premium, cinematic, or handmade?
- What visual language should we test before drawing anything?
Krea 2 is relevant here because it is positioned around aesthetic diversity and creative exploration. If you have no fixed layout, pure prompting can help you find shapes and moods you would not have sketched yourself.
Text-to-image also fits non-designers who can describe a result but cannot draw a clear guide. For example, a social media creator may only need "a cozy product photo with warm morning light." A sketch would add friction. In that case, text to image vs sketch to image is simple: start with text.
The limit appears when revision language gets too specific. Prompts like "move the chair 15% left, keep the armrest curve, make the back taller, preserve the low camera angle" are often signs that you should stop describing structure and draw it.
When Sketch-to-Image Is Better
Sketch-to-image is better when the image must respect an existing composition, shape, or design decision. A rough sketch gives the model a visual boundary, so the output can improve realism, texture, lighting, and detail without discarding the creator's structure.
This matters most in work where the first line carries intent:
| Use case | Why sketch input helps |
|---|---|
| Concept art workflow | Keeps silhouette, camera angle, and scene blocking while exploring finish styles |
| Product sketch rendering | Preserves proportions, curves, and feature placement from the original idea |
| Interior or set design | Keeps furniture placement, wall openings, and composition hierarchy |
| Storyboard frames | Holds shot framing across variations |
| Brand visuals | Keeps layout space for copy, packaging, or a hero object |
In our testing logic for creator workflows, sketch input is most useful after the idea has a shape. Once you know the object, pose, or scene arrangement, the sketch becomes a control surface. You can still use prompts for material, lighting, mood, and camera language, but the drawing anchors the image.
That is where Sketch To fits naturally. Upload a sketch, choose the Professional Model, and describe the finish you want, such as photoreal product render, cinematic concept frame, or clean design mockup. Sketch To is not the best starting point if you want total surprise from a blank prompt, but it is useful when you want sketch to image AI to keep your structure and upgrade the rendering.
Feature Comparison Table
For text to image vs sketch to image, the practical comparison is about repeatability, revision cost, and how much of the composition must survive from idea to final image.
| Criteria | Text-to-image | Sketch-to-image | Best practical choice |
|---|---|---|---|
| Starting speed | Very fast if you can describe the idea | Fast if you can draw a rough guide | Text for blank-page ideation |
| Layout control | Medium, depends on prompt following | High, because the sketch carries placement | Sketch for product and composition work |
| Style exploration | Strong, especially with models like Krea 2 | Strong when paired with style prompts | Hybrid for art direction |
| Repeatability | Medium across many generations | Higher when the same sketch is reused | Sketch for consistent series |
| Revision precision | Can become prompt-heavy | Easier to revise by redrawing lines | Sketch for targeted changes |
| Skill requirement | Writing and visual taste | Rough drawing or layout blocking | Text for non-drawers, sketch for designers |
| Best output type | Moodboards, posters, broad concepts | Finished render from a known visual plan | Depends on stage |
The important point is that sketch-to-image does not replace prompt craft. A weak prompt can still produce the wrong material or mood. But in text to image vs sketch to image, the sketch reduces one of the hardest prompt problems: explaining spatial structure with words.
How to Choose the Right Workflow
Choose text-to-image when you want range, choose sketch-to-image when you want control, and combine them when the image needs both style exploration and layout fidelity. The right answer depends on the stage of the project, not on which model is more impressive.
Use this decision guide:
| If your goal is... | Start with... | Why |
|---|---|---|
| Explore 10 possible campaign moods | Text-to-image | You need variety before commitment |
| Turn a chair idea into a realistic product visual | Sketch-to-image | The silhouette and proportions matter |
| Create a fantasy environment with no fixed camera angle | Text-to-image | The model can search the visual space |
| Preserve a storyboard frame while changing style | Sketch-to-image | The shot composition must stay stable |
| Convert a rough design into multiple polished options | Hybrid | The sketch sets structure, the prompt sets finish |
A strong workflow is often sequential:
- Use text-to-image to discover visual territories.
- Pick the direction that feels right.
- Draw a simple sketch that captures the final composition.
- Use sketch-to-image to preserve the structure while rendering variants.
- Upscale or edit the selected result.
Sketch To also supports adjacent steps such as image to sketch, background removal, and image upscaling, so the sketch workflow can continue after the first render.
How to Turn a Sketch into a Controlled Image
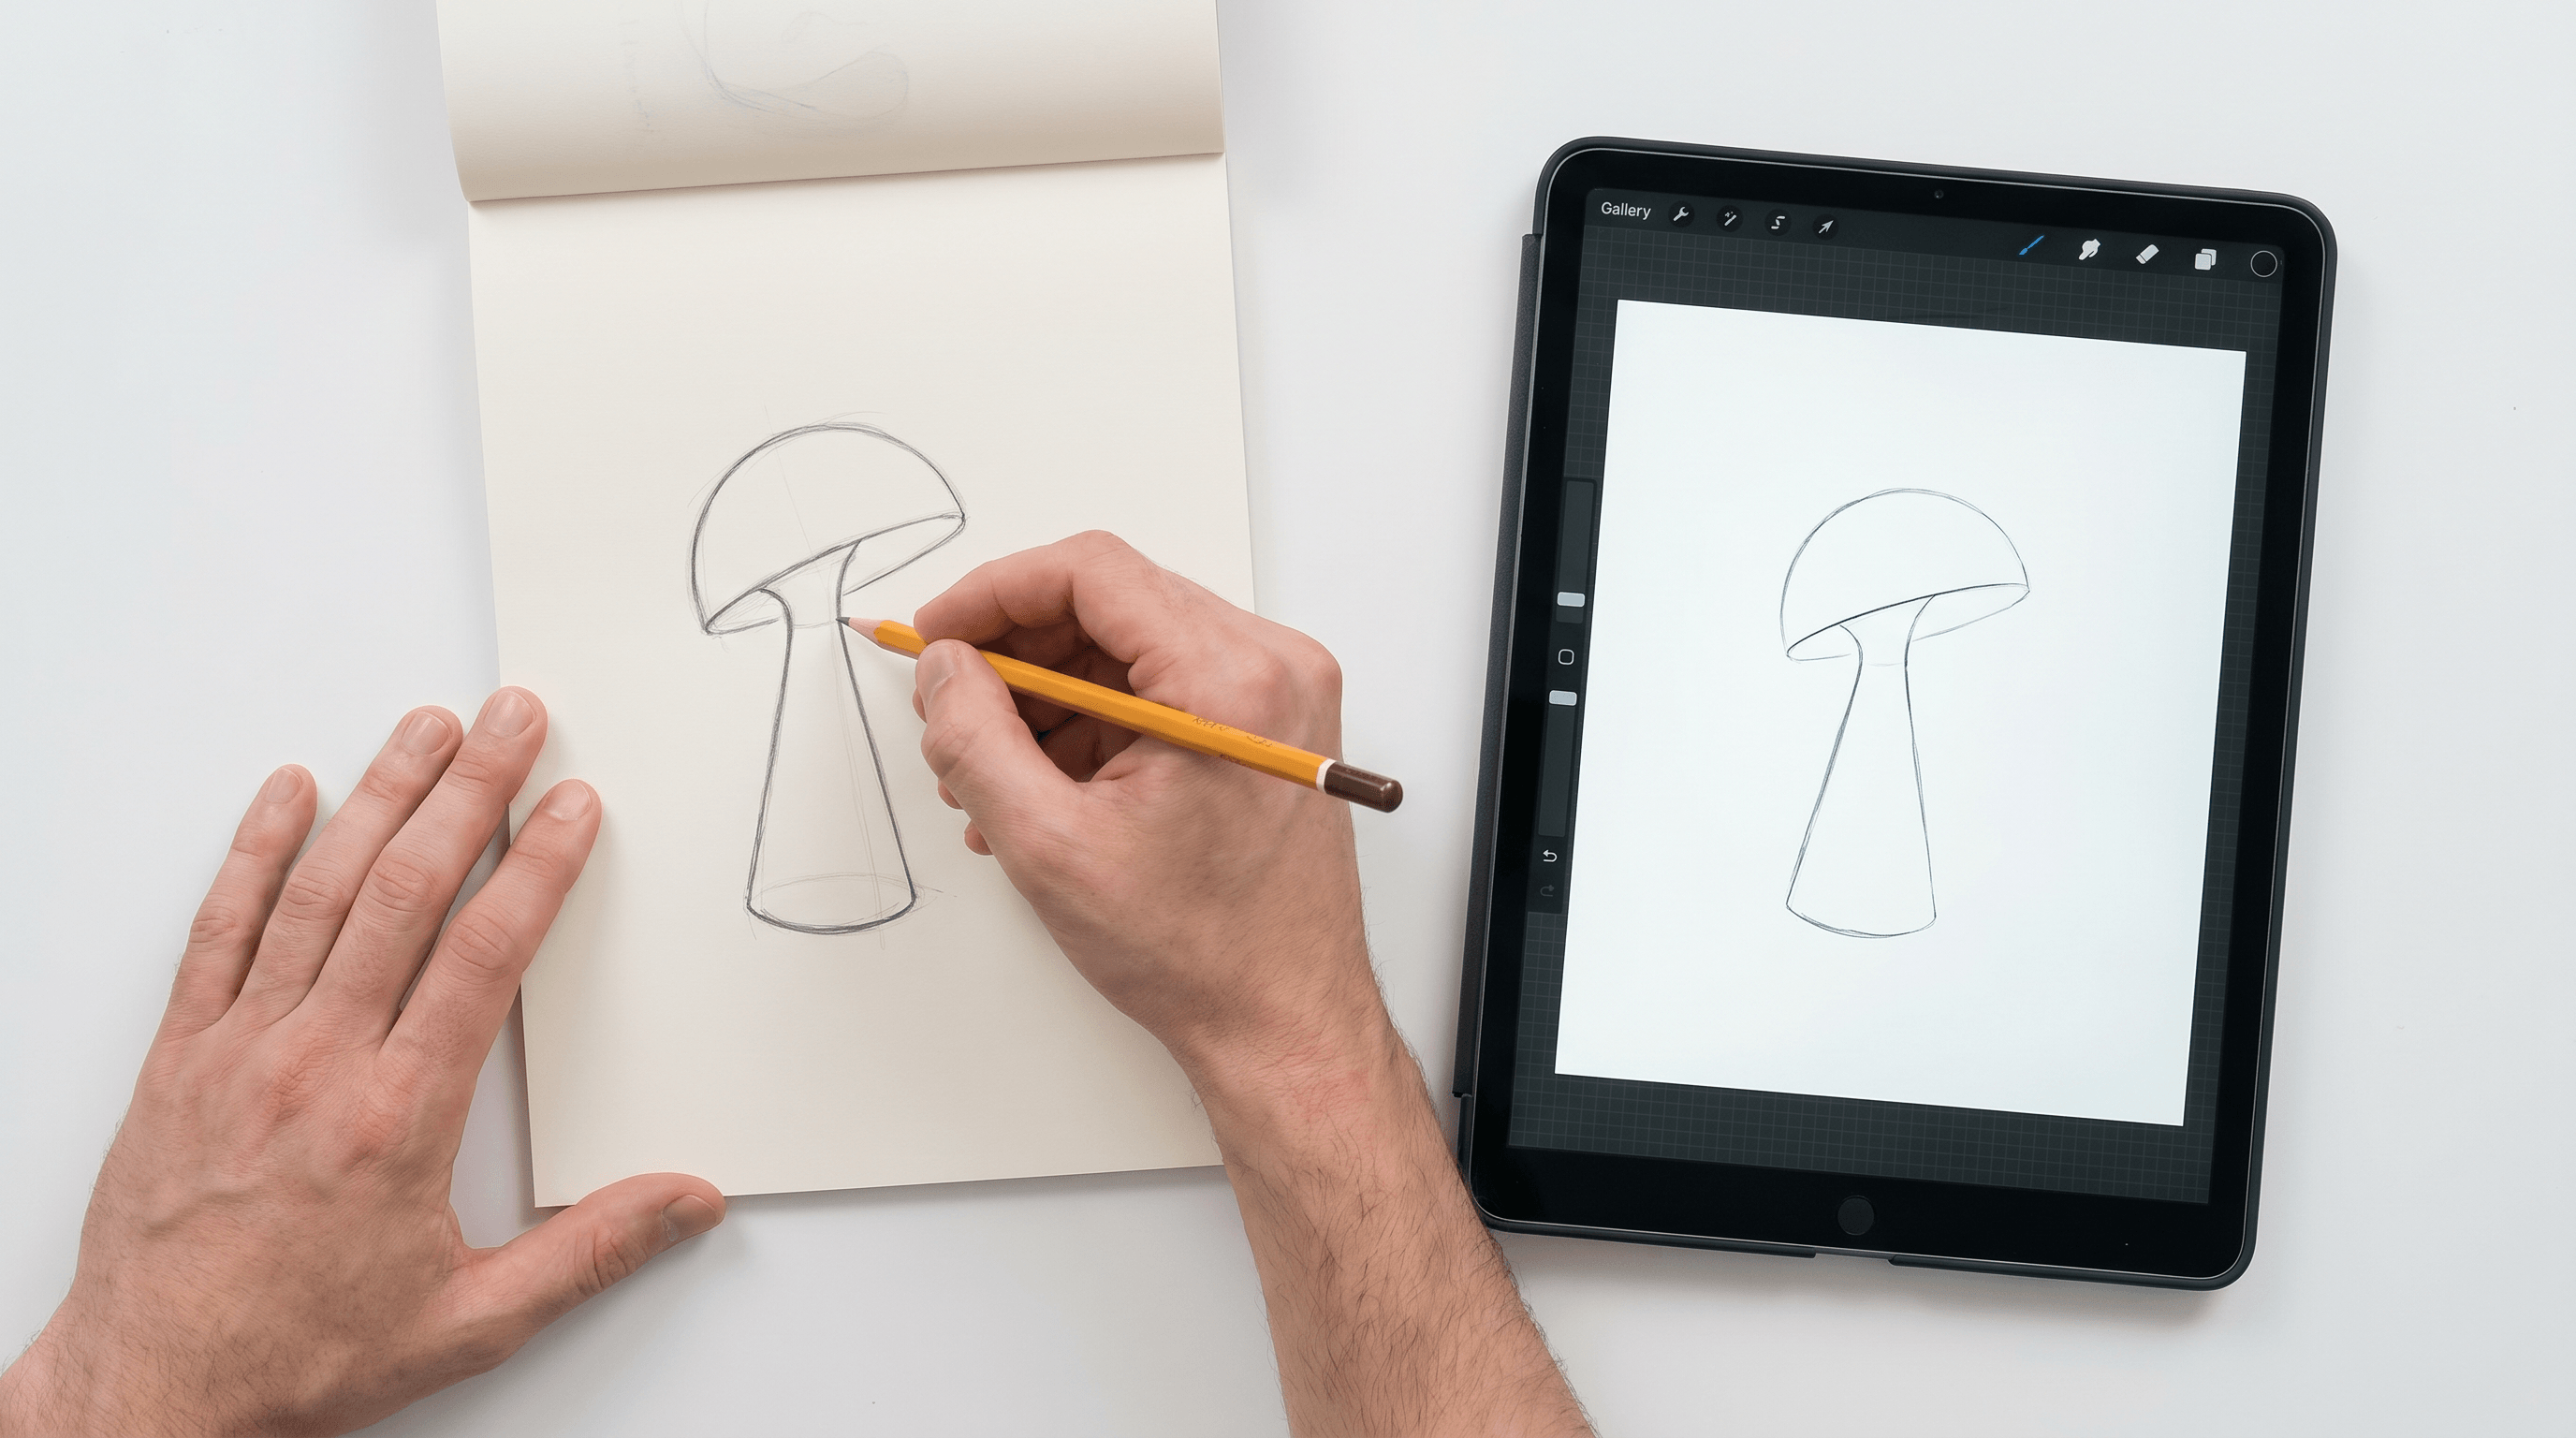
The simplest sketch-to-image process is: draw the layout, upload it, write a finish prompt, generate several variants, then compare which result best preserves the sketch. The sketch should define structure, while the prompt should define material, lighting, realism, and mood.
Follow this workflow:
- Draw the core shapes. Keep lines simple, but make the silhouette, camera angle, and object placement clear.
- Decide what must stay fixed. For a product sketch, that may be proportions. For concept art, it may be framing and depth.
- Upload the sketch to Sketch To and select the model that fits your quality target. The Professional Model is better when realism and detail matter.
- Write a short finish prompt. Example: "photoreal studio product render, soft side lighting, matte ceramic texture, warm neutral background."
- Generate 3 to 6 variants. Compare them against the original sketch before judging surface quality.
- Revise the sketch if the structure is wrong. Revise the prompt if the structure is right but the style is off.
This is the point where text to image vs sketch to image becomes a workflow choice rather than a model debate. If your revision is about "what should it look like?", edit the prompt. If your revision is about "where should things go?", edit the sketch.
FAQ
Is text-to-image better than sketch-to-image?
Text-to-image is better for fast exploration, while sketch-to-image is better for layout and shape control. If you need many unexpected concepts, start with text. If you already know the composition or product shape, start with a sketch.
What did Krea 2 change about text-to-image workflows?
Krea 2 made text-to-image more interesting for creators because it focuses on aesthetic diversity, style control, and open-weight access. The RAW and Turbo checkpoints give developers and creative teams more room to test text-first generation, fine-tuning, and fast inference.
When should designers use sketch-to-image AI?
Designers should use sketch-to-image AI when the rough drawing contains important decisions. Product proportions, character silhouette, furniture placement, storyboard framing, and brand layout space are all cases where a sketch can guide the output better than text alone.
Can I use both text prompts and sketches together?
Yes. The strongest workflow often uses both. The sketch defines the structure, while the prompt defines finish details such as material, lighting, camera feel, and visual style.
Does sketch-to-image require advanced drawing skill?
No. A rough but clear sketch is usually enough. The model needs shape relationships, placement, and composition cues more than polished line art.
What schema markup fits this article?
The best schema mix is BlogPosting for the article, FAQPage for the FAQ section, and ItemList for the comparison tables. That structure helps search engines and AI answer systems identify the comparison, questions, and recommendations.
Ready to turn a rough concept into a controlled finished image? Try Sketch To free → Use sketch-to-image conversion when the composition matters and text prompting alone starts to feel too loose.
Transform Your Images with AI
Turn sketches into stunning images, remove backgrounds, swap faces, and more — all powered by AI.
Try Sketch To FreeShare
Sketch To
Tech writer covering AI tools, image processing, and creative workflows.
Related Articles
Google Pics vs Independent AI Image Tools: Which One Fits Your Work?
Google Pics brings Nano Banana image editing into Slides, Docs, and Drive. See how it compares with independent AI image platforms — and which one fits your workflow.
Local AI Image Generator vs Online Sketch Tools
A local AI image generator gives you privacy and offline use; online sketch to image AI tools win on speed and polish. Full 2026 comparison.
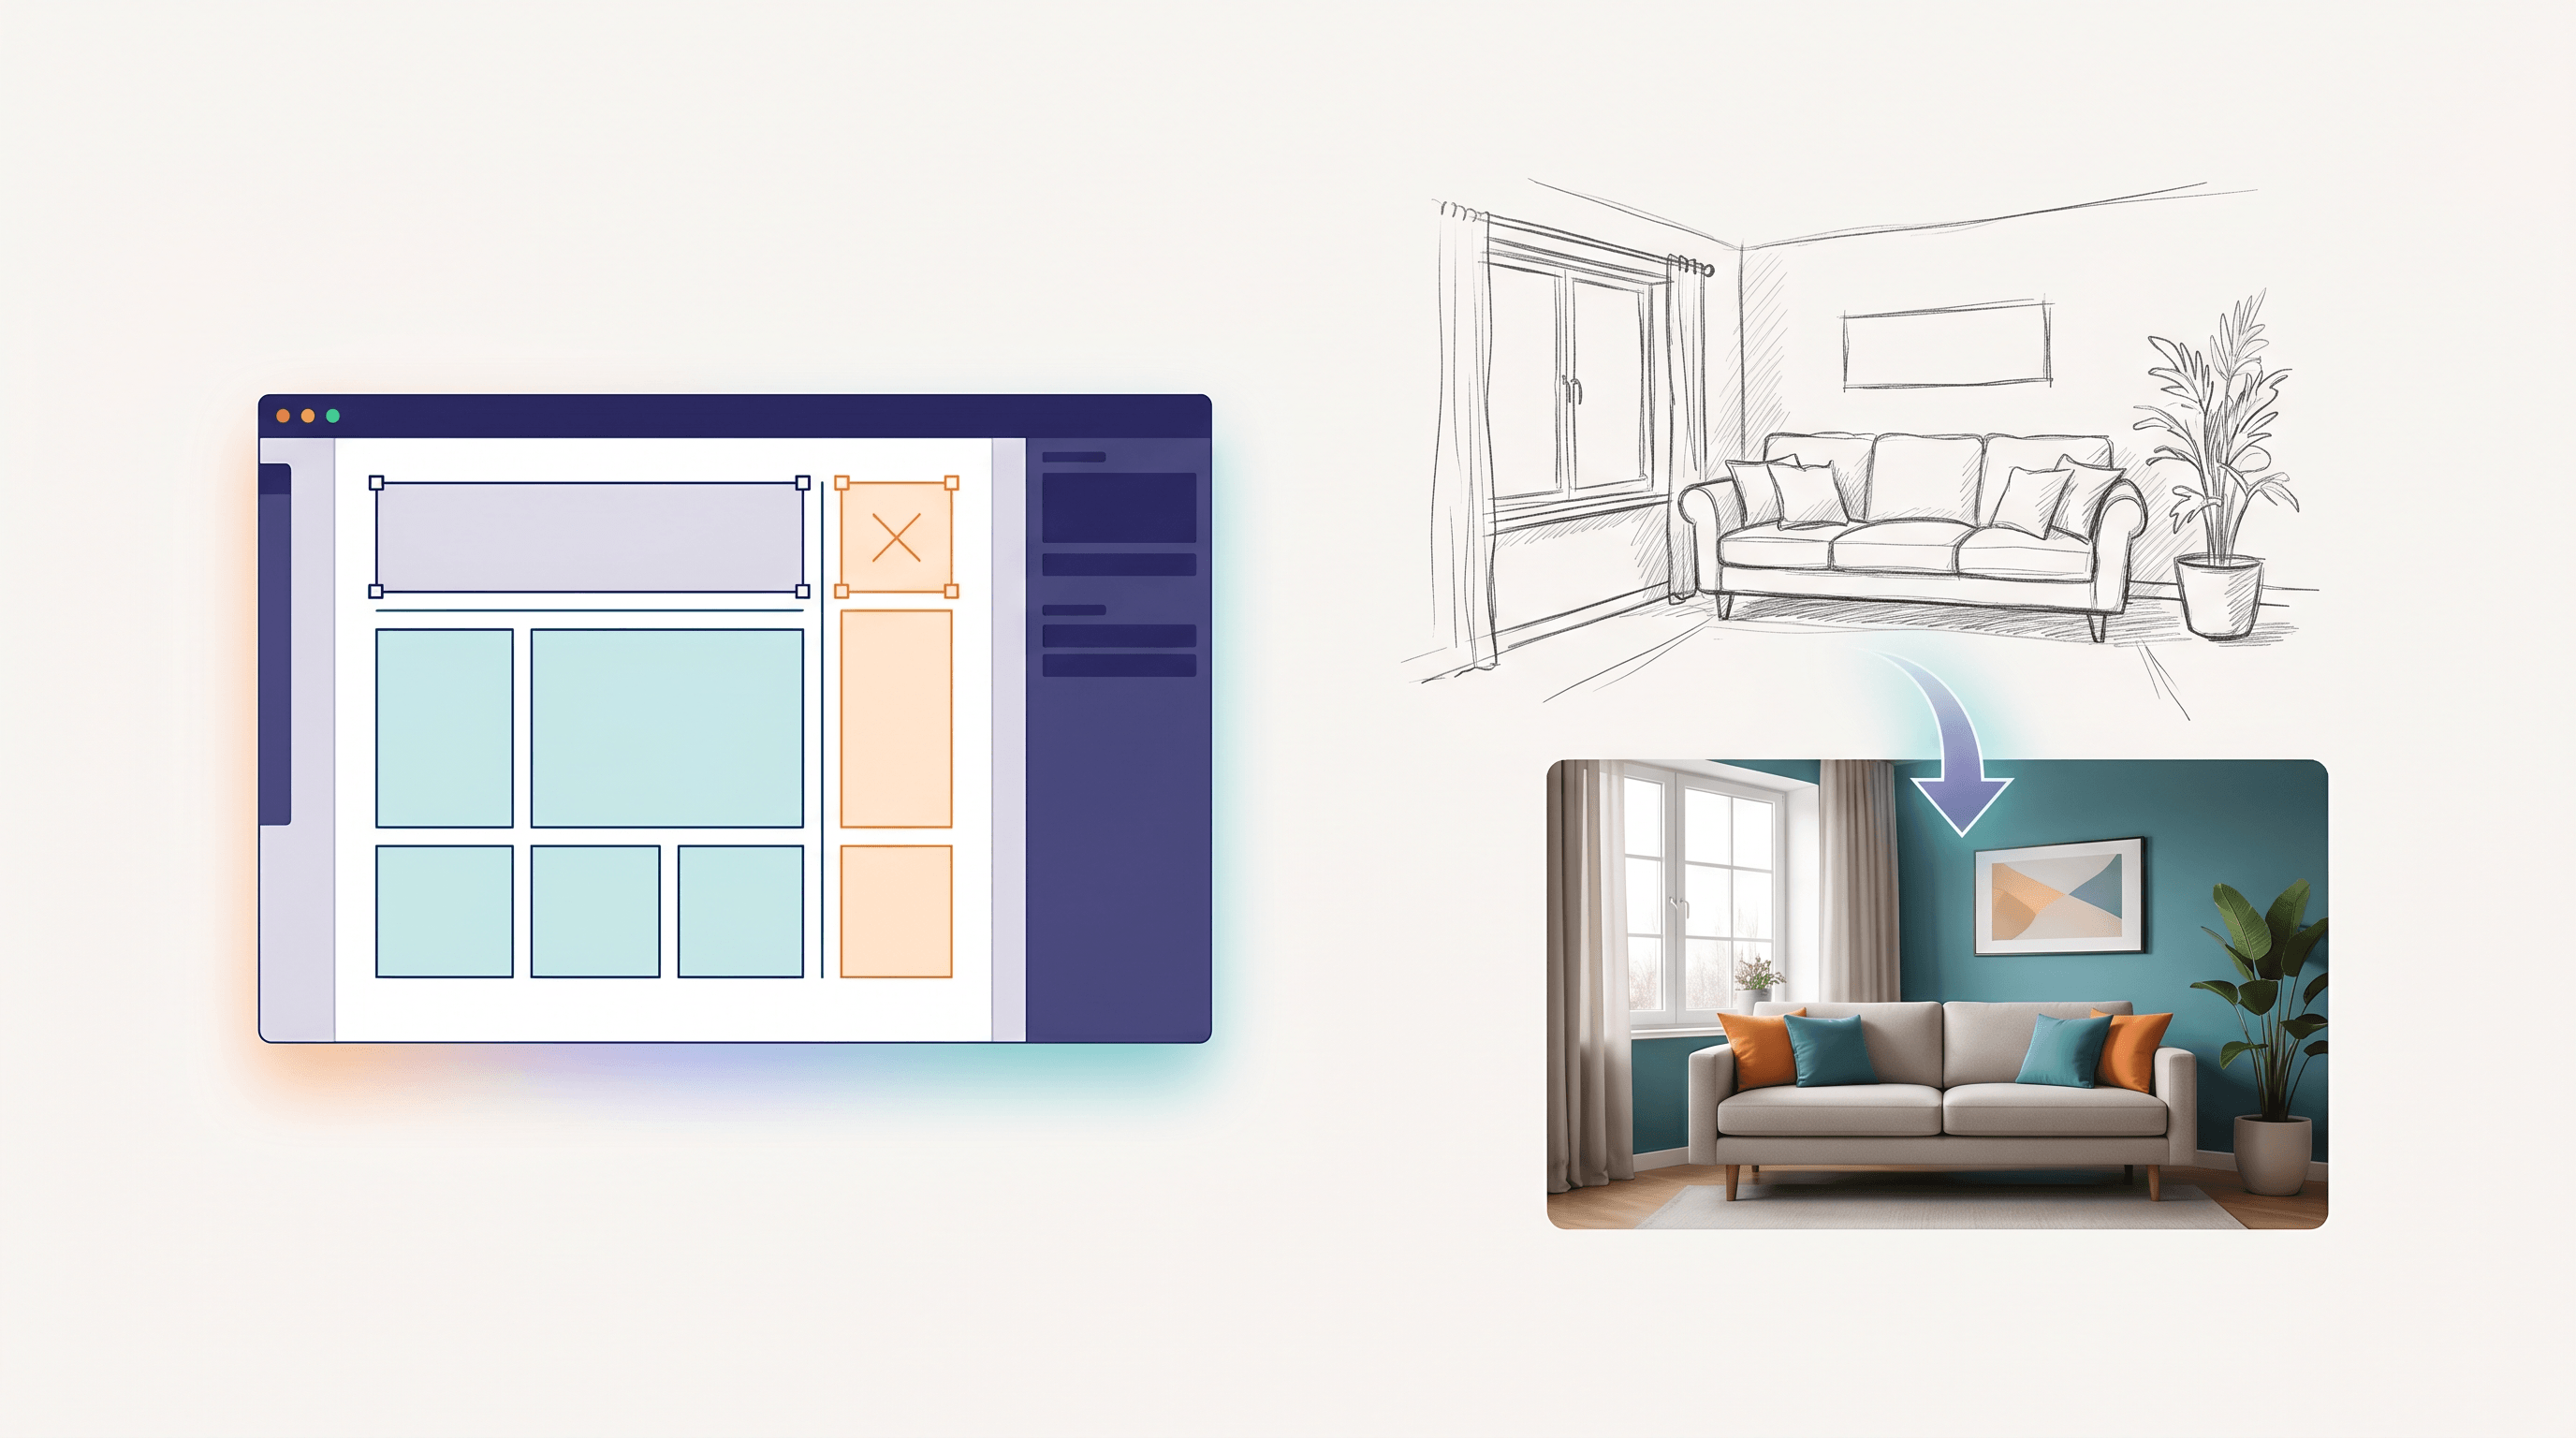
Reve 2.0 Alternative: Sketch-to-Image Layout Control
Looking for a Reve 2.0 alternative? Compare 6 layout-based AI image generators and see when sketch-to-image beats 4K layout control.