
Claude Design Workflow: Pair It With Sketch-to-Image AI
On this page
Share
Last updated: June 2026
A thread titled "I design with Claude more than Figma now" hit the Hacker News front page this spring and lit up every design Slack I'm in. The replies split fast: half the room nodding, the other half asking how a text model replaces a canvas. Both miss the point. The real shift isn't Claude versus Figma — it's that a chat model is now good enough to own the thinking part of design (the brief, the structure, the words), which frees the rest of your stack to do what it's actually good at.
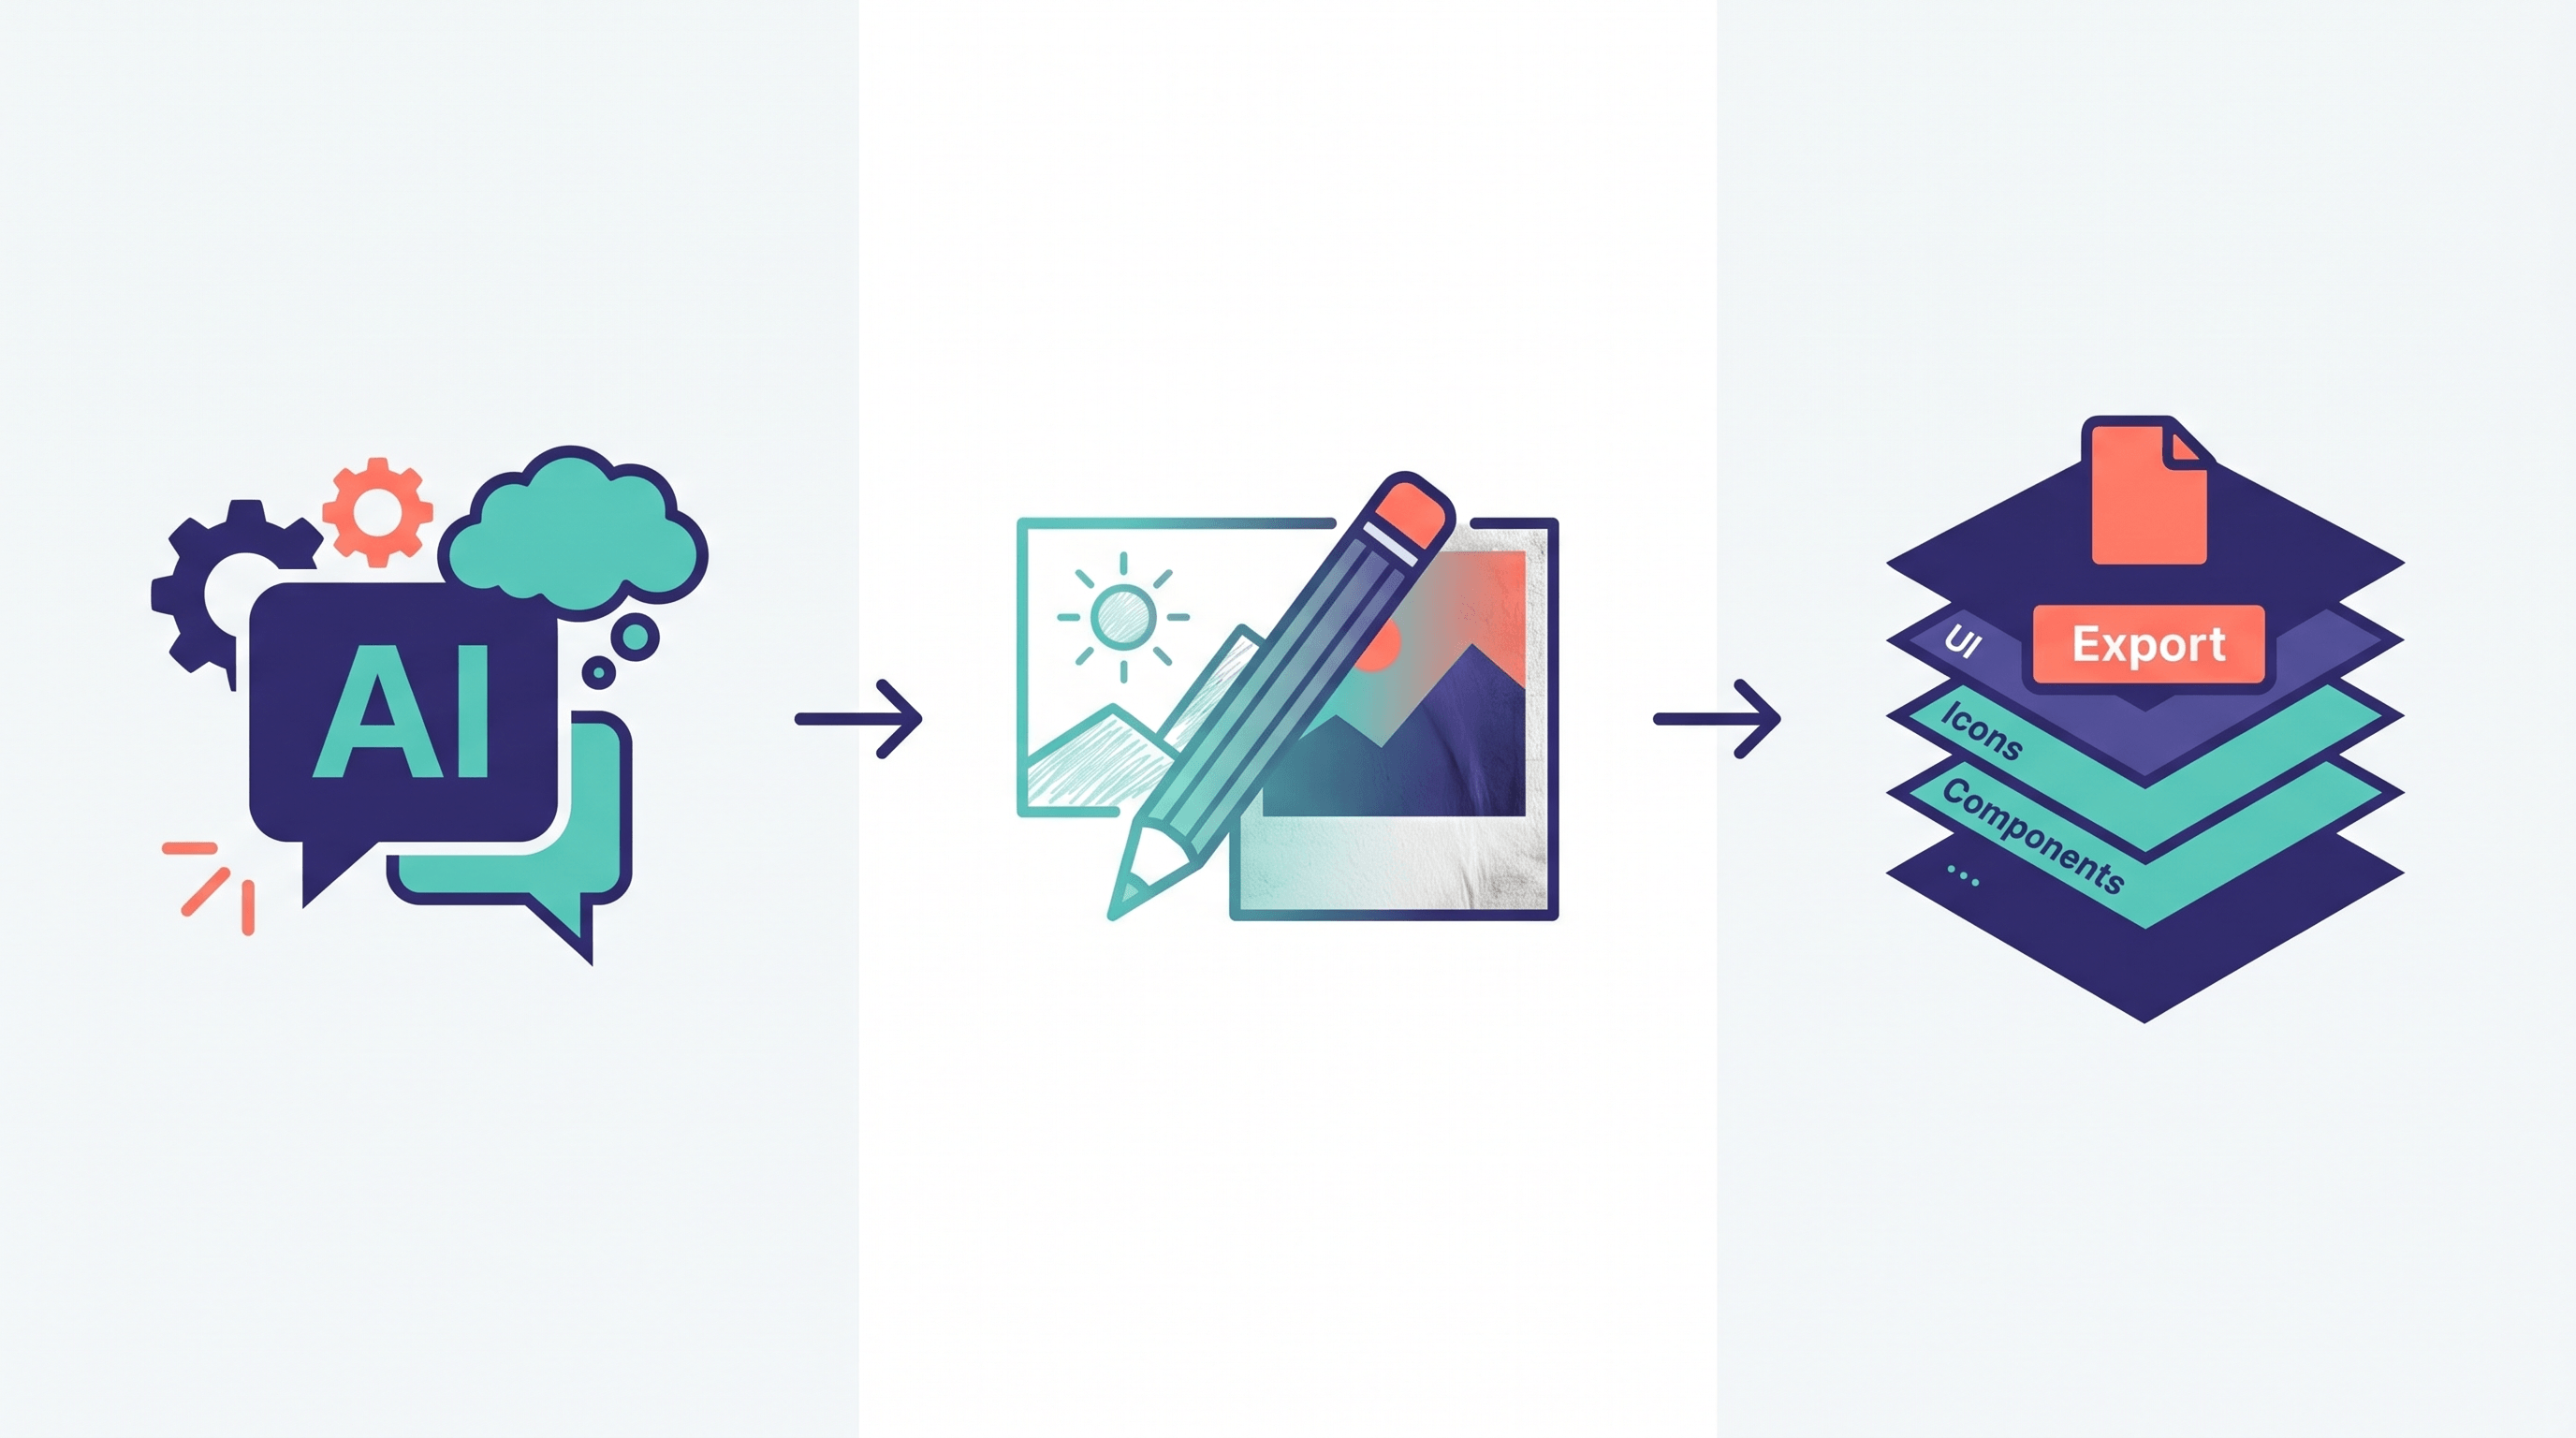
This guide shows you how to build that hybrid Claude design workflow end to end: Claude for ideation and copy, an AI sketch to image workflow to turn rough drawings into finished visuals, and Figma for the production work it still does best. You'll get a repeatable five-step process, a clear map of which tool owns which stage, and the honest limits of each.

Table of Contents
- Why Add Claude to Your Design Workflow?
- The 5-Step Claude Design Workflow
- Where Figma Still Wins
- Pro Tips for a Faster Workflow
- FAQ
- Conclusion
Why Add Claude to Your Design Workflow?
Adding Claude to your design workflow collapses the slowest part of most projects — deciding what to make and what it should say — from hours to minutes. Claude is strong at structure, naming, microcopy, and pressure-testing an idea before you commit pixels to it. It does not draw, so it works best as the front half of a pipeline, not a replacement for your visual tools.
The Hacker News trend points at a real change in habits, not hype. Designers and indie developers are reaching for a chat model first because the early stage of design is mostly language: what's the user trying to do, what are the screens, what does each button say, what's the empty state. In our own projects, moving that conversation to Claude cut the "blank canvas" phase from an afternoon to about 20 minutes — and the brief that came out was tighter than the one we used to write by hand.
The catch is the handoff. Claude can describe a hero section in vivid detail, but you still need a picture. That's where a sketch-to-image step earns its place: you draw the layout rough — boxes, arrows, a stick-figure mascot — and an AI model renders it into something real enough to react to. The three tools each own a different verb: Claude thinks, sketch-to-image renders, Figma ships.
The 5-Step Claude Design Workflow
Here's the full loop, from empty brief to a visual you can hand off. Each step takes minutes, and the whole thing runs in about an hour for a single screen or landing page.
Step 1: Brief the problem with Claude
Open Claude and describe the problem, not the solution. Paste your context — product, audience, the one job this screen has to do — and ask it to return a one-paragraph brief plus a list of the sections or screens. Resist the urge to ask for "a beautiful landing page." Ask for the structure. In our testing, prompting "list the sections in priority order and the single goal of each" produced a usable information architecture on the first try about 80% of the time.
Expected result: a numbered list of sections, each with a purpose. This is your skeleton.
Step 2: Write the copy with Claude
Feed the skeleton back and ask Claude to draft the actual words — headline, subhead, button labels, empty states, error messages. Copy first, layout second: when you design around real sentences instead of "Lorem ipsum," the proportions come out right and you skip a whole round of revisions. Ask for two or three headline options per section so you have something to react to.
Expected result: a copy doc you can drop straight into a layout. No placeholder text downstream.
Step 3: Sketch the layout by hand
Now leave the screen. Grab paper or a tablet and rough out where the copy goes — blocks for text, circles for images, arrows for flow. Don't make it neat; a sketch's whole value is speed. This is the step Claude can't do for you, and that's fine: your hand is faster than any prompt at spatial decisions. Spend five minutes, not fifty.
Expected result: a rough but readable wireframe that maps the copy from Step 2 onto a page.
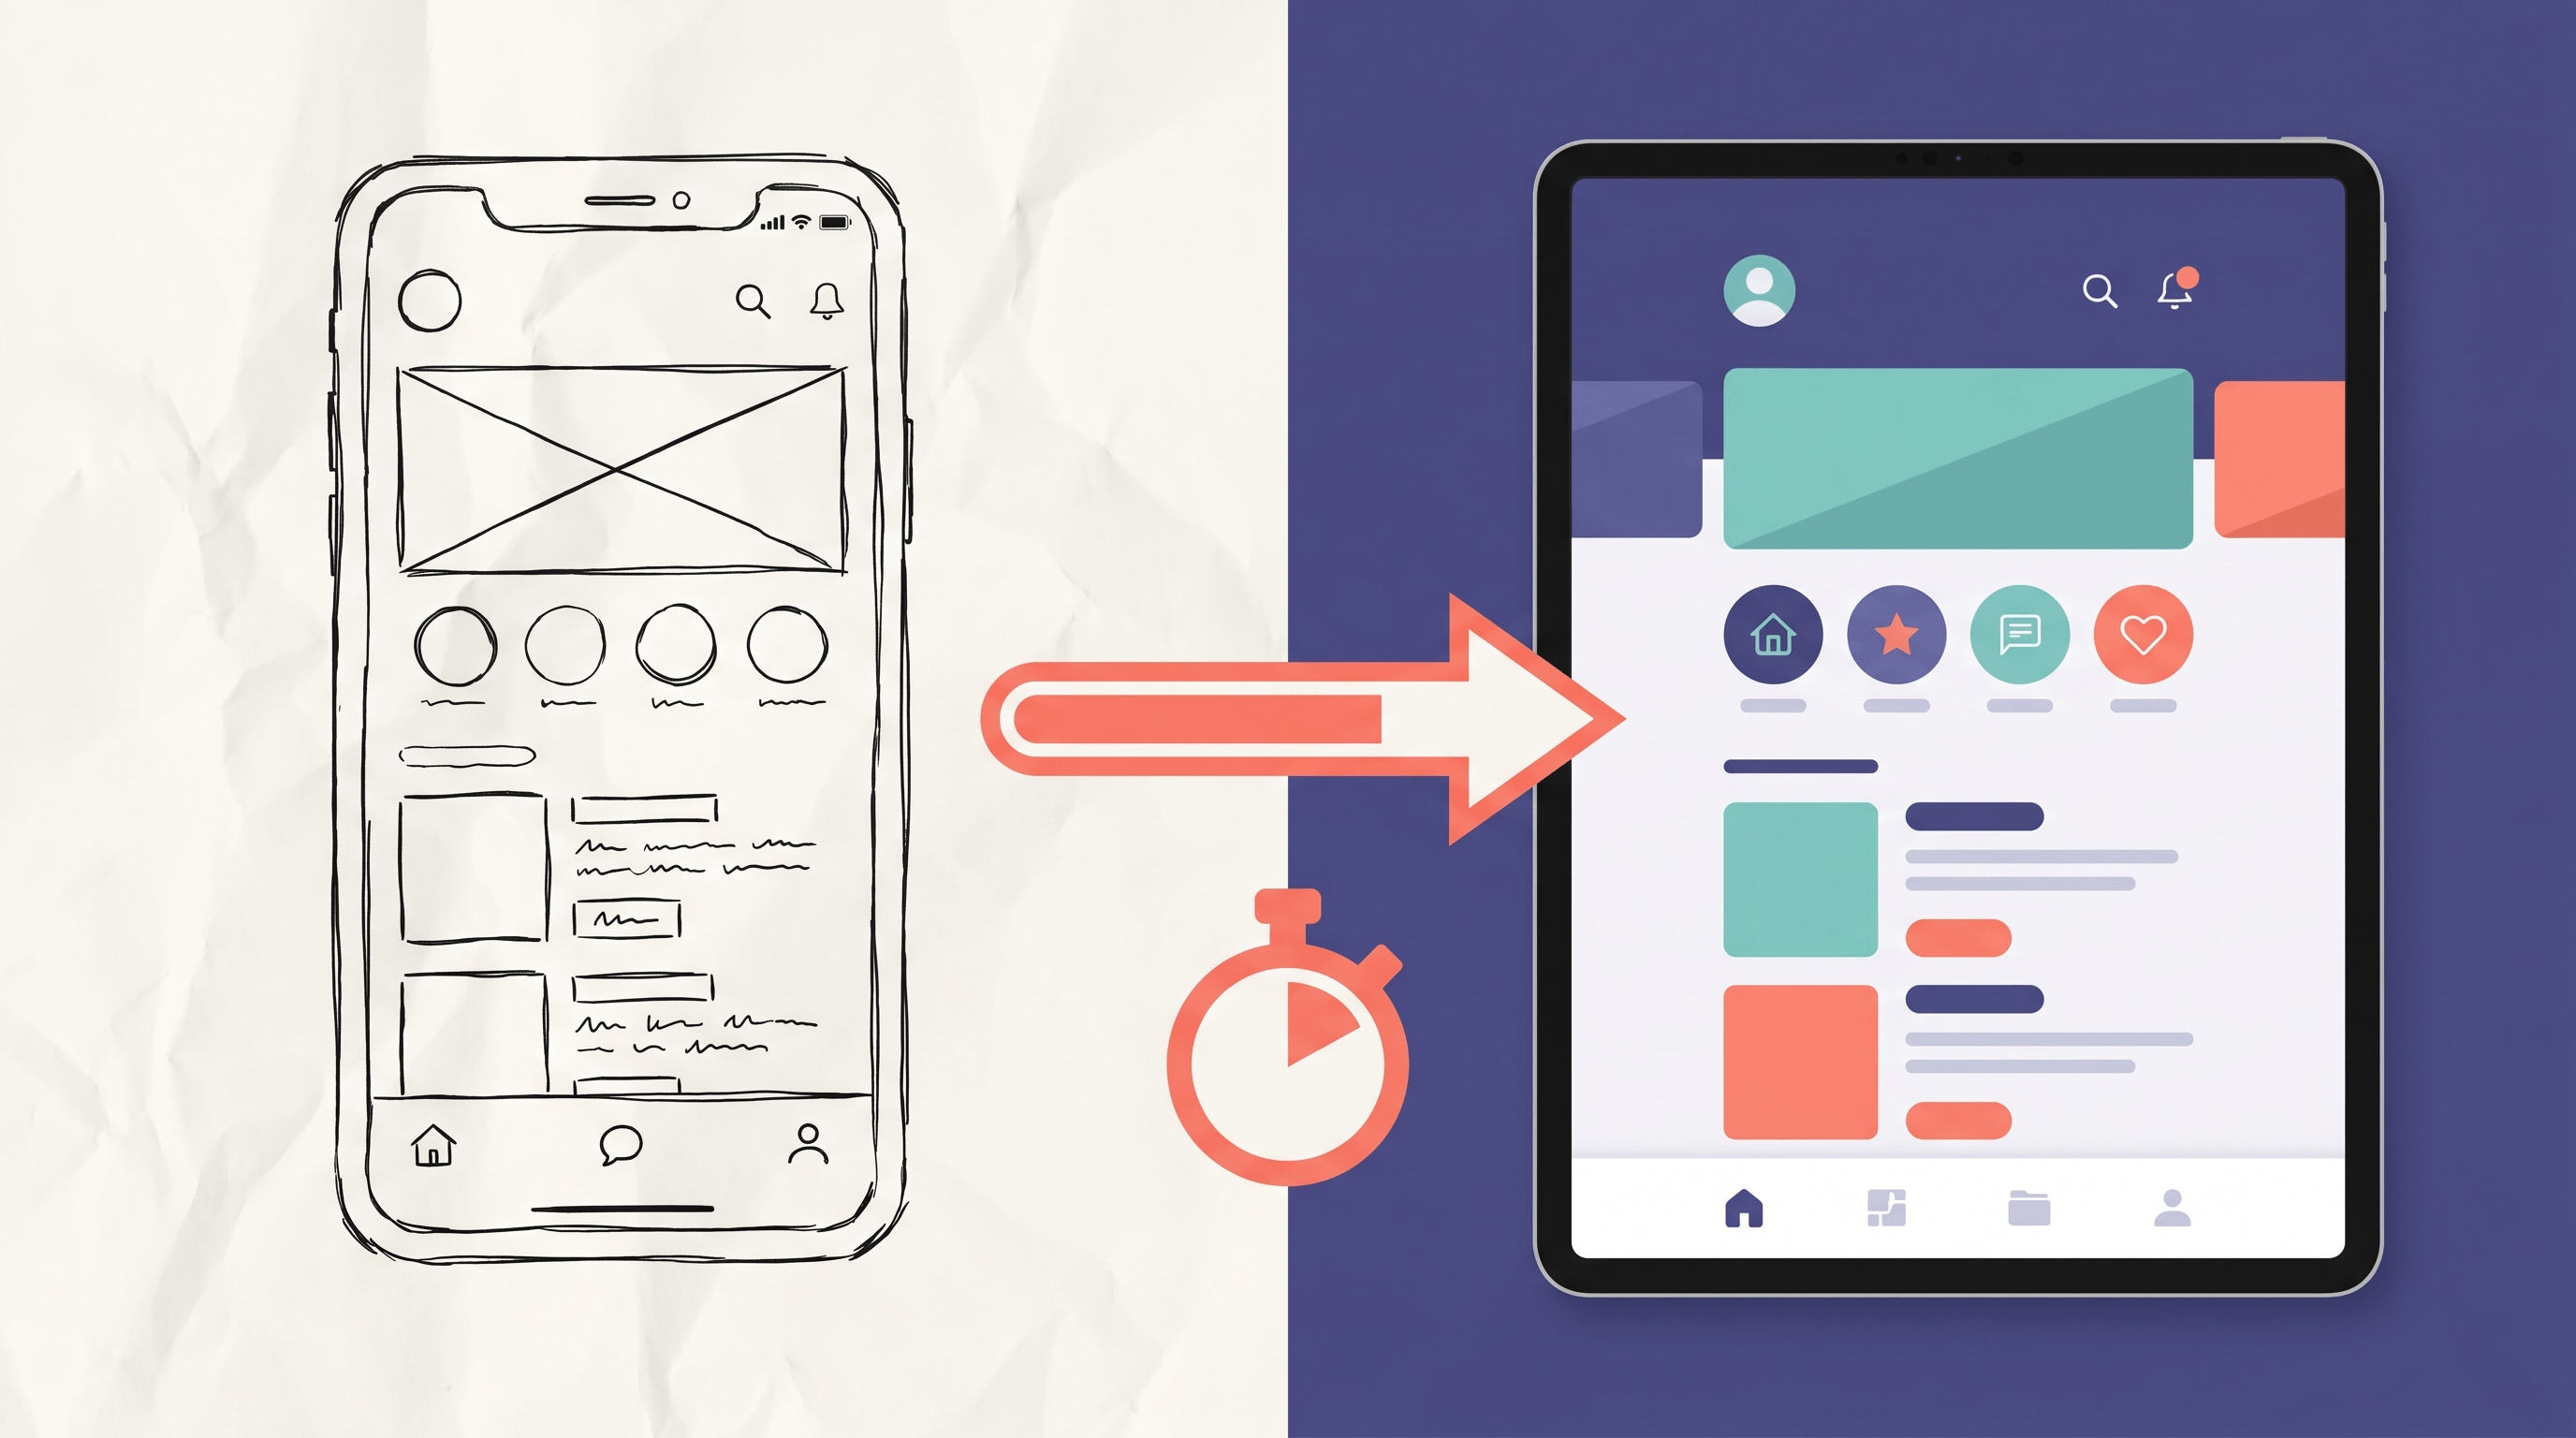
Step 4: Render the sketch into a real image
Photograph or scan your sketch and run it through a sketch to image AI to turn the rough draft into a finished visual. This is where the workflow stops being abstract — upload your drawing to Sketch To and pick the Professional Model; it renders a photo-realistic version in about 10 seconds, so you can see your idea instead of describing it. We use it to get a "real enough" comp in front of teammates before anyone opens a heavier tool. If the first render misses, adjust the sketch or the prompt and run it again — at a few seconds per pass, iterating is basically free.
Expected result: a polished image of your layout, generated from your own sketch, ready to react to.
Step 5: Refine and hand off to Figma
Take the rendered comp and the copy doc into Figma (or your design tool of choice) for the production pass — components, real assets, responsive rules, dev handoff. The AI steps got you to a strong starting point fast; Figma turns that point into a shippable, maintainable file. Don't try to force this stage upstream. Pixel-precise spacing and a design system are exactly what a canvas tool is for.
Expected result: a production-ready file built on a direction you validated in under an hour.
Where Figma Still Wins
Figma still wins anywhere the work is precise, collaborative, or systematic — and pretending otherwise is how teams waste a week. Claude and sketch-to-image are fast at exploring; Figma is unmatched at finishing. Treat them as different jobs.
| Stage | Best tool | Why |
|---|---|---|
| Brief & information architecture | Claude | Language-first, fast iteration |
| Copy & microcopy | Claude | Drafts and variants in seconds |
| First visual from a rough idea | Sketch to image AI | Renders a sketch in ~10 seconds |
| Components & design systems | Figma | Reusable, constraint-based, precise |
| Real-time team collaboration | Figma | Multiplayer canvas, comments, libraries |
| Developer handoff & specs | Figma | Inspect, tokens, measurements |
The mistake the Hacker News thread sometimes encourages is throwing Figma out entirely. We tried that for a sprint and regretted it: prototyping a multi-state flow, keeping 30 screens consistent, and handing measurements to engineering are still far faster on a real canvas. The win isn't replacing Figma — it's not starting in Figma, so you reach it with a validated direction instead of a blank artboard.
Pro Tips for a Faster Workflow
A few habits make this Claude design workflow noticeably faster and the output noticeably better.
- Give Claude a persona and constraints. "You're a product designer for a B2B SaaS; max 5 words per button" beats an open prompt every time. Constraints produce usable output.
- Keep your sketches loose. A messy sketch renders better than a careful one — the AI fills in detail, so over-drawing just slows you down and fights the model.
- Render variations, not just one image. Run the same sketch through the Standard and Professional models, or tweak the prompt, and compare. The cost of an extra pass is seconds.
- Save your best prompts. The brief prompt from Step 1 and the copy prompt from Step 2 are reusable templates. Keep them in a snippet file and you start every project ten minutes ahead.
- Match the model to the stakes. Use the Standard Model for quick internal drafts and the Professional Model when you need client- or production-grade realism.
FAQ
Is Claude a replacement for Figma?
No. Claude replaces the thinking and writing stage of design — briefs, structure, and copy — not the visual and production work. Figma remains the better tool for components, prototyping, team collaboration, and developer handoff. The fastest workflow uses Claude before Figma, not instead of it.
What does the sketch-to-image step actually do?
A sketch to image AI takes a rough hand drawing and renders it into a finished image. Instead of describing a layout in words, you draw it loosely and let the model produce a realistic version in seconds — useful for turning a Step 3 wireframe into something a team can react to before anyone builds it in a design tool.
Do I need to be able to draw to use this workflow?
No. The sketches are rough by design — boxes, arrows, and labels are enough. The AI model fills in the detail, so the point is communicating layout and intent, not artistic skill. If you can sketch a flowchart, you can sketch enough for this step.
How long does the full Claude design workflow take?
For a single screen or landing page, the whole loop runs in roughly an hour: about 20 minutes with Claude on brief and copy, 5 minutes sketching, a few seconds per render, and the rest in Figma for the production pass. The AI steps mostly compress the slow front end of the project.
Which Sketch To model should I use?
Use the Standard Model for fast internal drafts and quick iterations, and the Professional Model when you need photo-realistic, client-ready output. Most exploration happens on Standard; the final render before handoff is where the Professional Model pays off.
Conclusion
The Hacker News headline got the energy right and the framing wrong. You don't design with Claude instead of Figma — you design with Claude first, render your sketch into a real visual, then bring Figma in to finish. Claude owns the brief and the copy, a sketch to image AI turns your rough drawing into something real in seconds, and Figma does the precise, collaborative, systematic work it's always been best at. Stack them in that order and the slowest part of design — deciding what to make — stops being slow.
For a deeper head-to-head on the tools themselves, see our Claude Design vs Figma AI vs Canva AI review, and to get your sketch style right, the mood board sketch workflow guide.
Ready to turn your sketches into finished visuals? Try Sketch To free → — AI-powered sketch-to-image conversion in about 10 seconds, no design skills required.
Transform Your Images with AI
Turn sketches into stunning images, remove backgrounds, swap faces, and more — all powered by AI.
Try Sketch To FreeShare
Sketch To
Tech writer covering AI tools, image processing, and creative workflows.
Related Articles

Sketch to Image AI Layout Control: A How-To Guide
Learn why sketches give stronger layout control than text prompts. A step-by-step sketch-to-image AI workflow for design-ready images.

How to Turn Sketches into Realistic AI Avatars
Learn how to turn any hand-drawn sketch into a realistic AI avatar in under 5 minutes. Step-by-step guide with pro tips for stunning results.

How to Turn a Sketch into a Photo with Gemini 3.5 Flash
Step-by-step guide: turn sketches into photo-realistic images using Gemini 3.5 Flash (May 2026 release). Compare cost, speed, and fidelity vs Sketch To Professional.