
How to Turn a Selfie Into a Sketch Portrait
On this page
Share
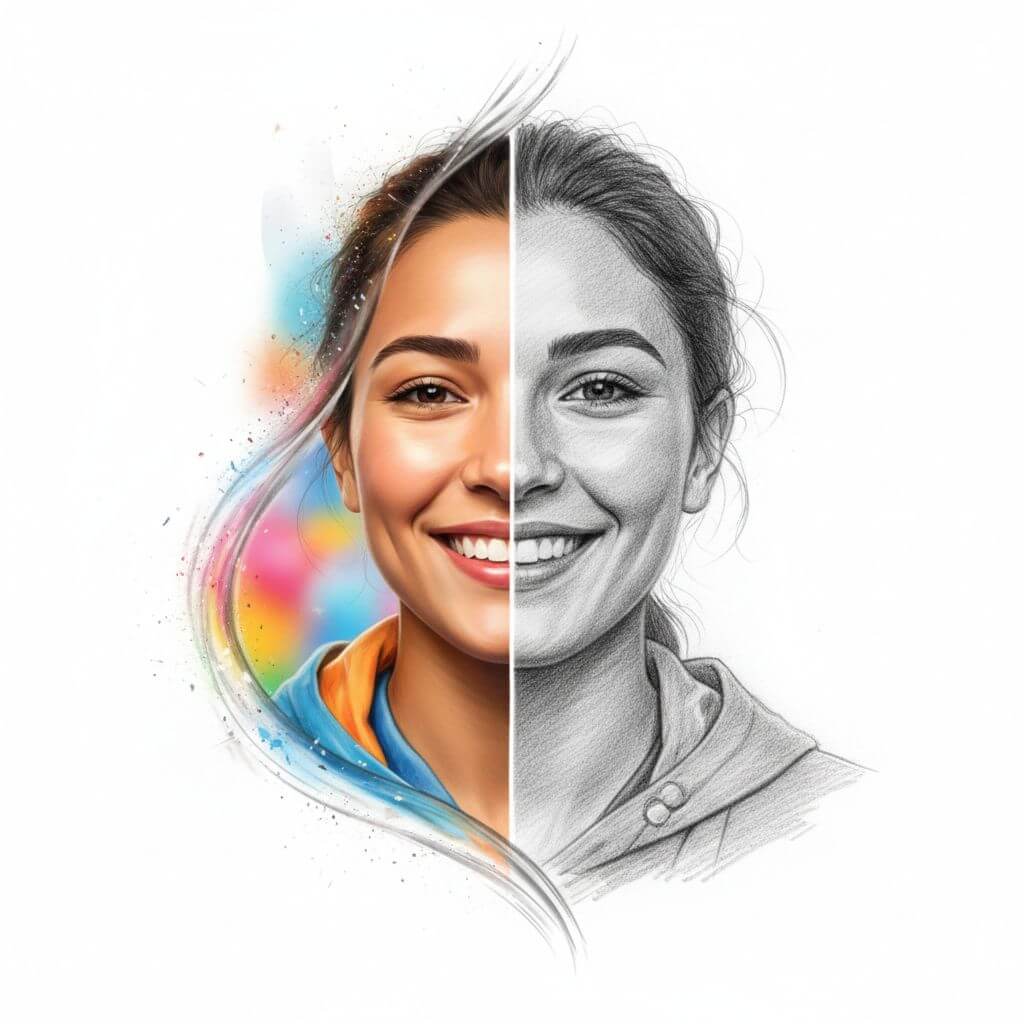
You have a selfie you really like — good lighting, nice angle, genuine expression. But plain photos can feel generic on social media or personal projects. A sketch portrait adds artistic character that makes people stop scrolling.
This guide walks you through several ways to convert your selfie into a pencil sketch, from quick AI tools to manual editing techniques. Whether you want a profile picture with personality or a creative gift, you will find a method that fits your skill level and time.
Why Turn a Selfie Into a Sketch?
Sketch portraits stand out. On platforms like Instagram and Pinterest, hand-drawn or sketch-style images get noticeably more engagement than standard photos. The artistic filter creates visual interest that makes people pause.
There are practical reasons too. Artists and illustrators often need reference sketches from photos. A selfie-to-sketch conversion gives you a starting point without drawing from scratch. Designers use sketch portraits for brand materials, book illustrations, and editorial layouts where a photo feels too literal but a full illustration takes too long.
The technique also solves a common problem: you want to share a self-portrait but feel uncomfortable posting a straight photo. A sketch version keeps your likeness while adding enough artistic distance to feel more comfortable.
Step-by-Step Guide
Step 1: Choose the Right Selfie
Not every photo converts well to a sketch. Look for these qualities:
- Clear facial features: The camera should capture your eyes, nose, and mouth without heavy shadows obscuring them
- Good contrast: A mix of light and dark areas gives the sketch depth
- Simple background: Busy backgrounds confuse conversion tools and distract from the portrait
- Decent resolution: Low-resolution selfies produce blurry, unclear sketches
A front-facing selfie with even lighting and a plain wall behind you works best. Avoid heavy filters — the conversion works better on unedited photos.
Expected result: You have one clear, well-lit selfie ready for conversion.
Step 2: Pick Your Conversion Method
You have three main options, each with different trade-offs:
AI conversion tools — Fastest option, works in seconds, results range from decent to impressive depending on the tool. Good for most people.
Photo editing software — Photoshop, GIMP, and similar programs offer sketch filters you control manually. More effort but more customization.
Mobile apps — Convenient for quick results on your phone, though quality varies widely between apps.
For this guide, we will focus on the AI tool method since it delivers the best balance of quality and speed.
Expected result: You know which approach suits your needs and have your tool ready.
Step 3: Upload and Convert With an AI Tool
For AI conversion, you can use Sketch To or similar tools that handle image-to-sketch transformations. Here is the general process:
- Open the tool in your browser
- Find the image-to-sketch conversion feature
- Upload your chosen selfie
- Select a sketch style if options are available (pencil, charcoal, line drawing)
- Run the conversion
- Wait for the result — usually takes 10 to 30 seconds
Some tools offer different models. Standard models handle everyday needs well, while professional models produce finer detail and more realistic pencil textures for commercial work.
Expected result: You receive a sketch-style portrait generated from your selfie.
Step 4: Adjust the Result
Raw conversions rarely look perfect immediately. Make these common adjustments:
Brightness and contrast — Increase contrast slightly to make pencil strokes more defined. Darken shadows to add depth.
Crop and framing — Tighten the crop around your face and shoulders. Sketch portraits usually look better with less background clutter.
Sharpness — A slight sharpness boost makes individual pencil marks more visible and gives a more hand-drawn feel.
Most tools let you tweak these settings before downloading. If not, bring the image into any basic photo editor for quick adjustments.
Expected result: A refined sketch portrait that looks intentional rather than auto-generated.
Step 5: Add Final Touches (Optional)
If you want to push the result further:
- Convert to black and white if the tool produced a color sketch and you want a classic pencil look
- Add a paper texture overlay using a free texture image set to low opacity — this makes the digital sketch feel more like a real drawing on paper
- Apply a vignette to darken the edges and draw attention to the center of the portrait
- Print it on textured paper for a physical copy that looks genuinely hand-drawn
These touches take an extra five minutes but raise the quality significantly.
Expected result: A polished sketch portrait ready to share, print, or use in your project.
Pro Tips for Better Results
Use natural lighting in your source photo. Selfies taken near a window with soft daylight convert better than flash-lit photos. The gentle shadows give the sketch tool more tonal information to work with.
Remove the background first. A clean background makes the sketch conversion focus on your face rather than trying to render objects behind you. Many AI sketch tools include background removal features.
Try multiple tools on the same photo. Different algorithms produce different sketch styles. Run your selfie through two or three tools and pick the result that matches the look you want.
Start with a high-resolution image. A 12-megapixel selfie produces a sharper, more detailed sketch than a cropped, low-res shot. If your phone has a portrait mode, use it — the depth data helps conversion tools separate you from the background.
Match the sketch style to your purpose. Clean line drawings work well for logos and avatars. Rough pencil sketches suit artistic projects. Charcoal-style conversions fit dramatic, moody contexts.
FAQ
How long does it take to convert a selfie to a sketch?
Most AI tools process a single image in under 30 seconds. Manual methods in Photoshop take 5 to 10 minutes per photo. The entire process — selecting a photo, converting, adjusting, and saving — usually takes 2 to 5 minutes with an AI tool.
Do I need artistic skills to make a sketch from my selfie?
No. AI conversion tools handle the artistic interpretation automatically. You just need to pick a good source photo and make minor adjustments. The tools are designed for people with no drawing experience.
Can I use a sketch portrait for commercial projects?
Yes, as long as you have the rights to the original selfie and the conversion tool permits commercial use. Check the terms of the specific tool you use. Some tools produce higher-quality results suitable for commercial work, especially those with professional-grade models.
What is the best photo resolution for a sketch conversion?
A resolution of at least 1000 by 1000 pixels works well for most purposes. For prints or large-format use, start with the highest resolution your camera allows. Higher resolution gives the sketch tool more detail to interpret, producing cleaner lines and more accurate shading.
Will the sketch look exactly like me?
A good conversion preserves your key features — face shape, expression, and proportions. Sketches simplify details by nature, so some fine features soften. The likeness stays recognizable, but the result looks like a drawing of you rather than a photo filter.
Conclusion
Turning a selfie into a sketch portrait takes just a few minutes with the right approach. Start with a clear, well-lit photo. Run it through an AI conversion tool for the fastest results. Adjust contrast, framing, and sharpness to refine the output. Add texture or print on paper for a genuinely hand-drawn feel.
The process works for social media profile pictures, creative gifts, design projects, and anytime you want your portrait to stand out from the flood of regular photos.
Pick a selfie, try one of the tools mentioned above, and see how your photo looks as a sketch. The results might surprise you.
Transform Your Images with AI
Turn sketches into stunning images, remove backgrounds, swap faces, and more — all powered by AI.
Try Sketch To FreeShare
SketchTo
Tech writer covering AI tools, image processing, and creative workflows.
Related Articles

Knitted Doll AI Prompt: 7 Templates That Work
Use this knitted doll AI prompt guide to turn photos or sketches into cozy yarn dolls. Includes 7 templates, material words, and fixes.

AI Visual Reference for Landing Page Design
Use an AI visual reference for landing page design to turn rough sketches into clearer prompts, fewer retries, and stronger drafts.

Claude Design Workflow: Pair It With Sketch-to-Image AI
Build a faster Claude design workflow: use Claude for ideation and copy, Sketch To to render sketches into images, and Figma where it still wins.