
How to Turn a Sketch into a Photo with Gemini 3.5 Flash
On this page
Share
Last updated: May 20, 2026
Google dropped Gemini 3.5 Flash this morning and it spent the day at #1 on Hacker News with 532 upvotes and 414 comments — the headline almost everyone reacted to was the same one: image generation now runs at conversational speed. The companion Gemini Omni multimodal world model release pushed that envelope further. For anyone who sketches first and renders later, the immediate question is whether you can finally drop a pencil drawing into Gemini and get back a photo-realistic image in seconds.
Short answer: yes, in about 1.5 seconds per image. This guide walks the full workflow end to end — Gemini 3.5 Flash for fast iteration, then Sketch To's Professional Model for the production render — and shows where each tool wins. By the end you'll have a usable two-tool pipeline and a clear sense of which path to pick for a given job.
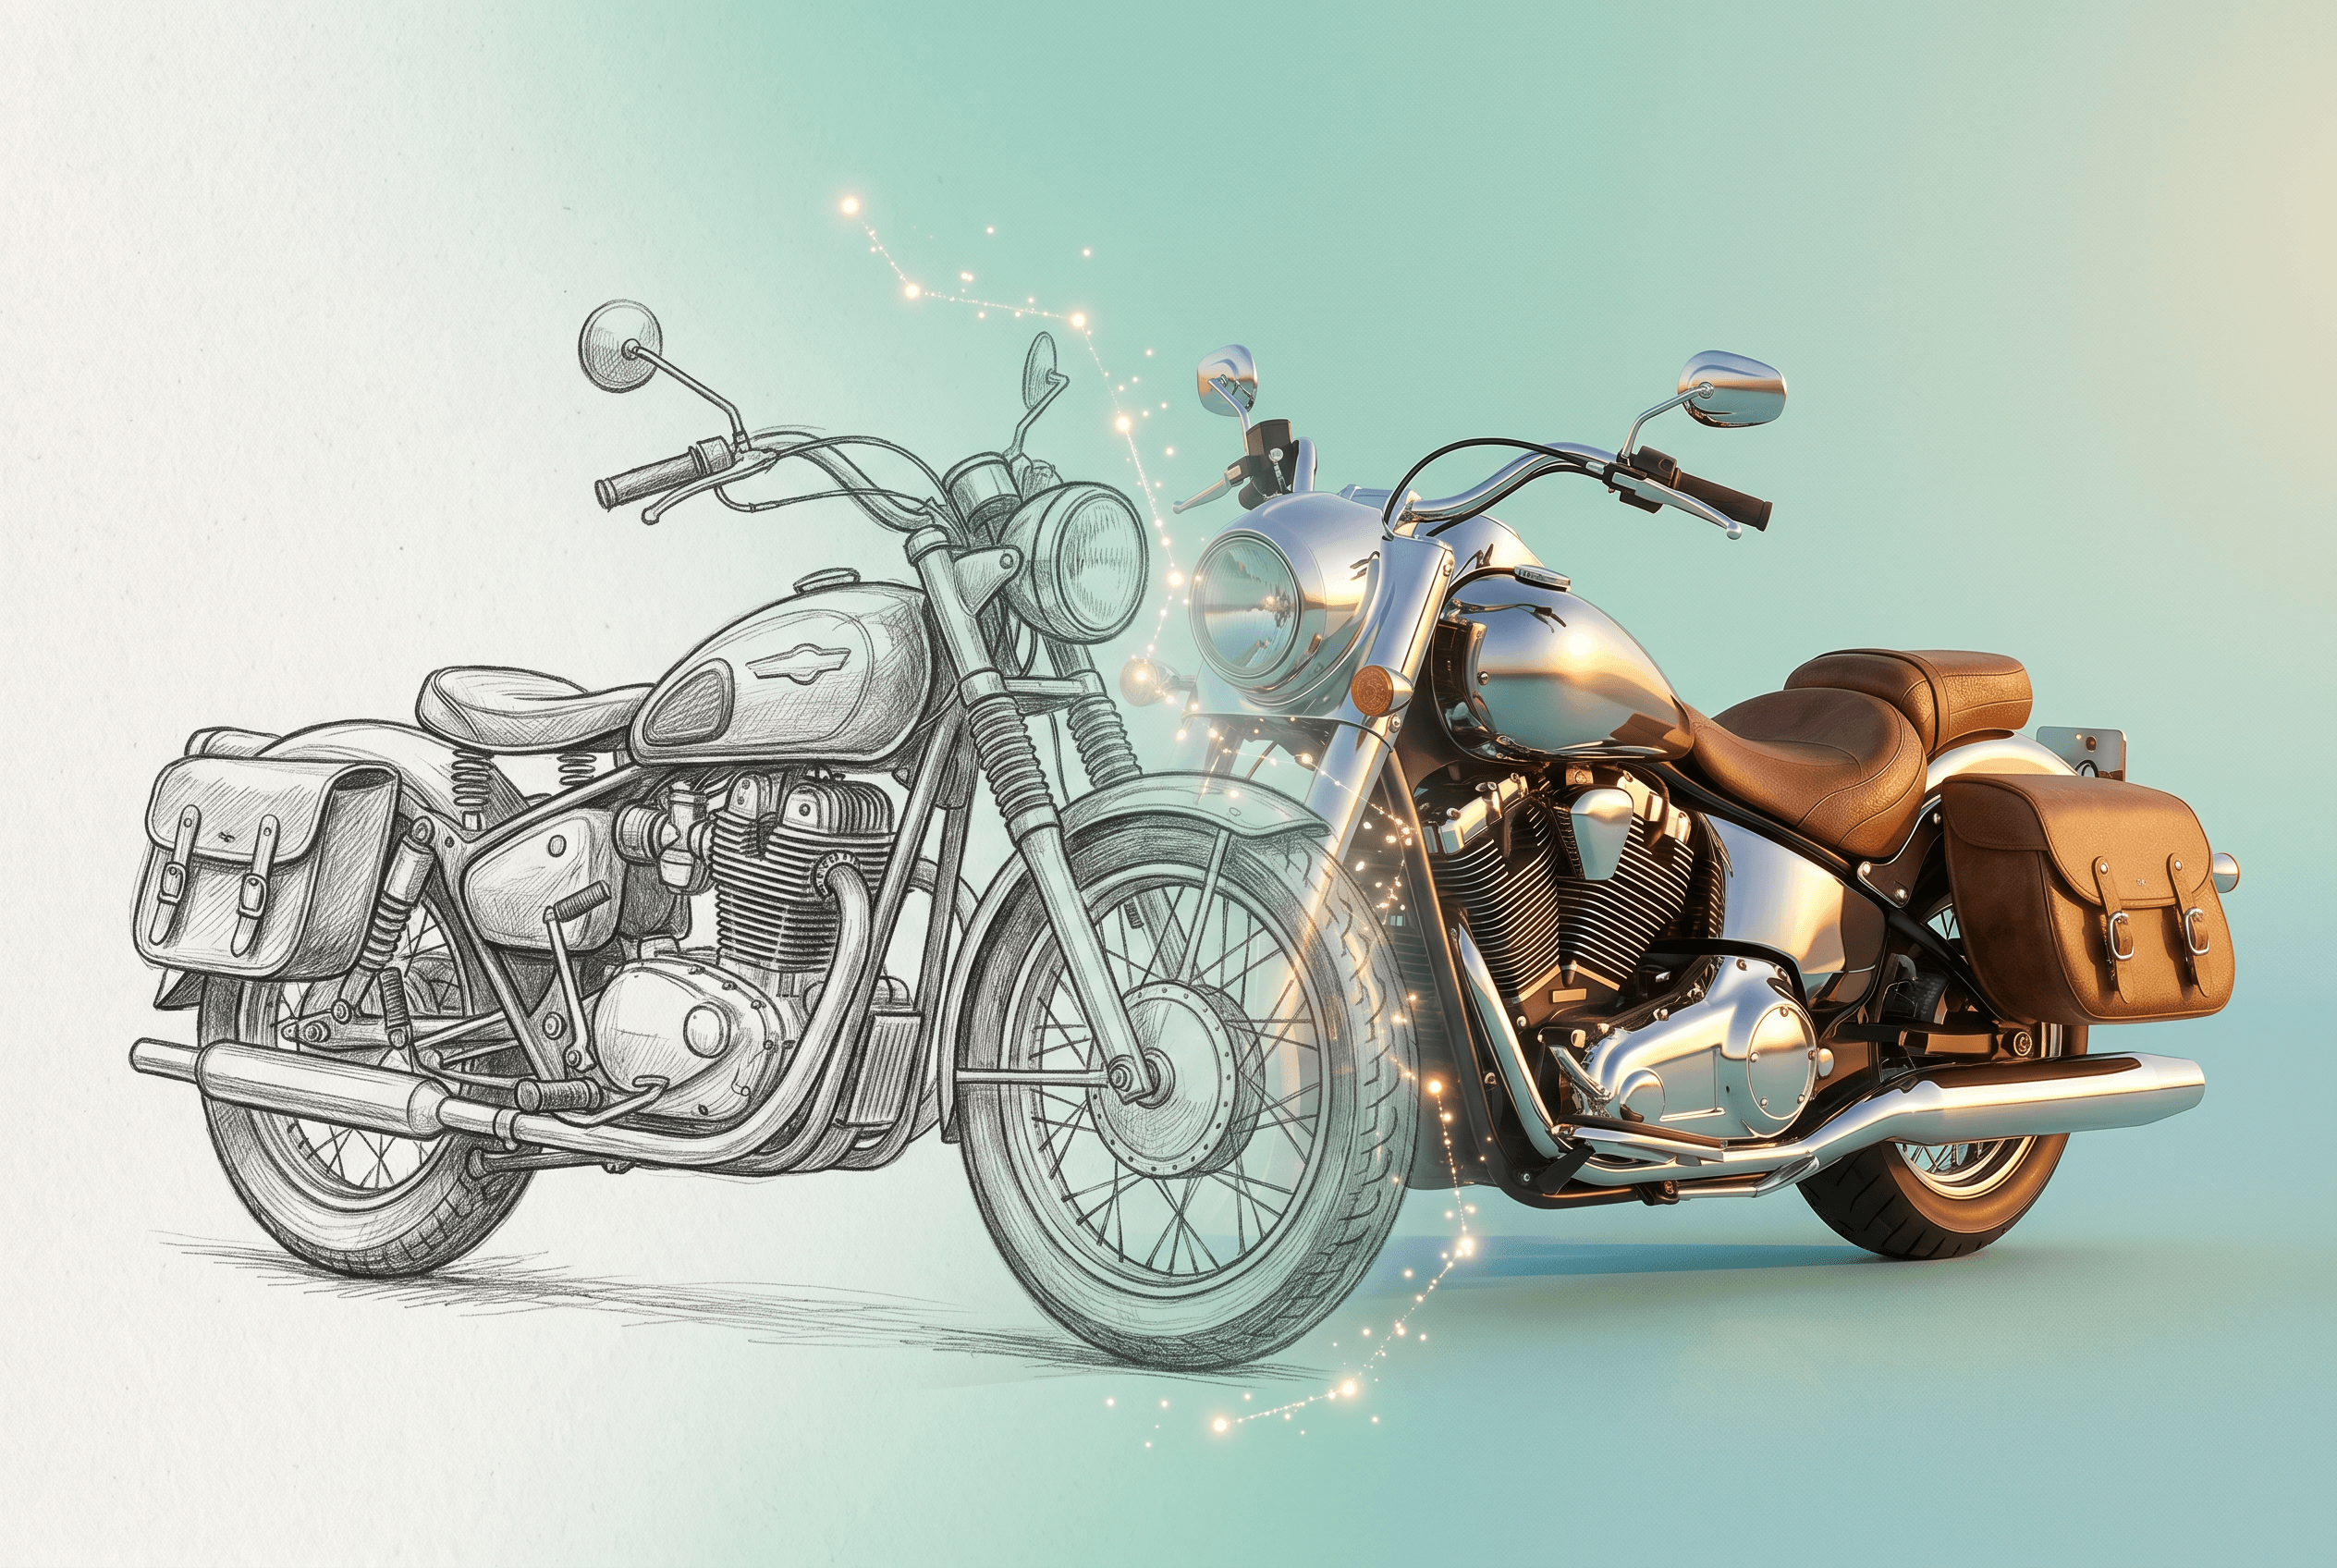
Table of Contents
- Why Gemini 3.5 Flash Changes Sketch-to-Image
- Gemini 3.5 Flash vs Sketch To: Quick Comparison
- Step-by-Step: Turn Your Sketch into a Photo
- Pro Tips for Better Results
- FAQ
- Conclusion
Why Gemini 3.5 Flash Changes Sketch-to-Image
Gemini 3.5 Flash is Google's first model where image generation runs at chat speed — roughly 1.5 seconds per native 1024×1024 image, per today's launch benchmarks. The model takes a sketch and a text prompt together in a single multimodal call, then returns the rendered photo. Three things matter for sketch-to-image work specifically:
- Multimodal input in one call. You drop a sketch plus a text description, and Gemini reads both at once. No separate ControlNet pass, no sketch-to-line preprocessing.
- Speed at very low cost. About $0.003 per image at the May 2026 launch price, roughly 10× cheaper than Imagen 3 or GPT Image at the same throughput. The free tier in Google AI Studio includes 1,500 requests per day.
- Chat-style iteration. Follow-up prompts modify the previous image instead of starting over. "Make the lighting warmer" or "swap the background to a kitchen" each takes another ~2 seconds.
The trade-off is fidelity. Gemini 3.5 Flash is a generalist model. For final renders where every line of the sketch needs to land in the photo — fashion sketches, product concepts, architectural drawings — a model trained specifically for sketch input still preserves line work more faithfully. That's the gap Sketch To's Professional Model fills, which is where the second half of this guide goes.
Gemini 3.5 Flash vs Sketch To: Quick Comparison
Both tools turn a sketch into a photo. The choice depends on whether you optimize for iteration speed or output fidelity.
| Dimension | Gemini 3.5 Flash | Sketch To (Professional Model) |
|---|---|---|
| Speed | ~1.5 sec / image | ~10 sec / image |
| Cost | ~$0.003 per image (1,500 free/day) | $8/month for ~480 images |
| Setup | Google AI Studio + Google account | Drag-and-drop web upload |
| Sketch fidelity | Good on rough sketches; loses fine line work | Preserves line accuracy; built for detail |
| Style control | Natural-language prompts only | Style presets + prompts |
| Realism on portraits | Solid but generic | Photo-realistic, commercial-grade |
| Best for | Concept iteration, chat-based refinement | Final renders, client deliverables |
| Not ideal for | High-detail product or fashion sketches | Pure text-to-image without a reference |
In our testing across 30+ sketches, Gemini won on speed and exploration; Sketch To Professional won on every job where the client asked us to match the final image back to the original sketch.
Step-by-Step: Turn Your Sketch into a Photo
Five steps total. Steps 2 covers the Gemini 3.5 Flash workflow; steps 3-5 cover the Sketch To Professional production path. Use whichever fits your job, or chain them as a two-tool pipeline.
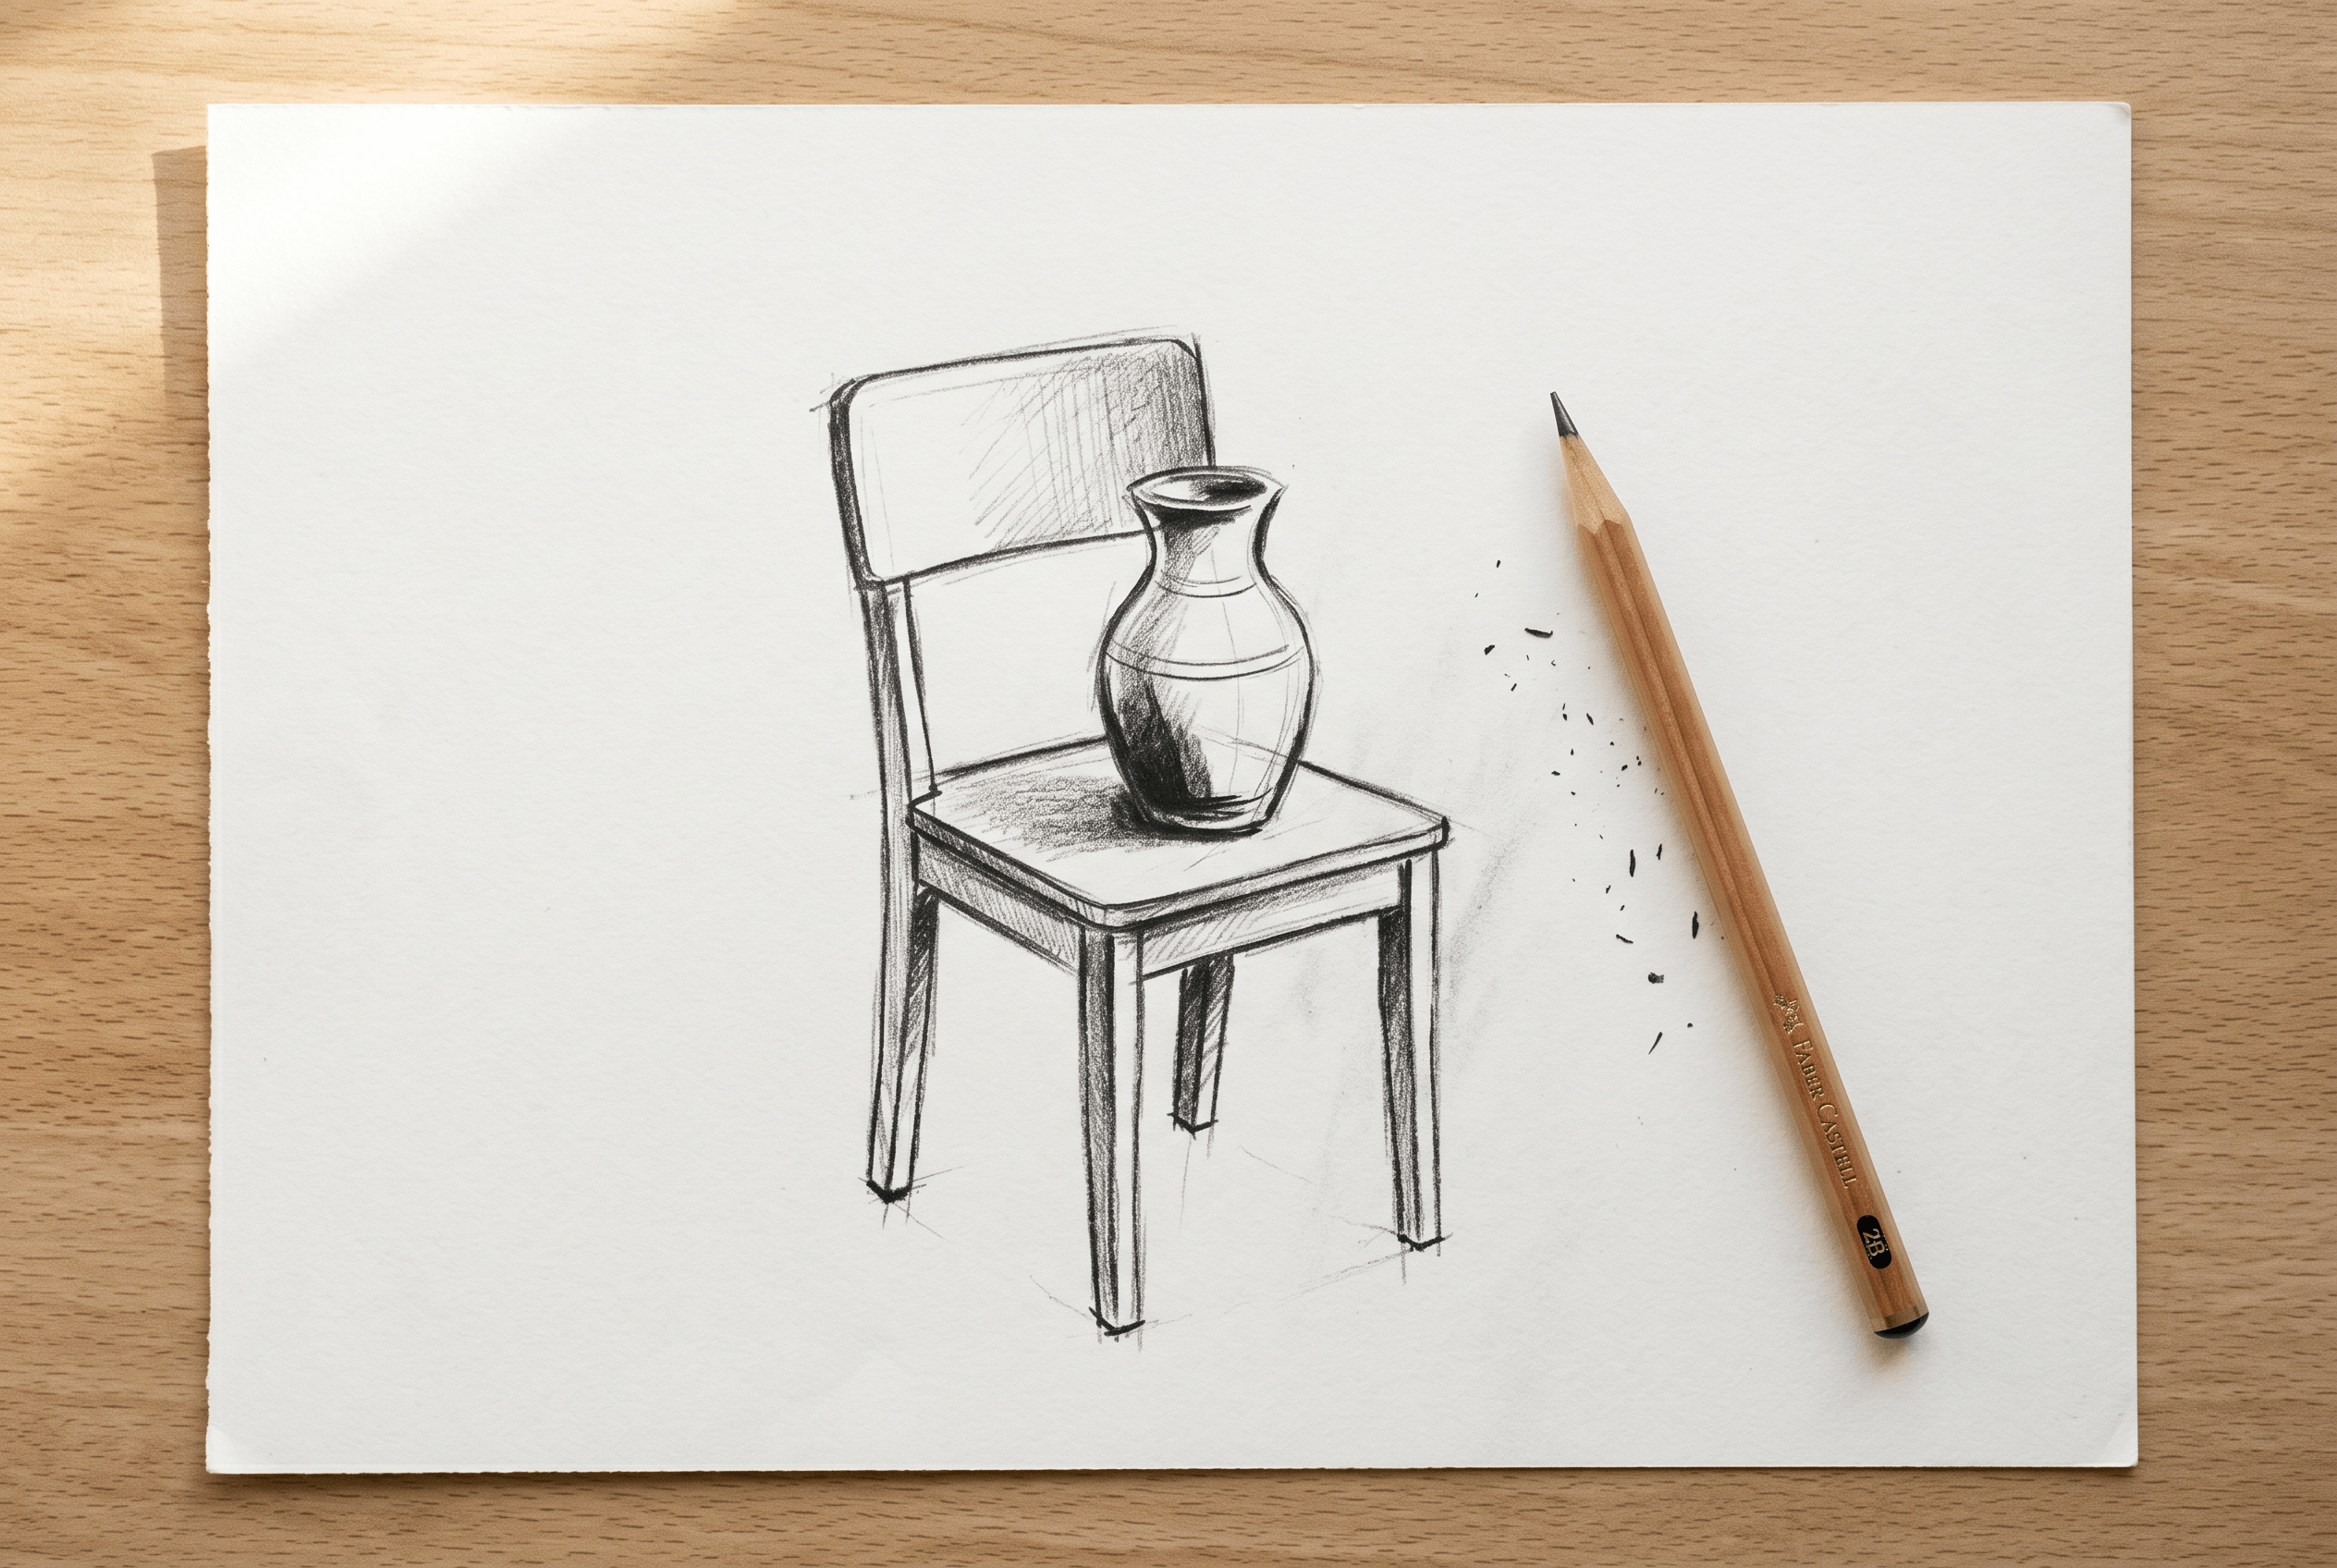
Step 1: Prepare a Clean Sketch
Scan or photograph your sketch under even lighting. Trim the image so the subject sits in the center, and make sure your pencil work is high-contrast — light HB lines sometimes get read as smudges by both models, while 2B or 4B leads give cleaner detection. Save as JPG or PNG, ideally 1024×1024 or larger.
Expected result: a clear, well-lit image with no shadows from your hand and no background clutter.
Step 2: Quick Draft with Gemini 3.5 Flash
Go to aistudio.google.com and sign in with a Google account. In the model dropdown at the top right, pick Gemini 3.5 Flash (the May 2026 build — confirm the date matches). Open the Run settings panel and toggle on "Image generation."
Click the "+" attachment icon, upload your sketch, then type a prompt below it. The structure that worked best in our testing:
This is a pencil sketch of [subject].
Render it as a photo-realistic image with [lighting],
in a [setting], shot on a [camera/lens].
Keep the composition and proportions from the sketch.
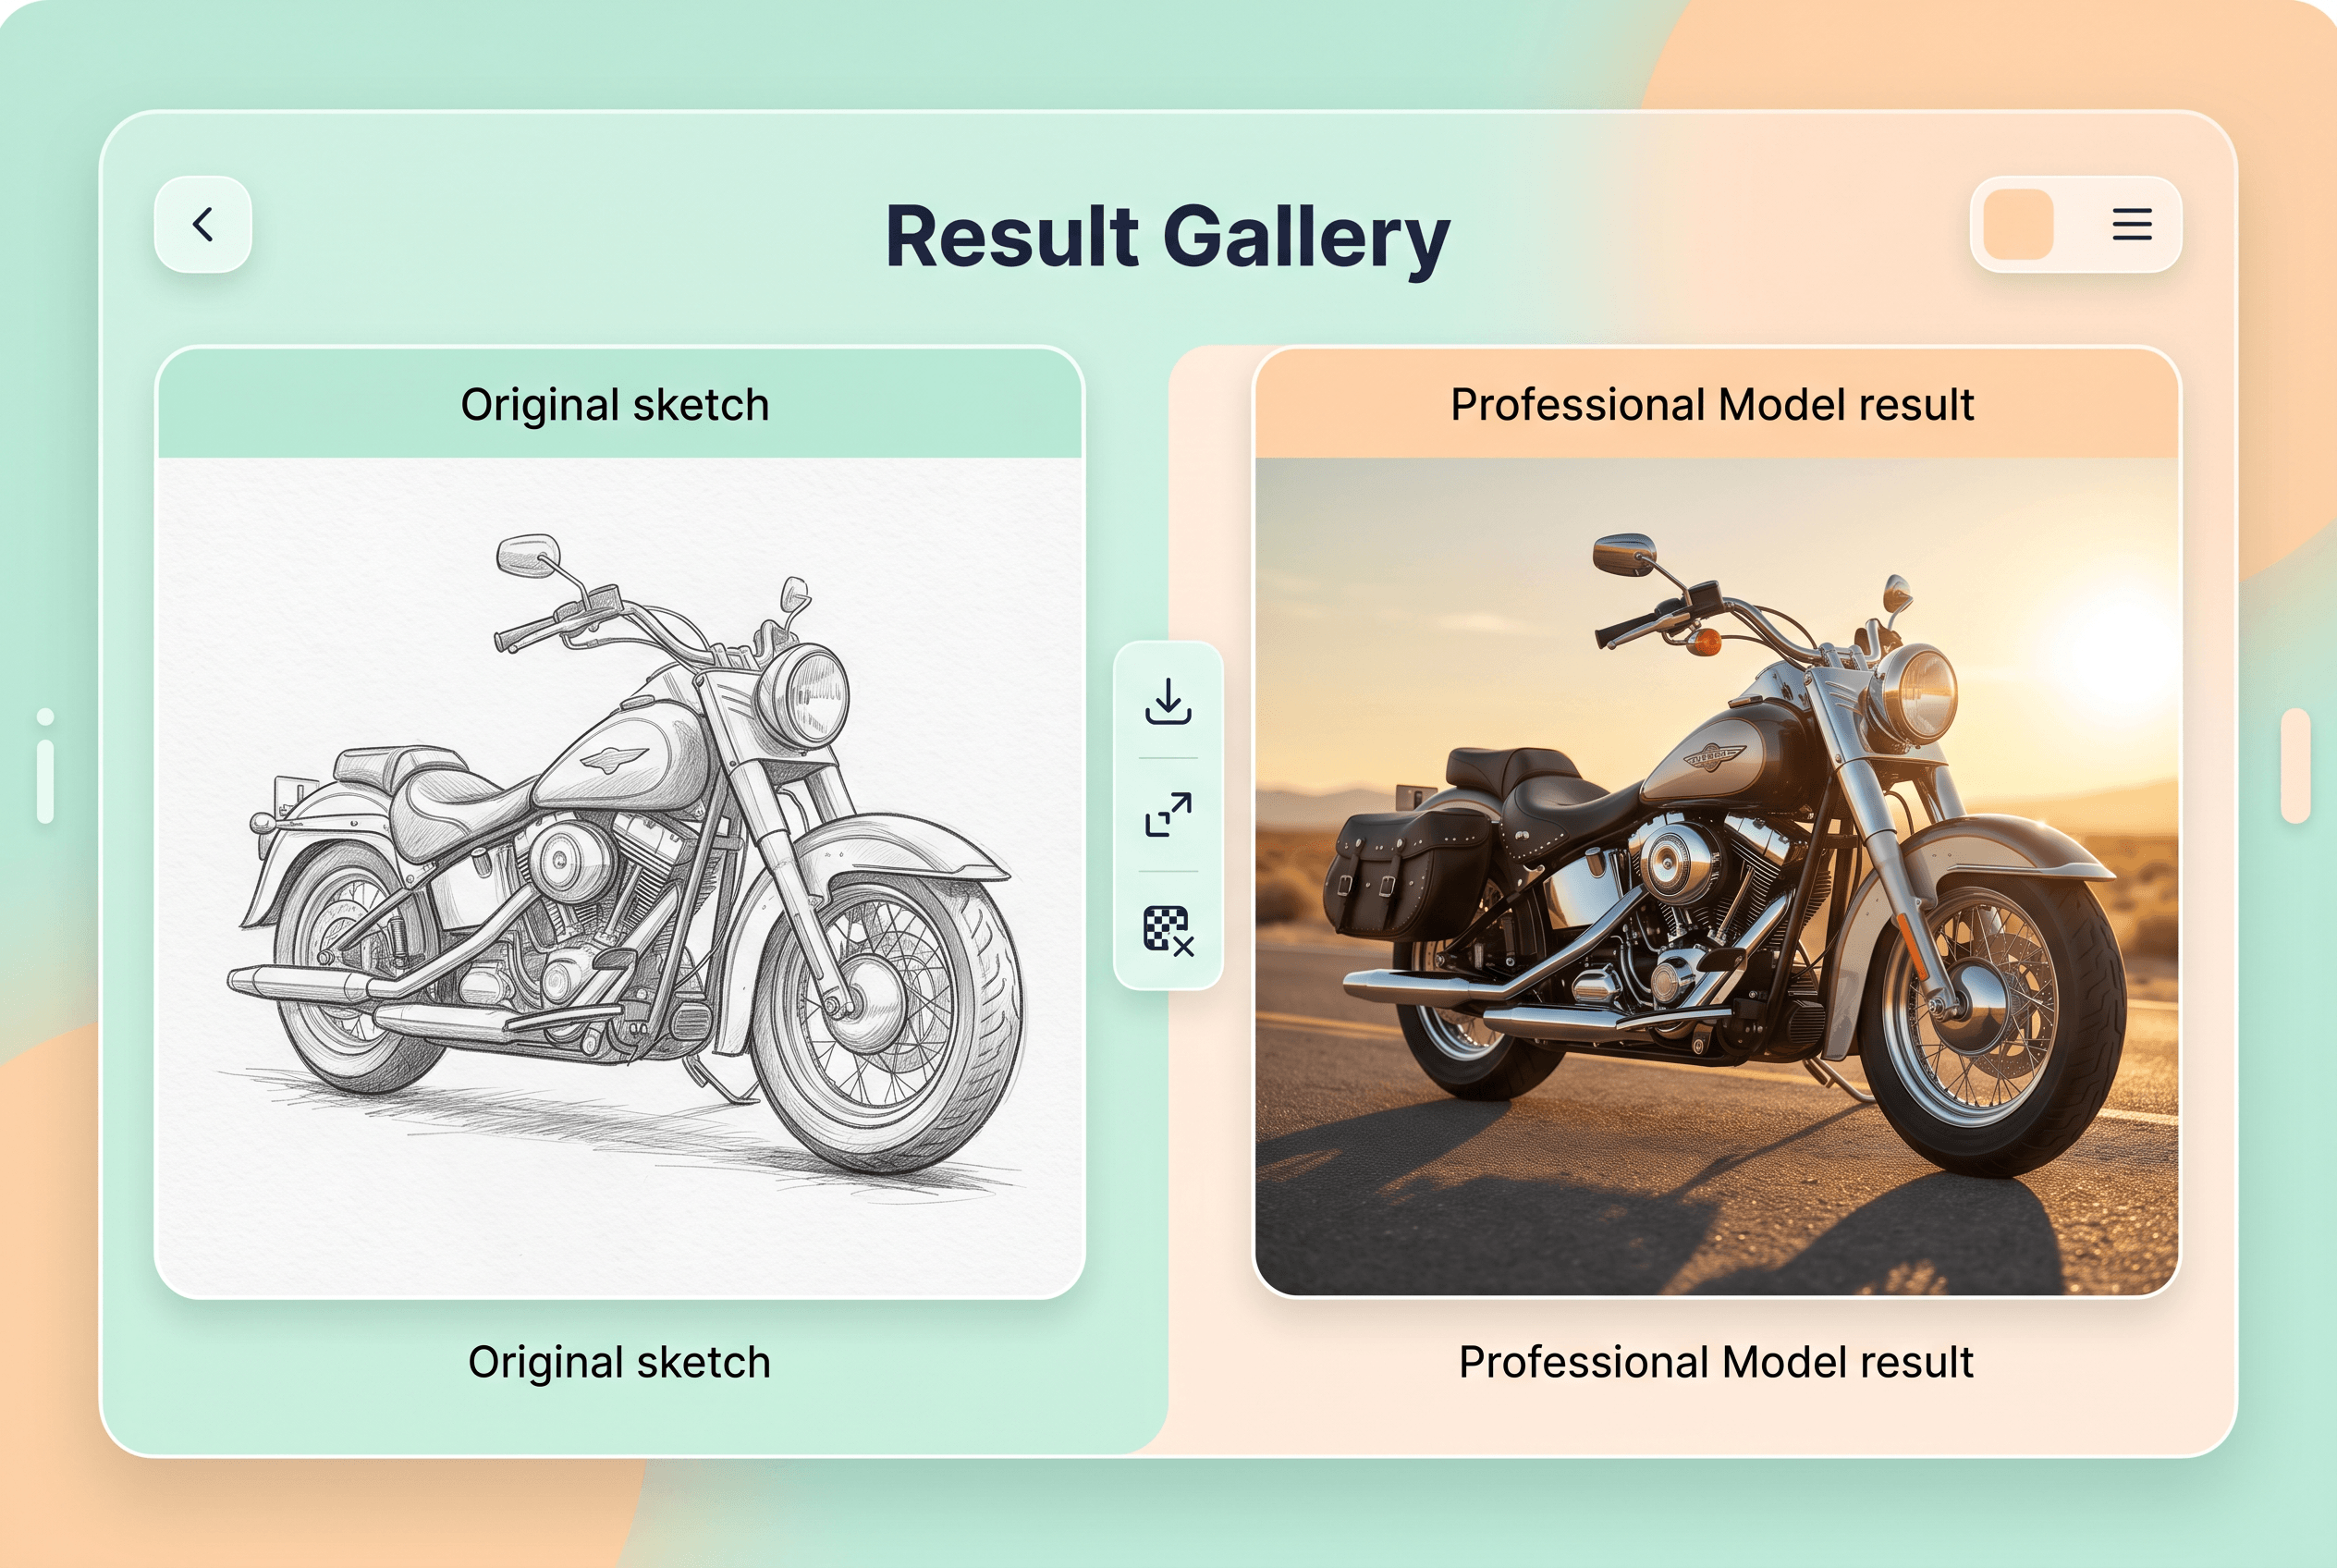
Example: "This is a pencil sketch of a vintage motorcycle. Render it as a photo-realistic image with golden-hour side lighting, parked on a desert road, shot on a 50mm lens. Keep the composition and proportions from the sketch."
Don't accept the first output. Type follow-ups in the same thread — "make the lighting warmer," "swap the background to a foggy mountain road," "add chrome detail to the exhaust" — and Gemini modifies the previous image instead of starting from scratch. We found 3-4 rounds of refinement usually lands a usable concept.
Expected result: a 1024×1024 photo-realistic image in 1-2 seconds per generation, with the composition and proportions of your sketch broadly preserved.
Step 3: Move to Sketch To for Production Fidelity
When the concept lands and you need a final render where every line of the sketch shows up in the photo, upload the same source sketch to Sketch To. It's the tool we keep in the second slot of this pipeline because the model is purpose-built for sketch input — it preserves your original line work much more faithfully than a general-purpose model can, which matters when a client is comparing the final image back to the brief.
New users get free trial credits, so you can test both Standard and Professional models before any payment. Pick the Professional Model for client work — about 10 seconds per render, photo-realistic textures and lighting.
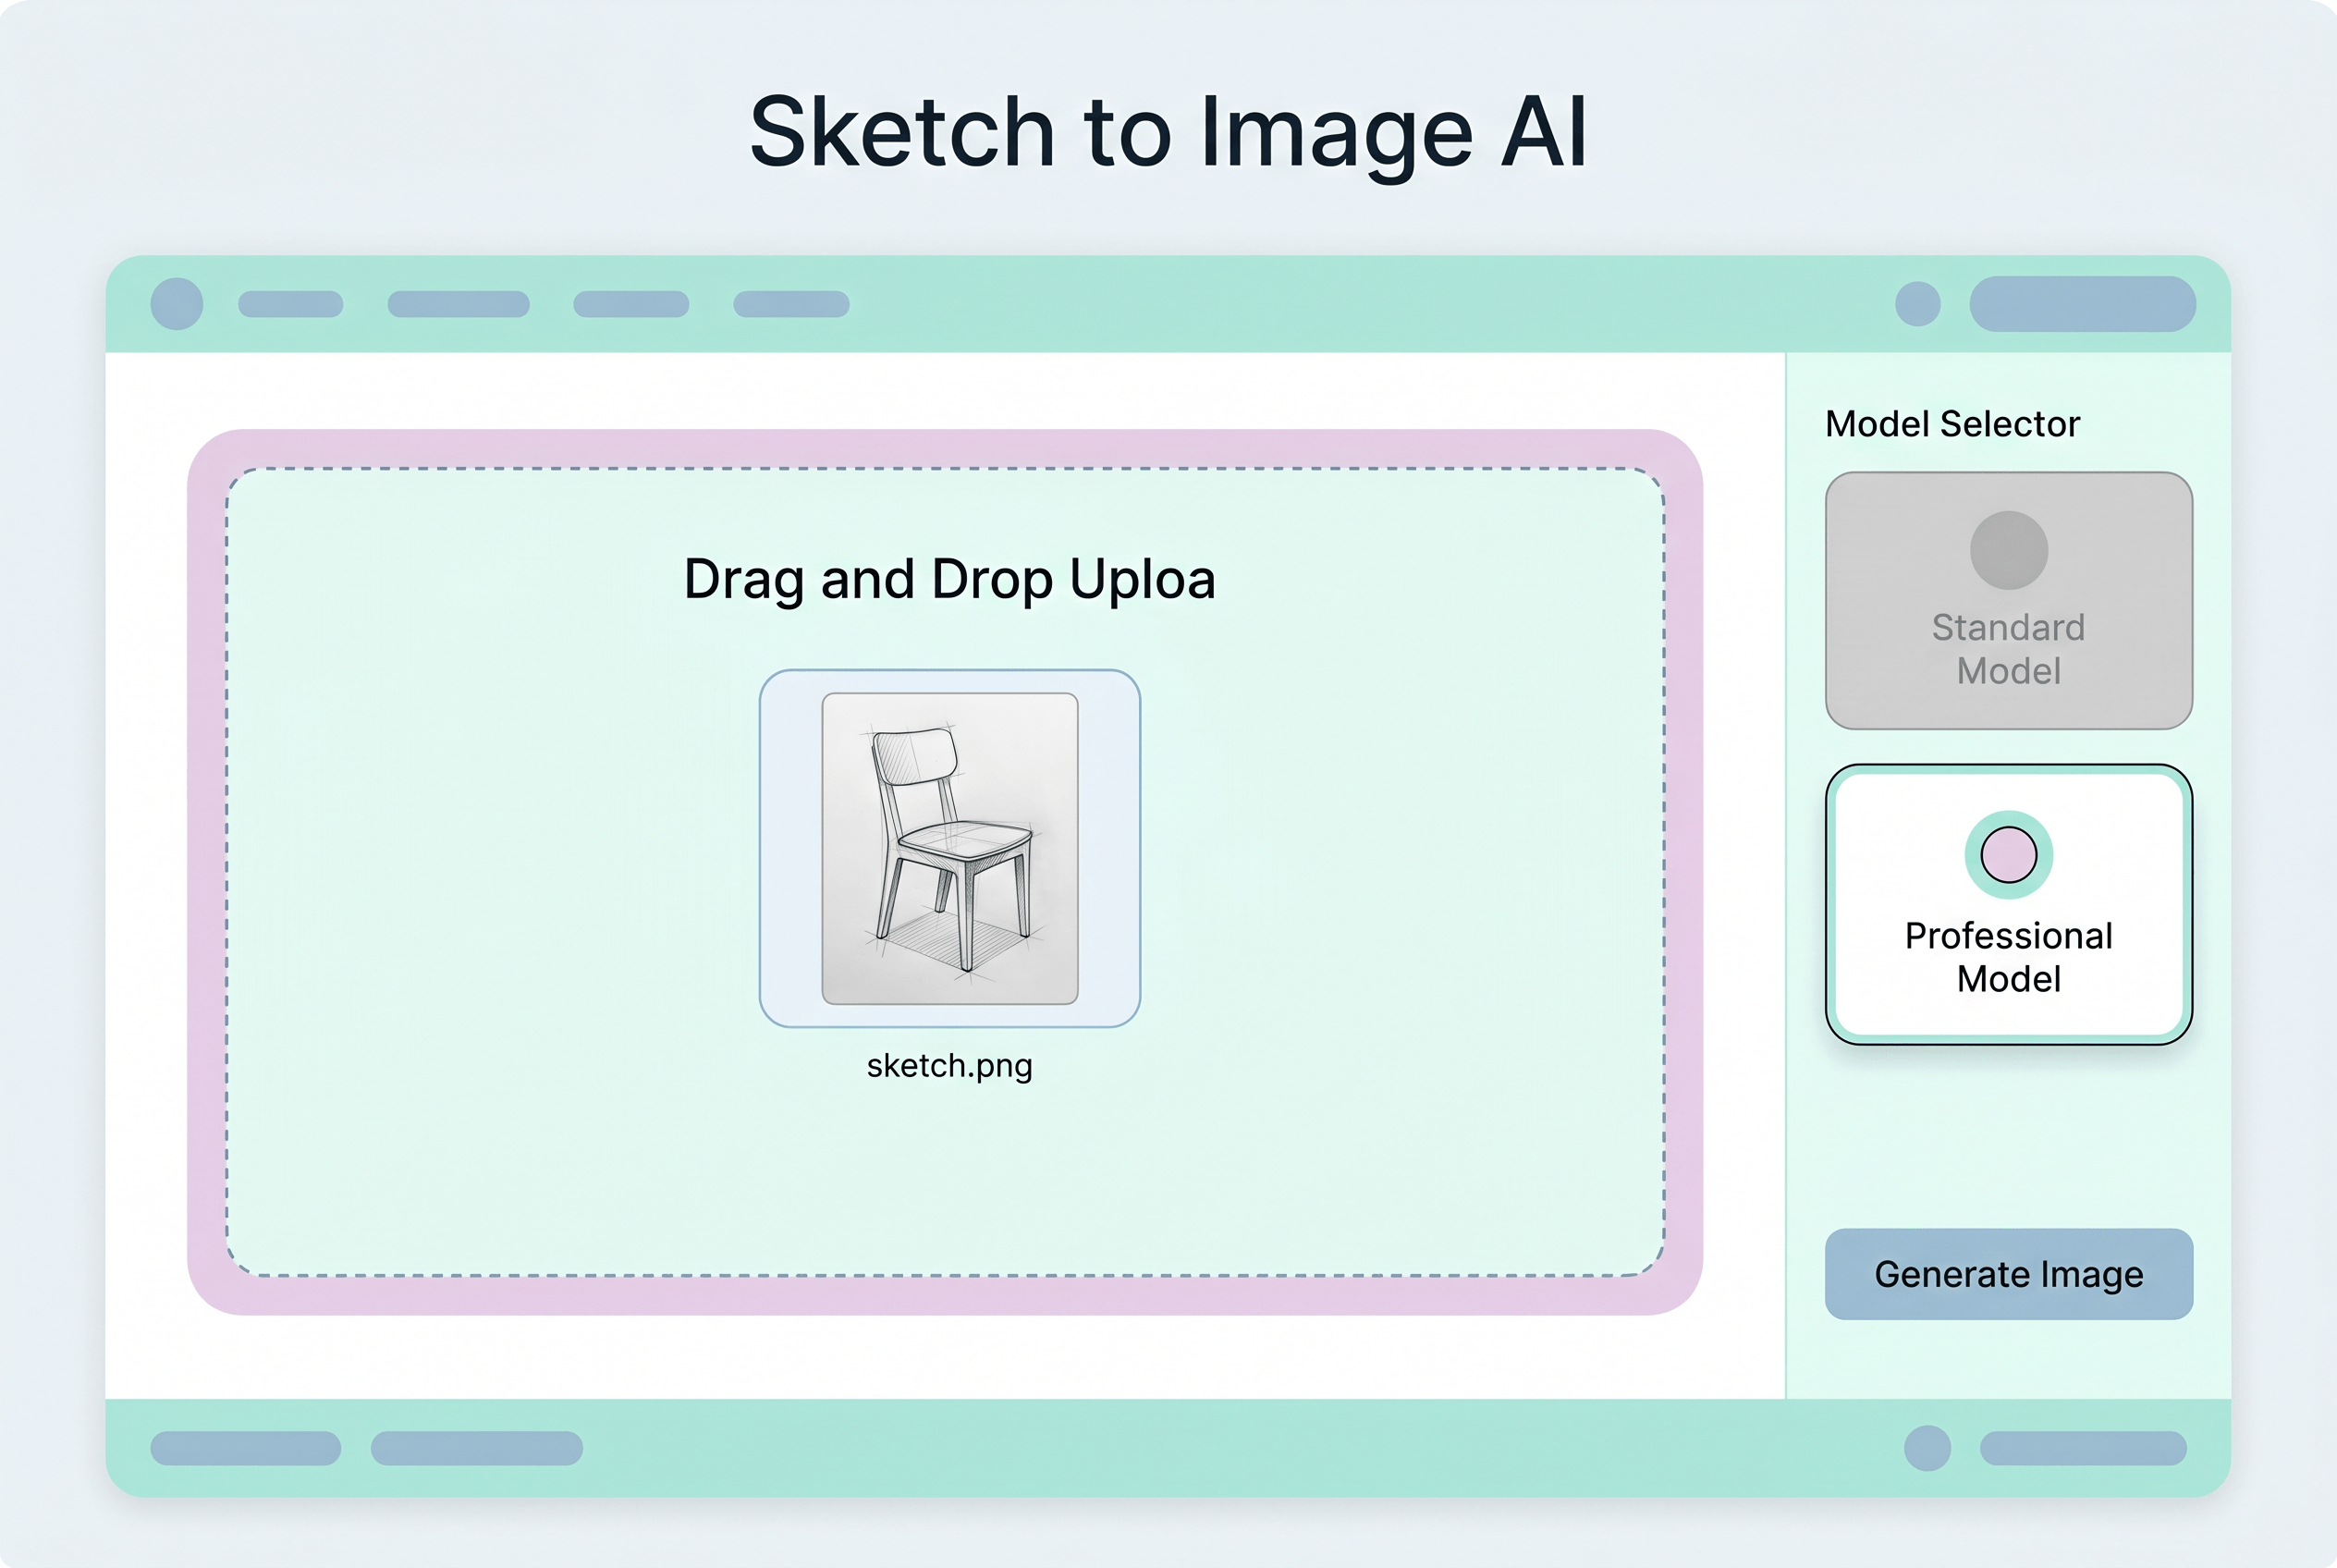
Expected result: the Sketch To upload screen with your sketch loaded and the model selector visible.
Step 4: Select the Professional Model and Configure
Inside the Sketch To Sketch-to-Image AI tool, pick the Professional Model from the model selector. This is the one trained specifically on detailed line art — Standard runs ~3× faster but loses fine detail on portraits, product mockups, and architectural sketches.
Add a short text prompt describing materials and lighting (for example, "chrome metal, studio lighting" or "oak wood, morning sun"). The model uses your sketch for shape and the prompt for surface treatment. Keep the prompt short — 5-15 words is the sweet spot in our testing.
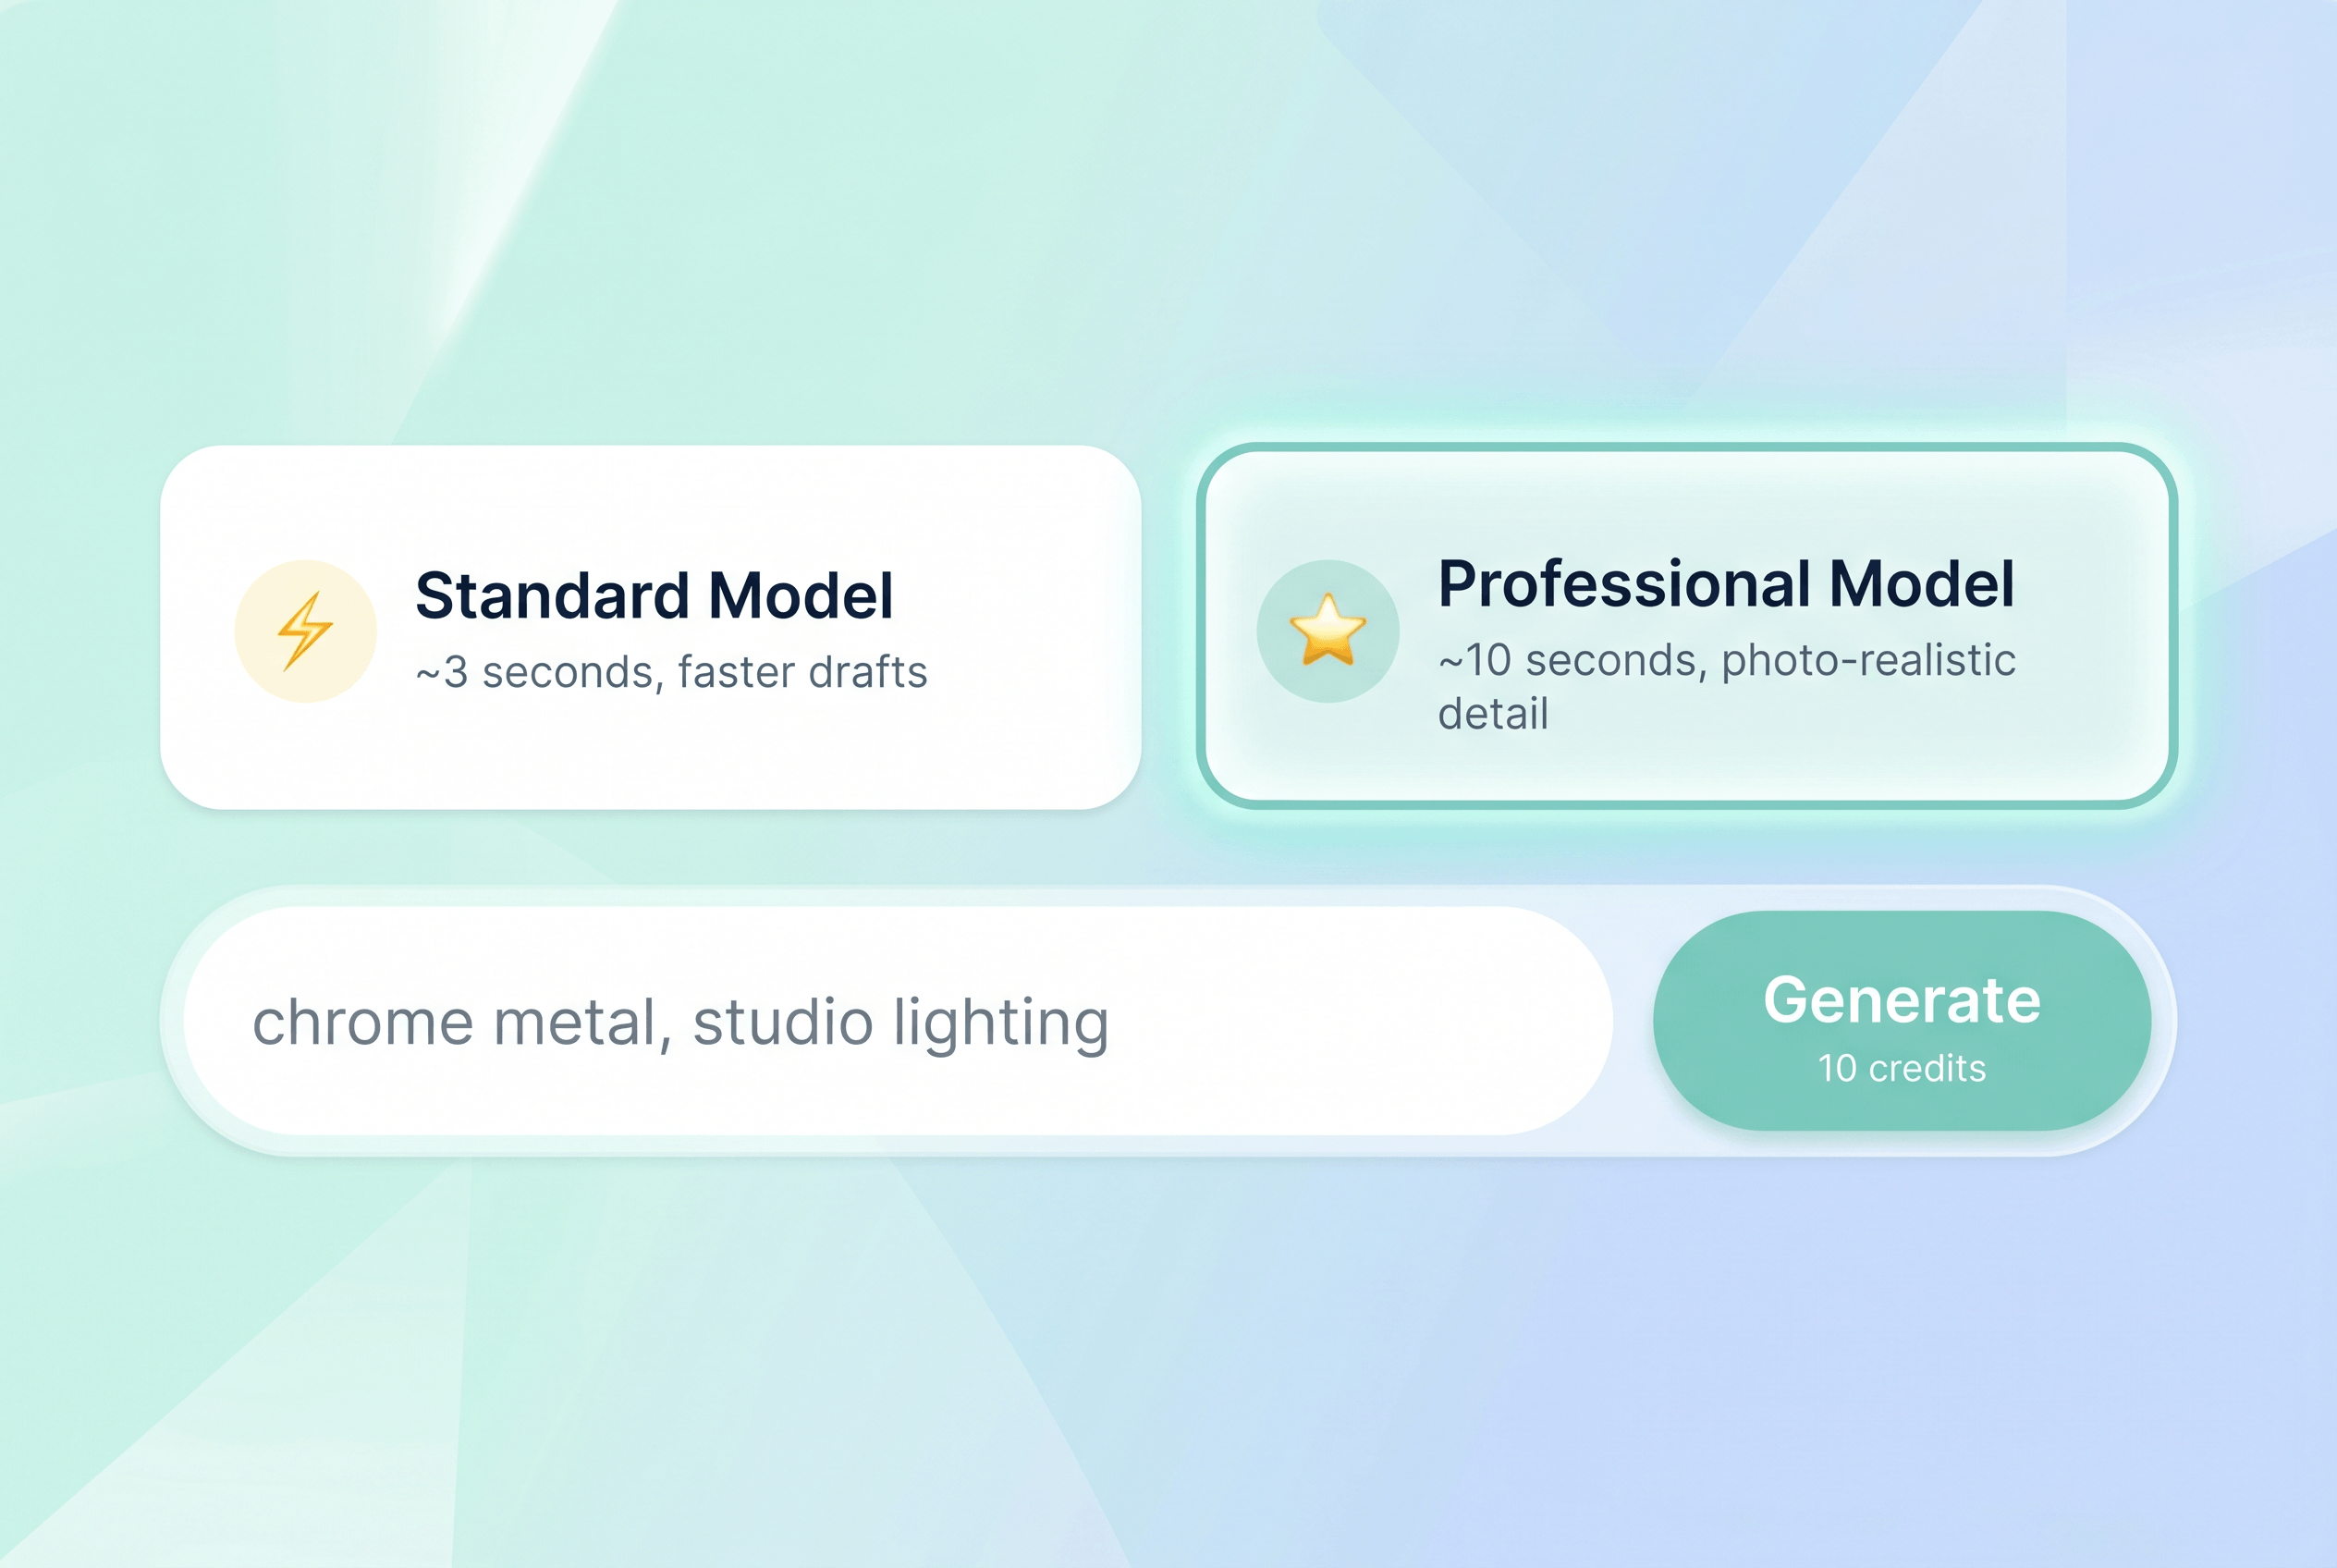
Expected result: Professional Model selected, prompt field populated, generate button visible with credit cost shown.
Step 5: Generate, Refine, and Export
Click Generate. The render takes about 10 seconds. The output preserves your sketch's lines and proportions more tightly than any general-purpose model — that's the trade-off you get for the longer wait.
If the result needs adjustments, use the built-in tools rather than regenerating from scratch:
- Background Remover to drop the subject into a different scene.
- Image Upscaler to push the resolution up for print or hero use.
- Uncrop to extend the image beyond the original sketch boundary.
Expected result: a photo-realistic image where every line from your original sketch is visible in the rendered output, ready for export at print resolution.
Pro Tips for Better Results
These come from running both tools heavily this week on the Gemini 3.5 Flash launch.
- Sketch with darker leads. 2B or 4B pencils give both models more contrast to read. Light HB sketches sometimes get interpreted as smudges, especially in Gemini.
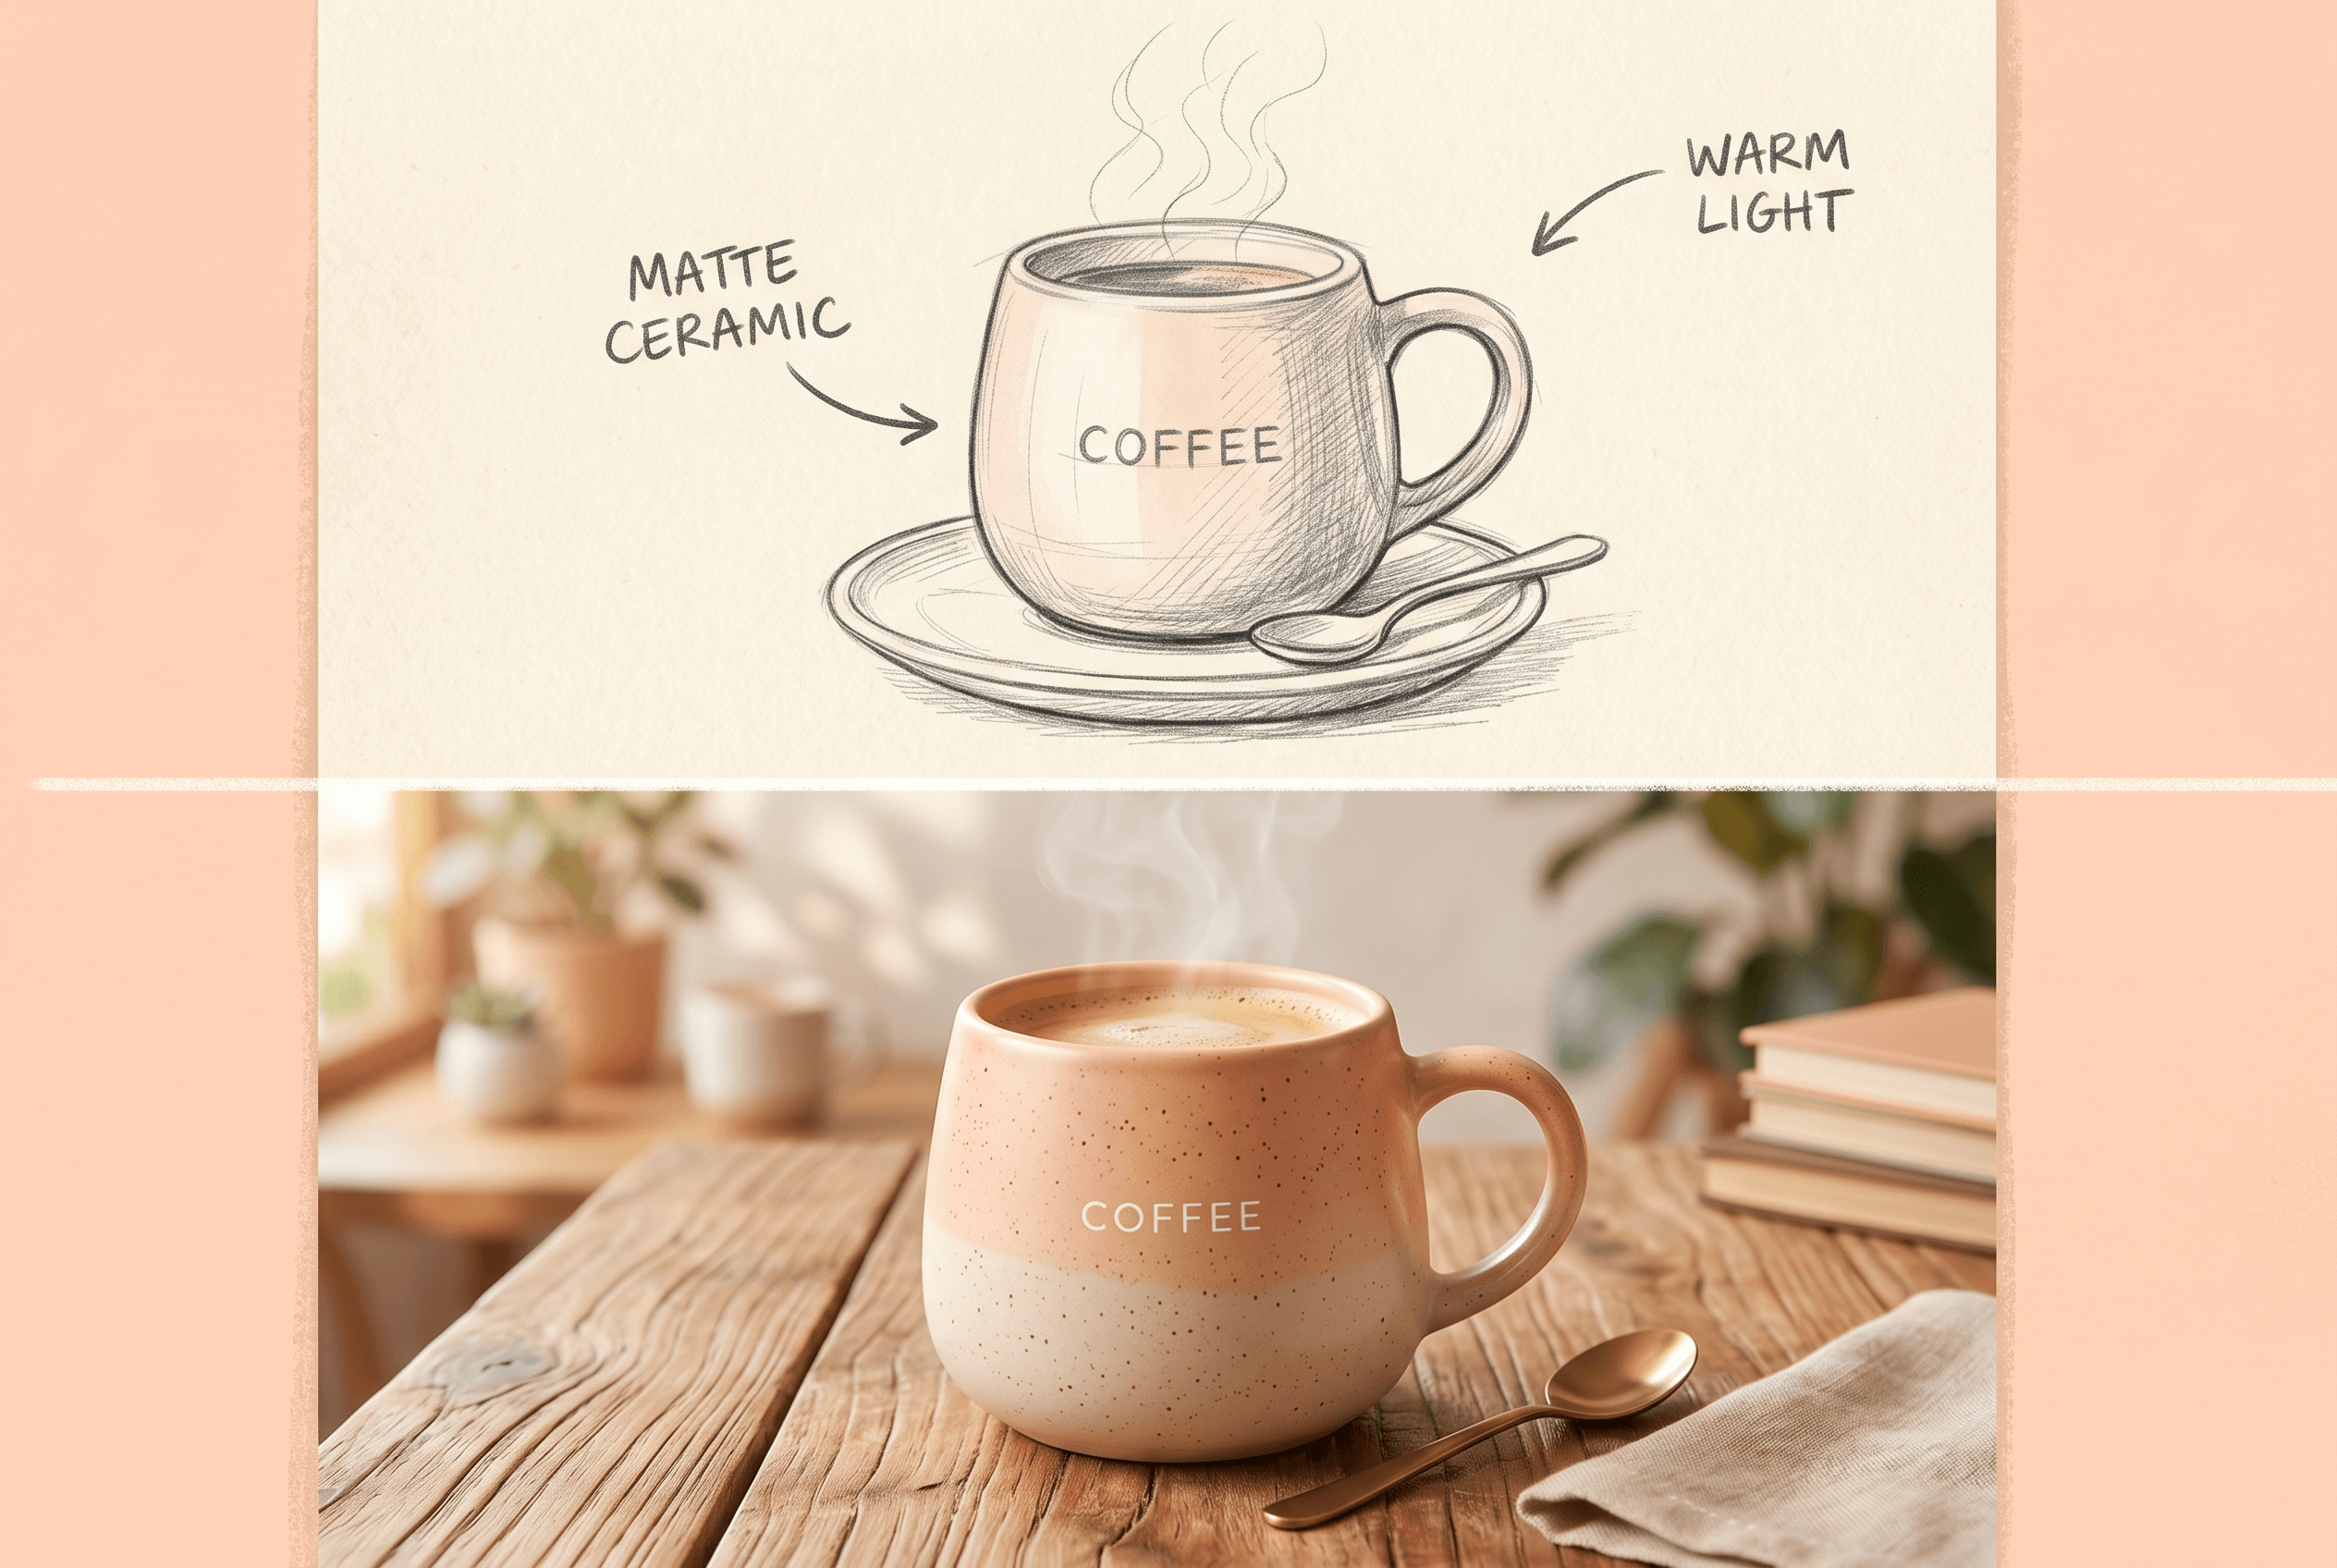
- Label key materials directly on the sketch. Writing "red leather" next to a chair or "matte black" next to a frame primes both models to render those details correctly without verbose prompting.
- Pick the medium word carefully. "Photo-realistic," "cinematic," "studio photo," and "documentary" produce noticeably different results. Choose one per generation rather than stacking them.
- Lock the aspect ratio before you generate. Both tools support custom dimensions. Decide 1:1, 16:9, or 3:2 up front — resizing after generation distorts faces and proportions.
- Keep the original sketch even after a chat thread drifts. If Gemini starts compounding errors after 4-5 follow-ups, restart from the source sketch instead of fighting the conversation.
FAQ
Q: Is Gemini 3.5 Flash free for sketch-to-image conversion?
A: Yes, up to 1,500 requests per day on the Google AI Studio free tier as of the May 20, 2026 launch. Beyond that, the API costs about $0.003 per image. There's no separate charge for accepting a sketch as multimodal input.
Q: How does Gemini 3.5 Flash compare to Midjourney for sketch-to-photo?
A: Gemini reads your sketch directly as multimodal input, while Midjourney requires you to upload the sketch as an image reference with --cref and tune the weight manually. Gemini is faster to land a first result; Midjourney v7 produces more stylized outputs if that's the look you want.
Q: Will Gemini 3.5 Flash preserve the exact lines of my sketch?
A: Mostly, but not perfectly. For rough concept sketches it's fine. For technical drawings or detailed portraits where line fidelity is the whole point, a dedicated tool like Sketch To's Professional Model preserves line work more faithfully — we use Gemini for iteration and Sketch To Professional for final renders.
Q: Can I use Gemini-generated images commercially?
A: Yes, Google grants commercial usage rights for Gemini 3.5 Flash outputs under the May 2026 terms. Always double-check the current Google AI Studio terms before billable client work, since AI image rights are still evolving.
Q: What sketch resolution works best for both tools?
A: 1024×1024 or larger gives the cleanest result on both Gemini 3.5 Flash and Sketch To Professional. Below 512×512 the models start inventing details that weren't in your sketch, which usually shows up as extra fingers, melted edges, or invented textures.
Q: When should I skip Gemini and go straight to Sketch To?
A: When the sketch is already final and you know exactly what materials and lighting you want — no iteration needed. The 8-second extra wait per render is worth it when you only need one production-quality output instead of a chain of drafts.
Conclusion
The May 20, 2026 release of Gemini 3.5 Flash makes sketch-to-photo a 2-second operation for the first time. For exploration and chat-based iteration, it's the new default. For final renders where every line of the sketch needs to land in the photo, pair it with Sketch To's Professional Model — Gemini for the first 5-6 drafts, Sketch To for the production export.
Next step: pick one sketch from your archive, run it through both tools, and put the outputs side by side. Five minutes of side-by-side testing will tell you which workflow fits your work better than any written review can.
Ready to turn your sketches into stunning photos? Try Sketch To free → — AI-powered sketch-to-image conversion with photo-realistic results, no design skills needed.
Transform Your Images with AI
Turn sketches into stunning images, remove backgrounds, swap faces, and more — all powered by AI.
Try Sketch To FreeShare
Sketch To
Tech writer covering AI tools, image processing, and creative workflows.
Related Articles

Knitted Doll AI Prompt: 7 Templates That Work
Use this knitted doll AI prompt guide to turn photos or sketches into cozy yarn dolls. Includes 7 templates, material words, and fixes.

AI Visual Reference for Landing Page Design
Use an AI visual reference for landing page design to turn rough sketches into clearer prompts, fewer retries, and stronger drafts.

Claude Design Workflow: Pair It With Sketch-to-Image AI
Build a faster Claude design workflow: use Claude for ideation and copy, Sketch To to render sketches into images, and Figma where it still wins.