
AI Image Generator for Designers: Why Now Is the Best Time
AI Image Generator for Designers: Why Now Is the Best Time
Description: AI image tools have crossed from prompt-only generation to generation-plus-editing workflows. Here's why that makes now the best time for designers, with a documented workflow you can reuse.
A widely shared 2026 podcast interview with OpenAI's head of design made the rounds in design circles. It covered a familiar complaint — that designers are among the unhappiest people in tech — but its real thesis was the opposite of doom: this is the best time in history to be a product designer, and AI is already an impressive product designer in its own right. The digest of that interview is worth reading, but for working designers the claim needs to be translated into something practical.
The practical version goes like this: AI image tools have crossed a threshold. They no longer just generate images from a text prompt. Today's useful tools accept the designer's own structure — a sketch, a wireframe, a layout — and then let you edit the result instead of regenerating from scratch. That generation-to-editing workflow is exactly what was missing, and it is why now is the best time for designers to take AI image tools seriously.
Why the first wave of AI image generators bounced off designers
The first wave of image generators had a simple deal: type a prompt, get an image. For illustrators looking for inspiration, that was fine. For working designers, it broke down fast.
The problem was never raw image quality. It was control. A designer rarely needs "an image" — they need an image that fits a layout, leaves room for a headline, keeps the product placement, respects the negative space, and matches an art direction. Early generators ignored all of that. You could describe the composition in a prompt and hope, but the model decided the final framing, and the output was usually not what you drew.
Worse, the workflow loop was broken. If the result was 80% right, you could not fix the remaining 20% without regenerating — and regenerating threw away the parts that worked. So designers did what they always do with tools that fight them: they kept the tool out of the production pipeline and used it only for moodboards and thumbnails. The complaint was never "AI art is ugly." It was "AI art doesn't fit my workflow."
That has changed, and the change is the story.
What changed: from generation to editing
The shift is visible in the tools themselves. Browse a catalog like SketchTo's AI image tools and the pages are no longer pure text-to-image demos — they are editing and refinement tools: AI photo editors, background removal, resolution upscaling, uncropping. The wider market has been moving the same direction, though tool-by-tool details differ. The shared idea is simple: the image is a draft, and the job of the tool is to let you finish it.
Two mechanics made this possible:
- Structured input. Modern tools accept a sketch, wireframe, or rough composition as the control input, not just a text prompt. The model preserves the structure you planned — placement, spacing, focal points, negative space — and upgrades the finish.
- Editing surface area. Instead of one "generate" button, there are separate tools for the final fixes: remove the background, upscale the resolution, extend the canvas, retouch the result. Each fix is a small, predictable operation instead of a full re-roll.
The mental model is one designers already know from Photoshop: generate the base, edit the finish. The difference is that the base is now generated in seconds from a sketch you control, and the editing tools are as fast as the generation.
The generation-to-editing workflow in practice
Let's make this concrete with a documented workflow. SketchTo is a useful example to walk through because it spans both halves of the pattern — controlled generation and dedicated editing tools — under one account and one credit system. Everything below describes what the public tool pages show, not a benchmark of output quality.
Step 1: Control the generation
Start from the designer's actual asset: the sketch, wireframe, or rough composition. SketchTo's AI Layout Control Image Generator accepts an uploaded layout guide and keeps the structure intact while upgrading the visual finish. It ships with intent presets — App Screen, Product Layout, Social Ad Layout, Packaging Mockup, Editorial Composition — so you are not describing layout in prose; you are picking the rule the generation should follow.
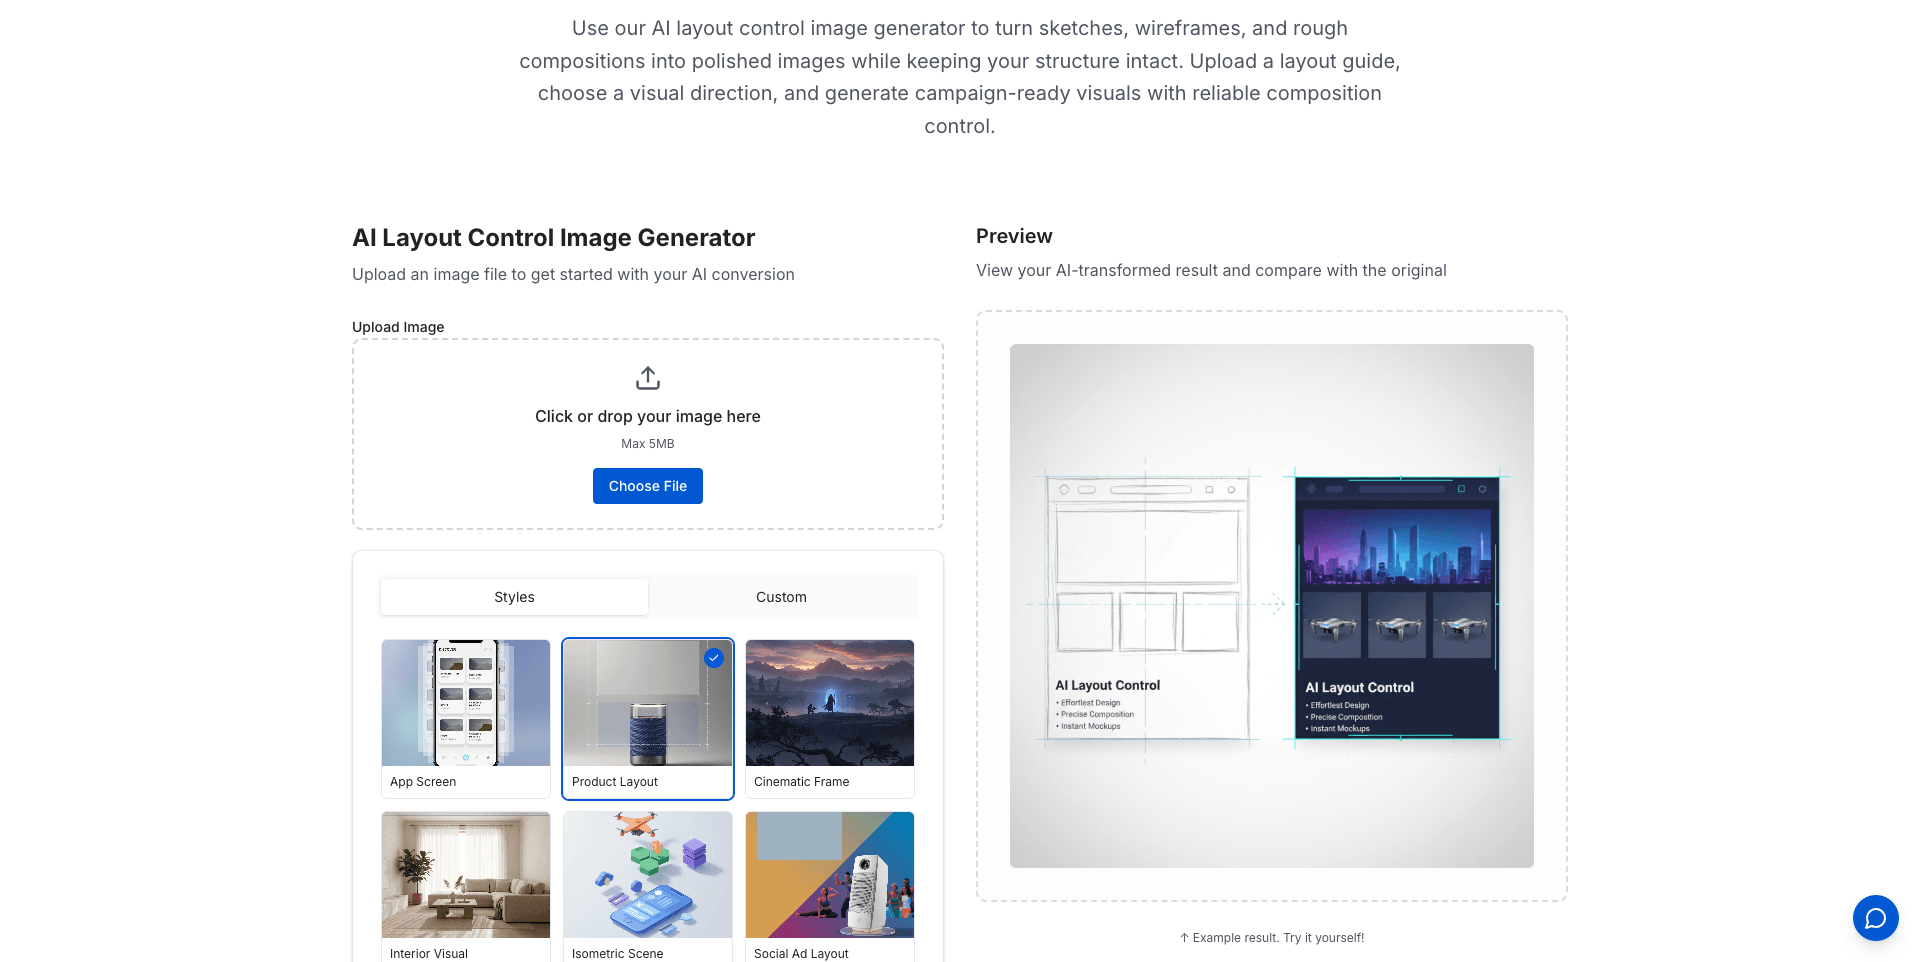
The public layout-control editor: presets declare what the generation should preserve, and the example preview compares a wireframe with a generated result.
This is the part that generation tools rarely got right until recently. The composition you planned survives the generation, which means the output can actually slot into a real deliverable instead of being a surprise.
Try it: upload a wireframe or composition you already have and test the AI Layout Control Image Generator — see whether the structure survives the generation.
Step 2: Edit instead of regenerate
Once the base image exists, the second half of the loop takes over: finish it with editing tools rather than re-rolling it. SketchTo's editing side covers the usual fixes — a Background Remover, an Image Upscaler for resolution, an Uncrop tool to extend the canvas, plus a photo editor and an image-edit model (Qwen Image Edit) for finer retouching.
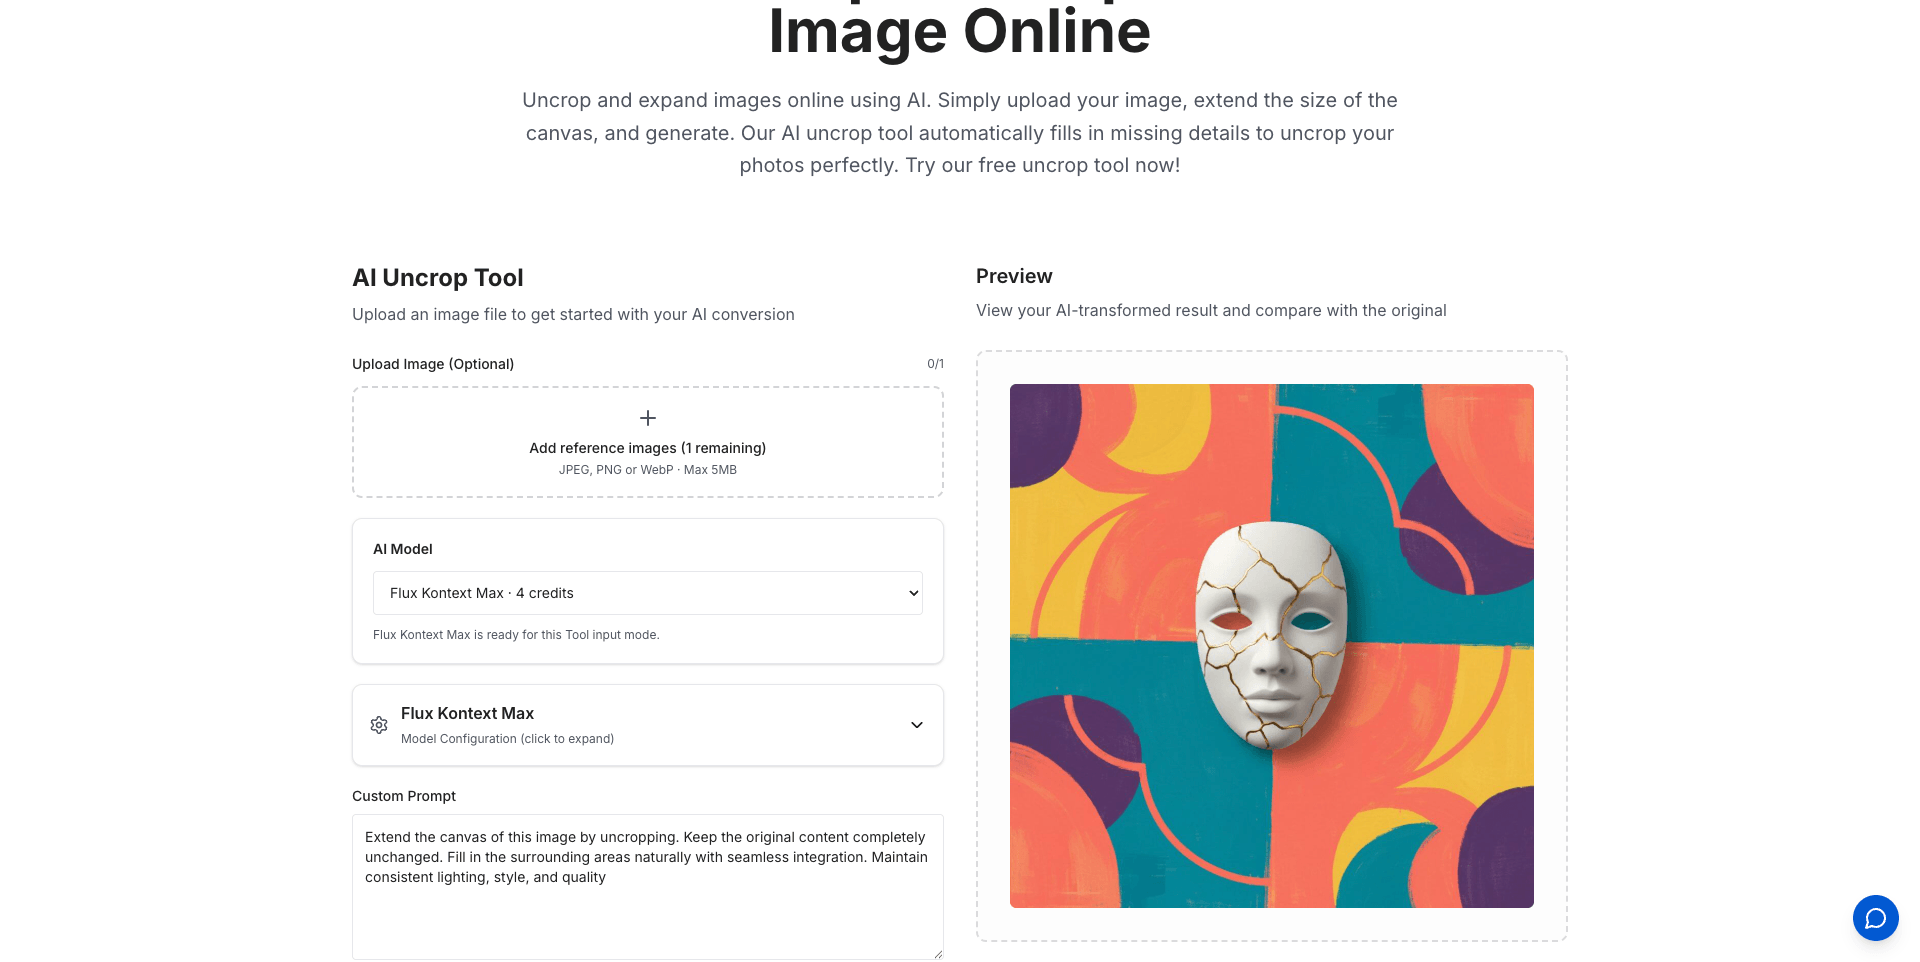
The editing half of the loop: a bounded tool with its credit cost disclosed before you run (example result shown).
The workflow difference matters: each edit is a bounded operation with a predictable result. You keep the 80% you liked and fix the 20% you did not — the opposite of the regenerate-and-pray loop that pushed designers away from the first wave.
Step 3: Keep the loop in one place
The unglamorous part of any real workflow is cost and history. SketchTo's tool pages disclose the credit cost per model before you run — on the layout control tool, for example, Nano Banana is 2 credits per run and GPT Image 2 is 3 — so the price of a step is known up front. New users get trial credits, and generated results land in an account-owned History you can reuse, download, or delete later.
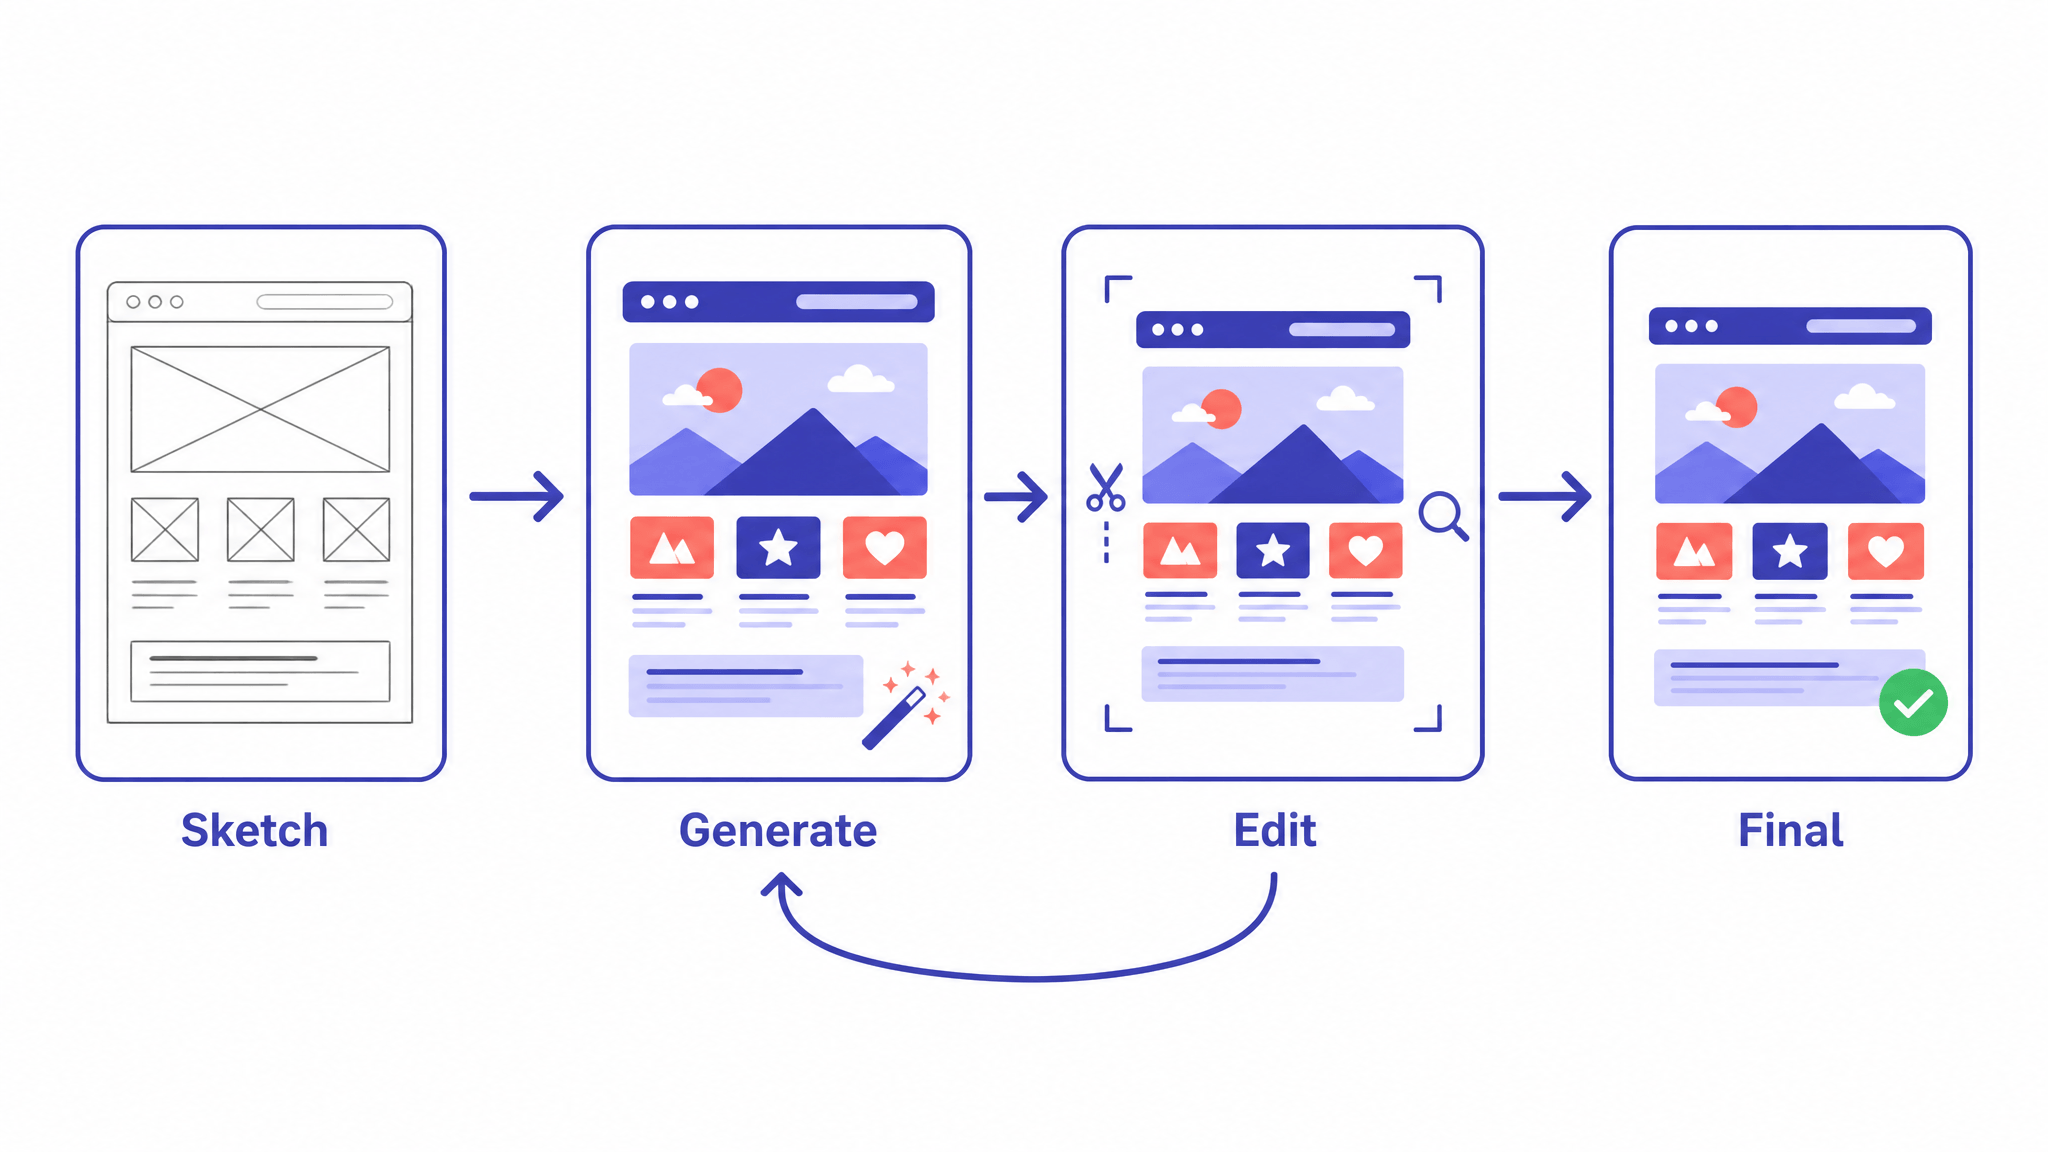
The loop: control the generation with a sketch, then finish with bounded editing operations.
None of this requires a subscription commitment to test: credit packs are one-time, so a designer can evaluate the loop for a few dollars before deciding whether it belongs in the pipeline.
Where human craft still lives
The same conversation that declared "this is the best time to be a designer" spent most of its energy on what stays human: craft, taste, and judgment. That maps cleanly onto the generation-to-editing model. The AI proposes — the base, the variations, the rough drafts — and the designer decides: which direction, which structure, which 20% needs fixing, and whether the result is on-brand at all.
This is a useful filter when you evaluate tools. An AI image tool is worth integrating into your workflow if it gives you structural control (you steer the composition) and editing surface area (you finish the result). Treat "one-click masterpiece" claims with skepticism — no tool can know your art direction yet.
What to do now
If the generation-to-editing shift sounds like the missing piece, here is a short, credit-conscious checklist:
- Choose tools that span generation and editing, not generation alone. The loop only works when the finish stage exists.
- Use a sketch or wireframe as the control input. Your composition is the asset that makes the output useful; keep the structure alive.
- Check the disclosed cost before every run. Credit-per-model pricing means a few iterations cost a few credits — know the number first.
- Keep the history. A reusable, account-owned set of generations turns one good workflow into a repeatable one.
- Apply your taste pass last. The model proposes; the designer decides what ships.
Conclusion
Designers are right that AI tools felt unserious for real work — for years, generation and design workflow did not meet. That is no longer the situation. The tools that matter now accept the designer's structure and add an editing stage, which turns AI from a novelty into a production step. That is what makes this the best time to take AI image tools seriously: the generation-to-editing workflow finally fits the way designers actually work.
The layout-control generation step is the natural entry point to test the pattern yourself — it is where your sketch becomes the control input.
Transform Your Images with AI
Turn sketches into stunning images, remove backgrounds, swap faces, and more — all powered by AI.
Try Sketch To FreeShare
SketchTo Team
Tech writer covering AI tools, image processing, and creative workflows.
Related Articles
Qwen-Image-2.1: One 7B Open-Weight Model for Image Generation, Editing, and Transparent Assets
Qwen-Image-2.1 unifies text-to-image, editing, and native RGBA transparency in one 7B open-weight model. What it does, what's new, how to run it today — and the license limits before you adopt it.
AI Image Generation Cost Comparison: What 20 Models Actually Billed
OpenRouter ran one prompt through 20 image models and recorded every bill — $0.006 to $0.134 for the same 1:1 image. The real per-image costs, and how to pick a model your budget agrees with.
GPT-6 Astra Use Cases for Image and Design Work: What's Real So Far
A source-attributed catalog of GPT-6 Astra's real image and design use cases — 3D worlds, frontend design, media production — plus the honest gap and what it means for your tools.