AI Action Figure Generator Prompt: The Copy-Paste Template (Plus a No-Prompt Shortcut)
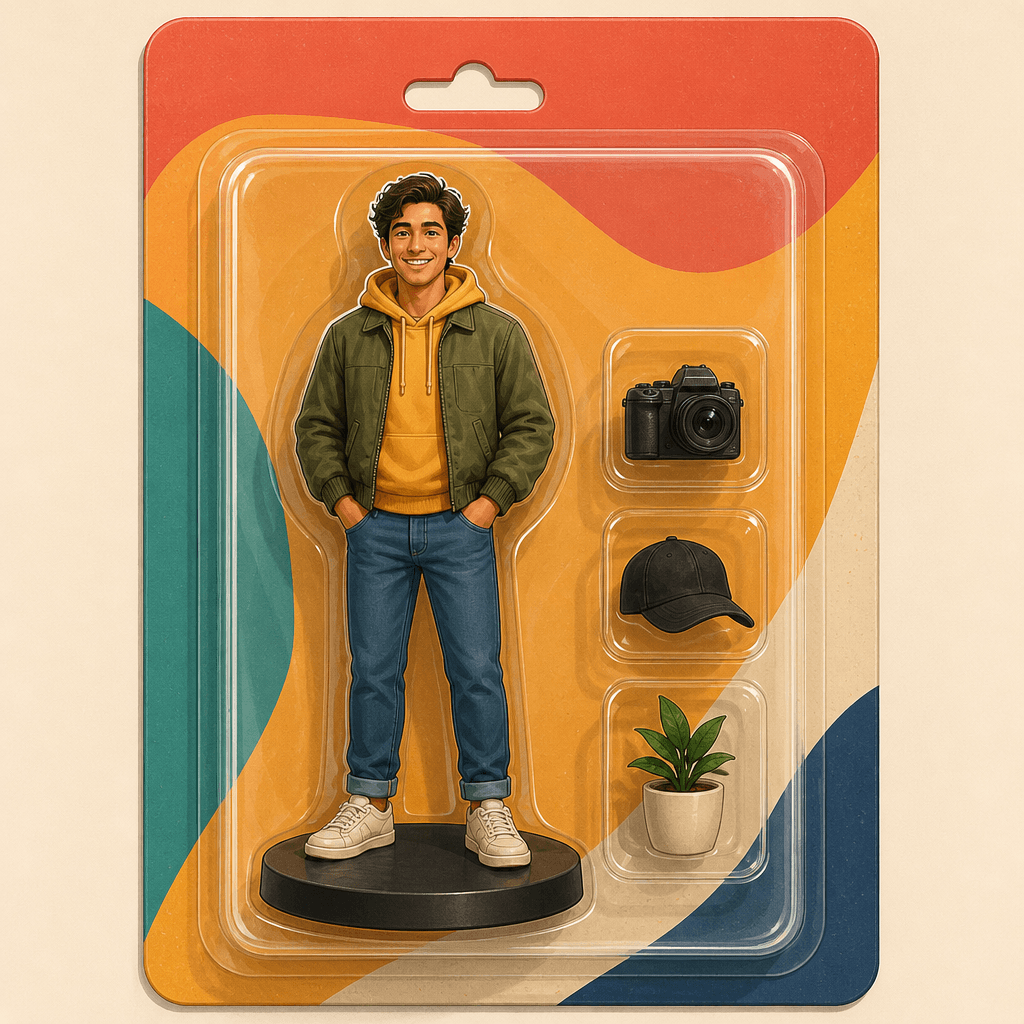
You don't need a design app to turn yourself into a packaged action figure — you need the right AI action figure generator prompt and one photo. Paste the prompt below into ChatGPT or Gemini, attach a picture of yourself, and the model renders you as a full-body figure sealed in blister-pack toy packaging — the format that took off in April 2025 and never really left social feeds.
Here's the short version, which you can copy as-is:
Using the photo I uploaded, turn the person into a realistic
collectible action figure, shown full body inside sealed
blister-pack toy packaging with a cardboard backing card.
Put the name "[NAME]" at the top of the packaging and place
3 accessories that reflect this person's hobbies in the
plastic tray beside the figure. Stand the figure on a
display base, smiling, in a confident upright pose.
The rest of this guide explains what each part of the prompt controls, how to word it for your photo, what usually goes wrong, and when it's faster to skip the prompt and use a dedicated action figure generator instead.
What the action figure prompt actually controls
An action figure prompt is really four instructions wearing one coat. Every good version you've seen — the career-figure with a tennis racket in the tray, the retro 80s toy box, the collector's gold edition — changes one or more of these levers:
- Packaging — the toy presentation around the figure: clear plastic blister shell, cardboard backing card, boxed "retro toy" style. This is what makes the image read as a collectible rather than a doll standing in a room.
- Accessories tray — the props sealed next to the figure. A camera, a laptop, a coffee cup, a corgi. This is where the joke lives, and it's the part people get wrong by leaving it out.
- Display base — the small pedestal the figure stands on, which sells the "real toy line" illusion.
- Pose and expression — upright and smiling, hands on hips, mid-swing. Pose wording steers the figure's stance inside the shell.
Google's official prompting guide for its image models structures prompts the same way: a style, a subject, details about accessories or actions, and the visual qualities or background you want. The action figure format just stacks all four into one scene.
Chat tools need all of this spelled out because they start from a blank canvas. Dedicated generators skip the step by baking the packaging into a preset — more on that at the end.
The copy-paste template
Here's the fuller template with the variables marked. Replace the [BRACKETED] parts:
Using the photo I uploaded, turn the person into a realistic
collectible action figure — a [FIGURE THEME, e.g. tennis
champion / software engineer / fantasy hero] — shown full
body inside [PACKAGING: sealed blister-pack toy packaging
with a cardboard backing card / a retro 1980s toy box / a
premium collector's display box].

Packaging text: put the name "[NAME]" at the top of the
card in [FONT STYLE, e.g. bold comic-style lettering], with
"[SUBTITLE]" printed underneath.

Accessories: seal [ACCESSORY 1], [ACCESSORY 2], and
[ACCESSORY 3] in the plastic tray beside the figure.

Base and pose: stand the figure on a round display base,
[POSE, e.g. smiling with arms crossed / mid-forehand swing],
facing slightly toward the camera. Studio product-shot
lighting, plain background behind the packaging.
A version of this prompt — packaging, nameplate, side accessories, likeness instruction — is how the trend was documented in coverage like Tom's Guide's step-by-step, and it matches the official template shapes Google publishes for its own image models. The template above organizes those documented parts so you can swap one lever without rewriting the whole prompt.
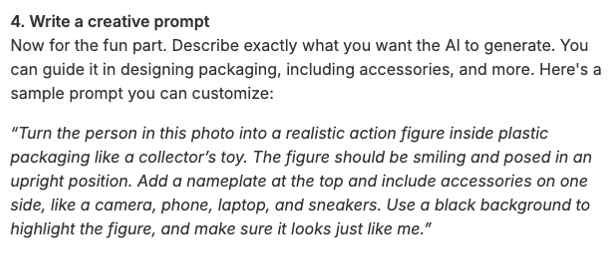
The sample prompt as documented by Tom's Guide (April 2025). Source: tomsguide.com
Three variables deserve care:
- [NAME] — write the exact packaging text in quotes. Google's official text-in-image template puts the exact words to render in quotes; do the same so the model treats your name as lettering, not scenery.
- [ACCESSORIES] — name real things. "Items that reflect my personality" produces generic props; "a running shoe, a husky, and a Nintendo Switch" produces the image people actually share.
- [PACKAGING] — one phrase is enough: blister pack, retro toy box, or collector's display box. Mixing all three confuses the render.
The AI action figure prompt, step by step
1. Pick your chat tool. ChatGPT's image generation is available on all account tiers, including free, on web and mobile. Gemini's image models work the same way — attach a photo, describe the change. Free tiers may be slower or cap how many images you can make in a day, so don't burn attempts on a half-written prompt.
2. Prepare the photo. A clear, high-resolution photo works best. A full-body shot matters more than a flattering one — the point is capturing your outfit and accessories, which a headshot can't show. Plain backgrounds help the model lift you out of the scene cleanly.
3. Attach the photo and paste the prompt. One photo, one prompt, in the same message — you're asking for a single job: turn this photo into that packaged-figure scene.
4. Generate, and wait it out. Image generation can take a minute or a few, depending on the tool's load. You can keep chatting while it renders.
5. Refine in the same conversation. This is the step most guides skip: the first render is a draft, not a verdict. Google documents multi-turn conversational editing as the recommended way to iterate on images, and ChatGPT works the same way — "make the packaging text bigger", "swap the tennis racket for a coffee cup", "put the figure in a retro toy box instead". Each follow-up costs a few seconds, not a rewrite.
Wording that changes the result
| Lever | Weak wording | Working wording |
|---|---|---|
| Packaging | "like a toy" | "sealed blister-pack toy packaging with a cardboard backing card" |
| Accessories | "my favorite things" | "a tennis racket, a coffee cup, and a corgi in the plastic tray" |
| Base | (omitted) | "standing on a round display base" |
| Pose | "looking cool" | "smiling, arms crossed, facing slightly toward the camera" |
| Name text | "put my name on it" | "the name "ALEX" in bold lettering at the top of the card" |
The pattern across every row: concrete nouns and one instruction per lever. The accessories line is the one worth over-writing, because the tray is where viewers' eyes go after the face — it's the difference between "AI image of me" and "the collectible I never knew I needed".
What to expect (and how to fix it)
- Likeness drift. The figure resembles you, not exactly matches you — the model renders a stylized miniature, and heavy stylization moves faces. The documented workflow is to treat the first render as a draft: regenerate or adjust the wording, one lever at a time, in the same conversation.
- Invented accessories. Anything you don't name, the model picks for you. That's not a bug, it's how the template works — both how-to coverage and the official prompting guides recommend getting specific about props and background elements for exactly this reason.
- Packaging text. Quoted text is how you control exactly what appears on the card — keep the name short and the subtitle to a few words so the lettering stays legible at packaging scale.
- It's an image, not a figure. No physical toy ships. The output is a shareable picture — which is the point of the trend, but worth saying plainly. The same is true of every dedicated generator, including the one below.
- A privacy thought. You're uploading your face to a consumer AI service. Mashable's coverage of the trend makes the point simply: think about how much personal info you're comfortable sharing, even when it's just for fun. Use a photo you'd already post publicly.
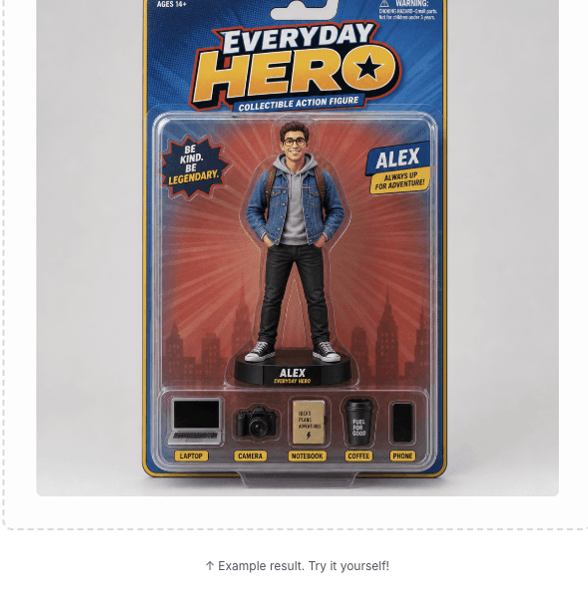
The output shape the preset tool produces, as shown by its own live example: full-body figure, blister pack, accessories tray.
Free chat tool vs dedicated action figure generator
Both routes produce the same kind of image. They differ in where the effort goes:
| Chat tool (prompt route) | Dedicated generator (preset route) | |
|---|---|---|
| Setup | Write and tune the prompt yourself | Upload a photo, pick a style |
| Cost | Free tiers available; slower or capped | Credits per generation, shown upfront |
| Control | Everything is a wording choice | Packaging and layout are fixed by the preset |
| Iteration | Conversational, step by step | Regenerate or switch preset |
| Best for | A specific joke or a custom theme | Getting a good result in one or two tries |
If you enjoy prompt-tuning, the chat route is the whole hobby — and now you have the template. If you just want the figure, SketchTo's AI Action Figure Generator is the no-prompt version of everything above: upload one photo (up to 5MB), pick one of nine packaging styles — Classic Blister Pack, Retro Toy Box, Collector's Gold, among others — and generate. Nano Banana starts at 2 credits, the cost shows before you generate, and new accounts start with 4 free credits, so the first figure is on the house. Generations save to your private history, ready to download or delete. It's the same upload → style → download flow we've verified end-to-end on SketchTo's sibling figure tools.
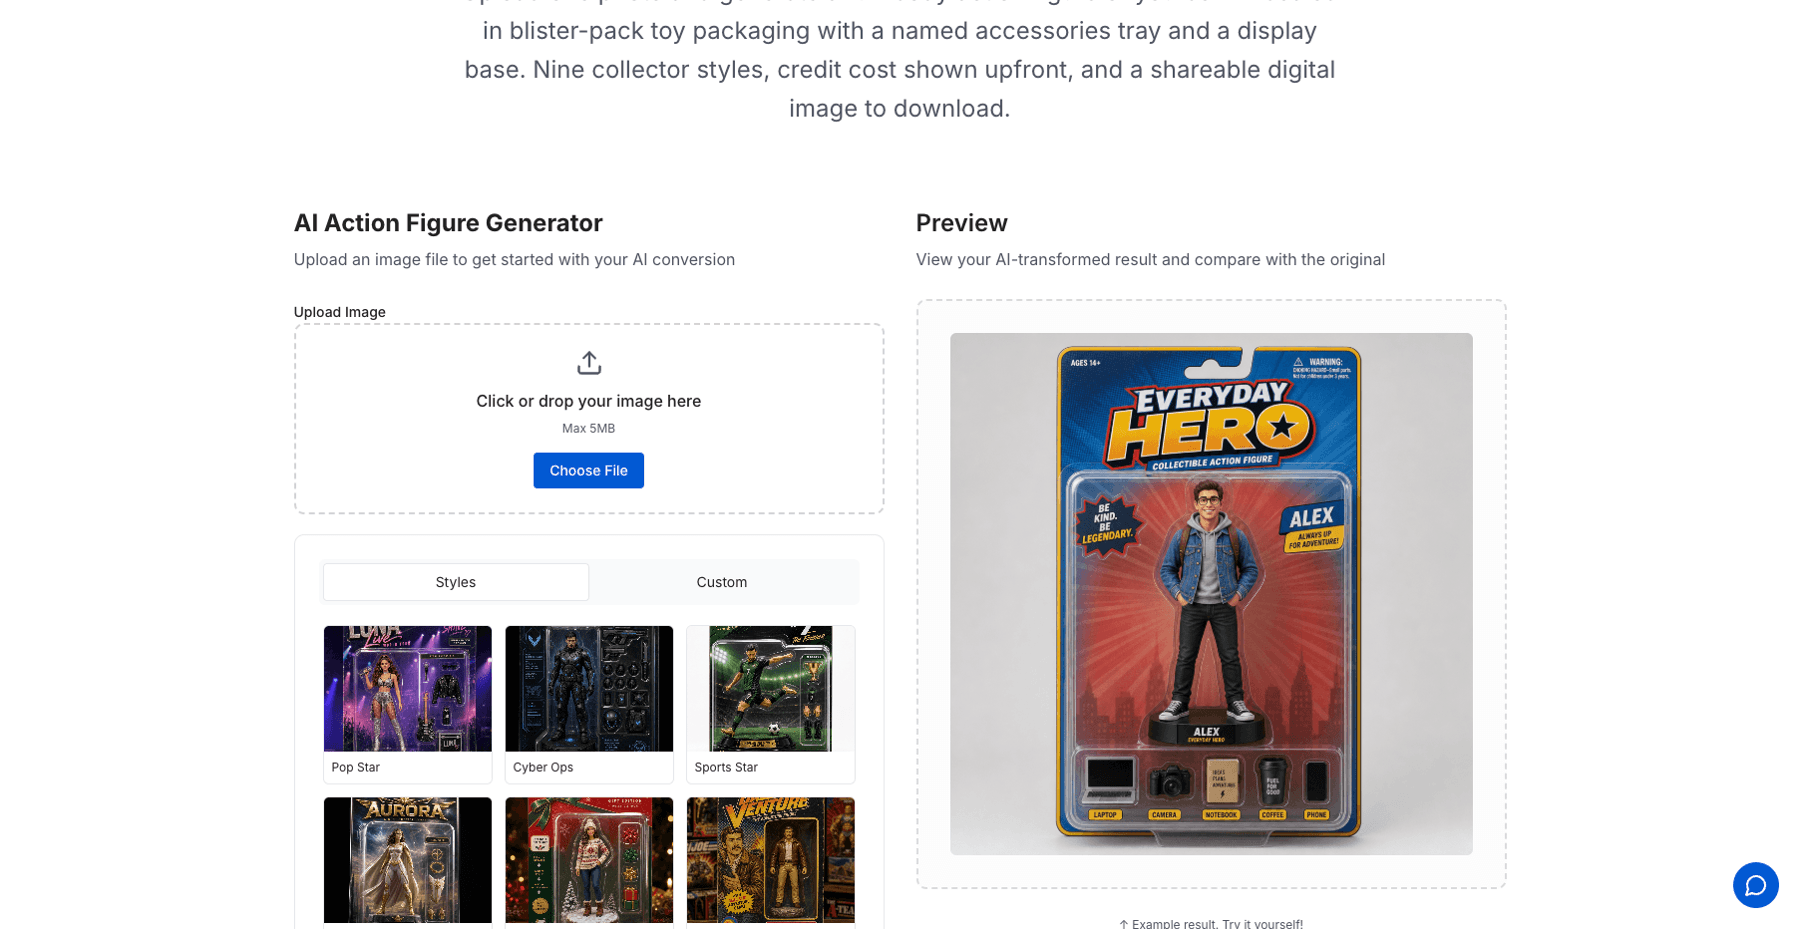
The no-prompt path: upload, pick a style, generate — credit cost shown before generating.
Which route should you take?
Run the prompt if the fun is in the details — your exact accessories, your joke nameplate, a packaging style no preset offers. Use the preset generator if you want a shareable figure in the next two minutes without wordcraft. And if the figurine flavor you're after is the big-headed vinyl kind rather than a blister-pack action figure, our guide to making your own Funko Pop with AI covers that whole workflow.
The packaging trend isn't going anywhere — the tools keep getting better at it. Whichever route you pick, the parts that make people stop scrolling are the same: a face that reads as you, and an accessories tray that reads as your life.
Transform Your Images with AI
Turn sketches into stunning images, remove backgrounds, swap faces, and more — all powered by AI.
Try Sketch To FreeShare
SketchTo Team
Tech writer covering AI tools, image processing, and creative workflows.
Related Articles
How to Turn a Photo Into Pop Art (Warhol-Style Prompts and Fixes)
Learn how to turn a photo into pop art with copyable Warhol, comic halftone, and WPAP prompts — plus fixes for face collapse, dense dots, and flat filter results.
Harry Potter Anime AI: What the Malfoid Trend Is and How to Make Your Own Clips
The Harry Potter anime clips on your feed are AI fan works, not a real anime. What the Malfoid trend is, why it exploded in October 2026, the workflow and prompts behind it, and the IP rules worth knowing.
Qwen-Image-2.1 GGUF: Which Quant to Download and How to Run It in ComfyUI
All Qwen-Image-2.1 GGUF quants with real file sizes, which tier fits your VRAM, a working ComfyUI-GGUF setup, and the two errors everyone hits.