
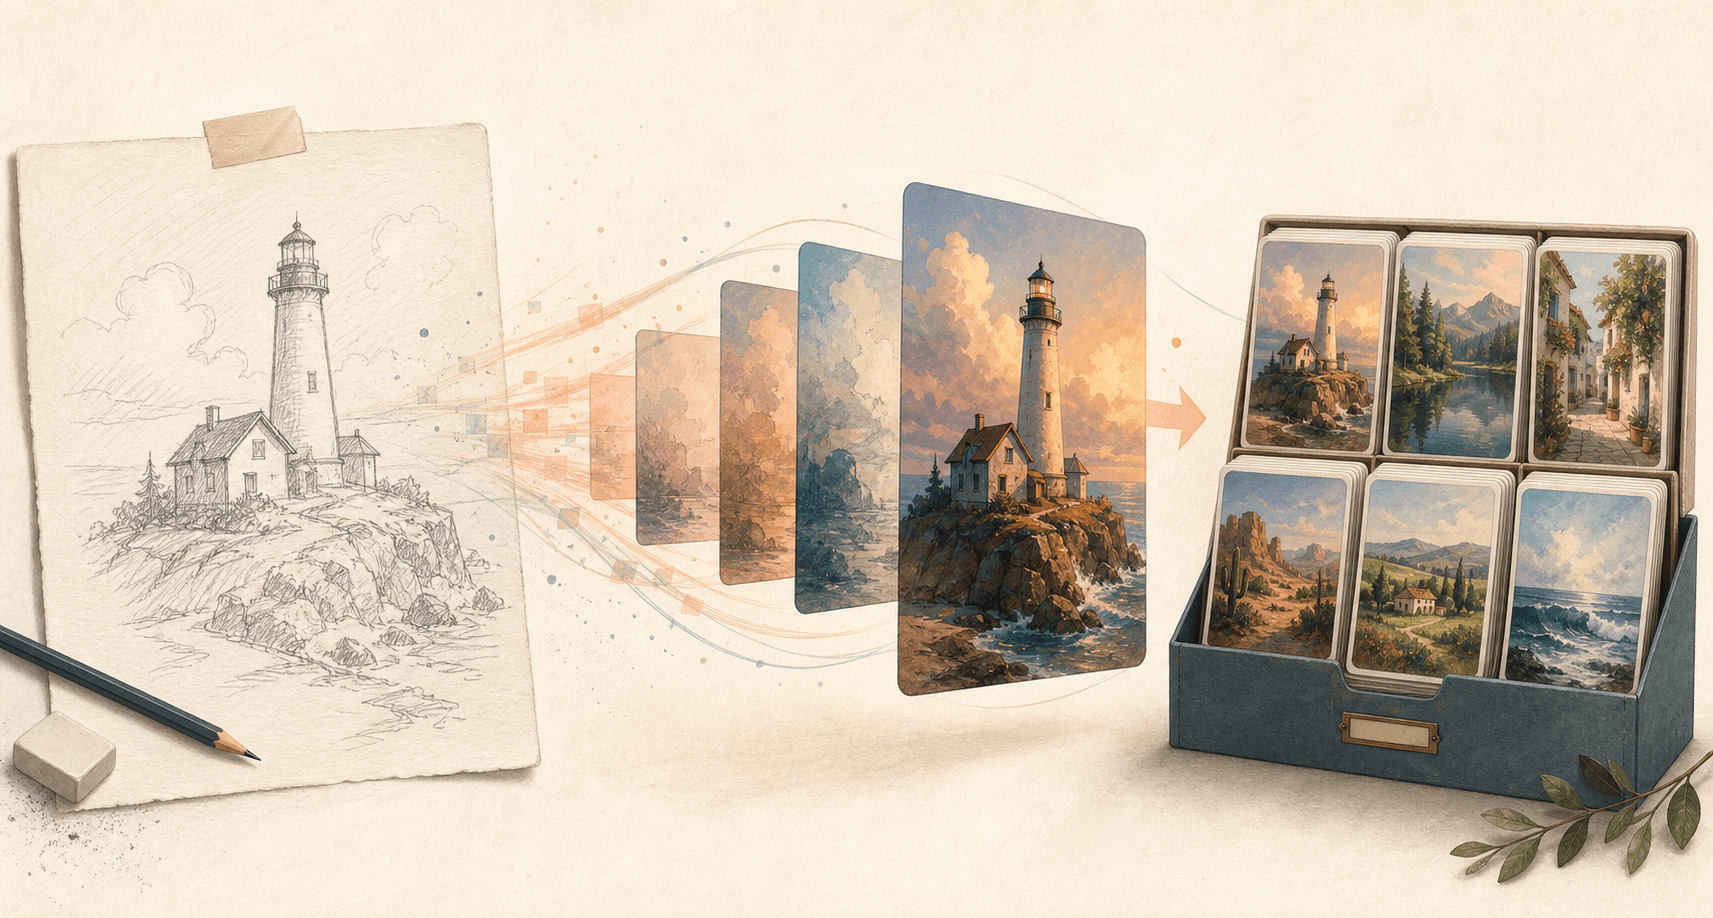
AI Sketch to Image Workflow: Check Credits and Use History
An AI sketch-to-image workflow is more than “upload, choose a style, click Generate.” If you want to know what will cost credits, where the result should appear, and how to find it later, you need to follow the account path as well as the editor.
This guide walks through SketchTo’s current Gemini Sketch to Image Tool, from the public page to sign-in, configuration, Settings, and private History. The interface was reviewed on August 10, 2026. We did not click Generate, consume credits, or treat an example image as a result from our own test.
The workflow at a glance
- Prepare a clear sketch image under the upload limit shown in the editor.
- Open the public Tool page and choose a style or use Custom.
- Check the actual model selector and its current credit label.
- Sign in before generating so the request belongs to your account.
- After the request, use private History to inspect its status and available actions.
That last part is the main difference between a quick demo and a repeatable workflow: a finished or failed request should not become an anonymous browser moment that you cannot recover.
1. Open the public AI sketch-to-image editor
Start on the Gemini Sketch to Image page. The editor is embedded on the public Tool page, so you can inspect the input, styles, models, configuration, and credit labels before committing to a run.

The public editor exposes the input, style, model, and live credit controls before generation.
The upload area currently states a 5 MB maximum. Use a supported image that is easy to interpret: dark lines on a light background, a readable silhouette, and a composition that does not depend on tiny annotations. That is preparation advice, not a promise that one drawing style will outperform another; this article did not run a quality comparison.
If the page shows Sign In, you can still review the editor. If it shows an account menu and a balance, the browser already has an authenticated session. Either way, do not mistake the example preview for an output generated from your sketch.
2. Choose the style, prompt, and actual model
The observed editor offered Custom plus nine named presets: Concept Art, Watercolor, Anime Render, Isometric 3D, Oil Painting, Product Render, Cinematic Photo, Photorealistic, and Fantasy Illustration. A preset is a convenient starting direction; Custom is the better choice when your brief needs specific subject, lighting, material, or mood language.
The important detail is below the style controls: the Tool name does not lock every run to one model. The current model selector exposes multiple options, and each option carries its own credit label. Availability and pricing can change, so use the live selector as the source of truth instead of relying on an old screenshot or copied cost table.
Before generating, check four things:
- The selected style or Custom instruction matches the output you want.
- The selected model supports this Tool’s image-input mode.
- Any expandable Model Configuration is set intentionally.
- The displayed credit cost fits your current balance.
This check is especially useful when two model names look similar or when a more expensive option is not necessary for an exploratory pass.
3. Sign in, then confirm the account path
If the editor still shows Sign In, select it and complete one of the available authentication options. Return to the same Tool page afterward and confirm that the account state has replaced the sign-in prompt. Authentication is not just a gate to the Generate button: it is what connects the request to your account surfaces.
Open Settings to confirm the signed-in context. The observed overview linked to History, Billing, Payments, Credits, Support Tickets, and Profile, alongside summary cards for the current account.
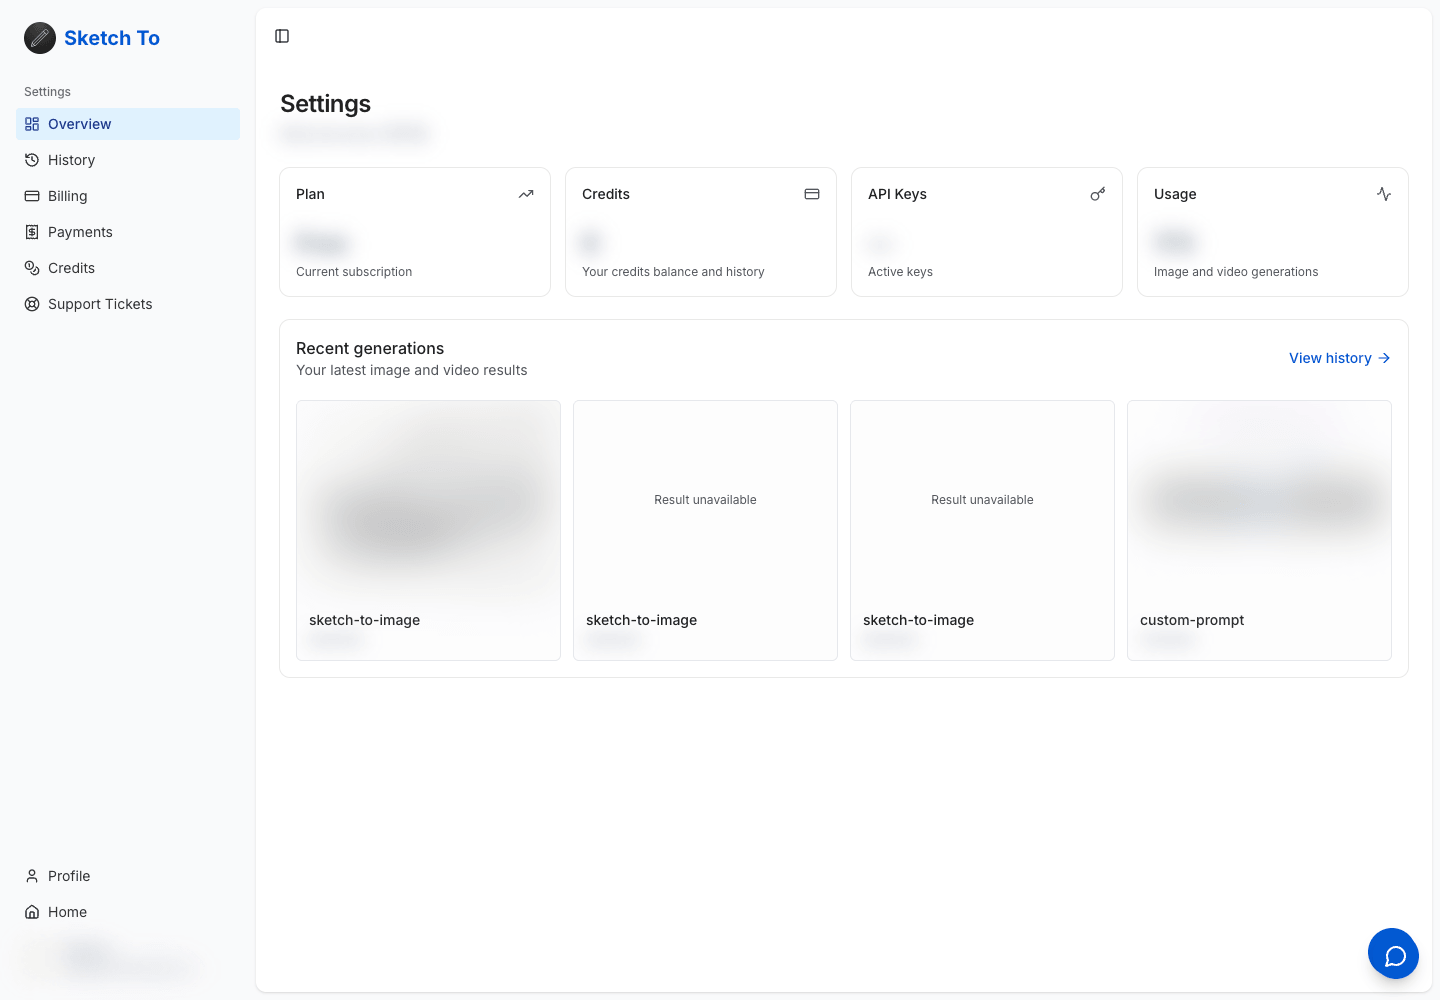
Real Settings UI; account identity and summary values are redacted for privacy.
You do not need to change a profile or billing setting for a normal sketch-to-image run. The practical checks are simpler:
- Make sure you are in the intended account.
- Check Credits if the editor says the balance is insufficient.
- Know where History is before you start, especially if you will leave the Tool page while the request is processing.
The screenshot for this guide redacts account identity and summary values. Those details prove nothing about how the workflow works and should not be exposed in a public tutorial.
4. Generate only after the cost check
Once the sketch, style, model, configuration, account, and credit cost are correct, you can submit the request. Do not refresh repeatedly or submit duplicates simply because a result is not instant. Use the editor’s status area first, then move to History if you need a durable account view.
This guide stops short of pressing Generate. That boundary matters: we can document the observed controls and recovery path, but we cannot honestly claim a processing time, visual quality, or successful result without running the request.
5. Find the request in private History
Open Generation History from the Settings navigation or the editor’s View all link. The observed page separated All, Images, and Videos, displayed item status, and paginated older records.
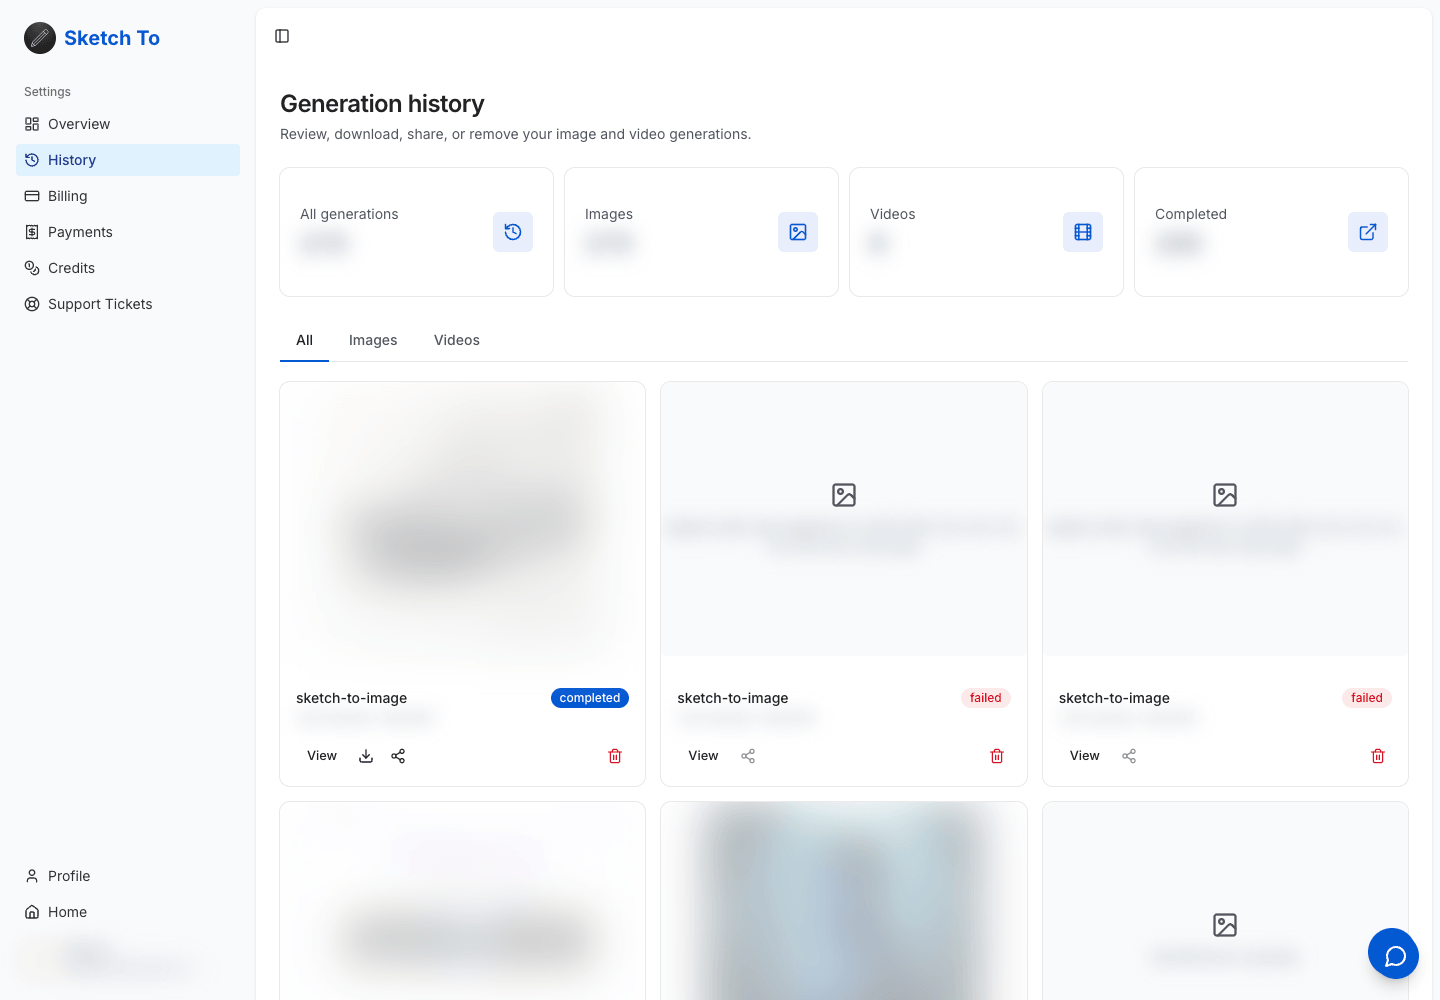
Real private History UI; identity, counts, thumbnails, prompts, and error details are redacted.
A completed item can expose actions such as View, Download, Share, and Delete. A failed item is still useful evidence: it remains visible with a failed status, while actions that require a usable output may be unavailable. Read the item’s own state instead of assuming every submitted request produced a file.
Use the actions deliberately:
- View opens the item details or result context.
- Download is available when the completed item has a downloadable asset.
- Share creates or opens a sharing path only when that action is enabled.
- Delete removes the item from your active History through the product’s deletion flow; confirm the target before using it.
The History screenshot in this article is privacy-sanitized. Account identity, aggregate counts, generated thumbnails, prompts, and error details are redacted. The interface and control labels remain real.
Troubleshooting the workflow
Sign In is still visible after authentication
Return to the Tool URL after the authentication redirect and wait for the account state to load. If the page still shows Sign In, avoid uploading the sketch again until the session is clearly active. Opening Settings is a quick way to confirm whether the account session exists.
The Generate control asks for credits
Recheck the selected model and its current label. A different model can have a different cost. If the balance is insufficient, use the Credits or Pricing path rather than repeatedly pressing the disabled control.
The item appears as failed
Open the failed item and read the visible error context. Do not use Share as a success test: it may be unavailable when there is no result asset. Correct the input or configuration only when the error explains what needs to change, then submit a new request intentionally.
The result is not in the editor anymore
Go to private History, select Images, and check the newest relevant records. History is the better recovery surface after navigation, reloads, or long-running requests because it groups account-owned generations independently of the page where they started.
A credit-safe checklist
Before every run, confirm:
- the file is within the editor’s current limit;
- the sketch and prompt contain no information you should not upload;
- the intended account is signed in;
- the style and actual model are correct;
- the Model Configuration is intentional;
- the live credit label fits your balance;
- you know how to reach private History.
Together, those checks turn AI sketch to image from a one-off button press into a traceable account workflow: verify the live model and credit label before submission, then use private History as the durable recovery surface.
Transform Your Images with AI
Turn sketches into stunning images, remove backgrounds, swap faces, and more — all powered by AI.
Try Sketch To FreeShare
SketchTo Team
Tech writer covering AI tools, image processing, and creative workflows.
Related Articles

How to Restore Old Photos With AI: Tested Prompts, Real Credit Costs
We restored a damaged old photo on SketchTo with three copy-paste AI prompts - repair, face-safe sharpening, optional colorization - and report real credit costs, before/after results, and honest limits.
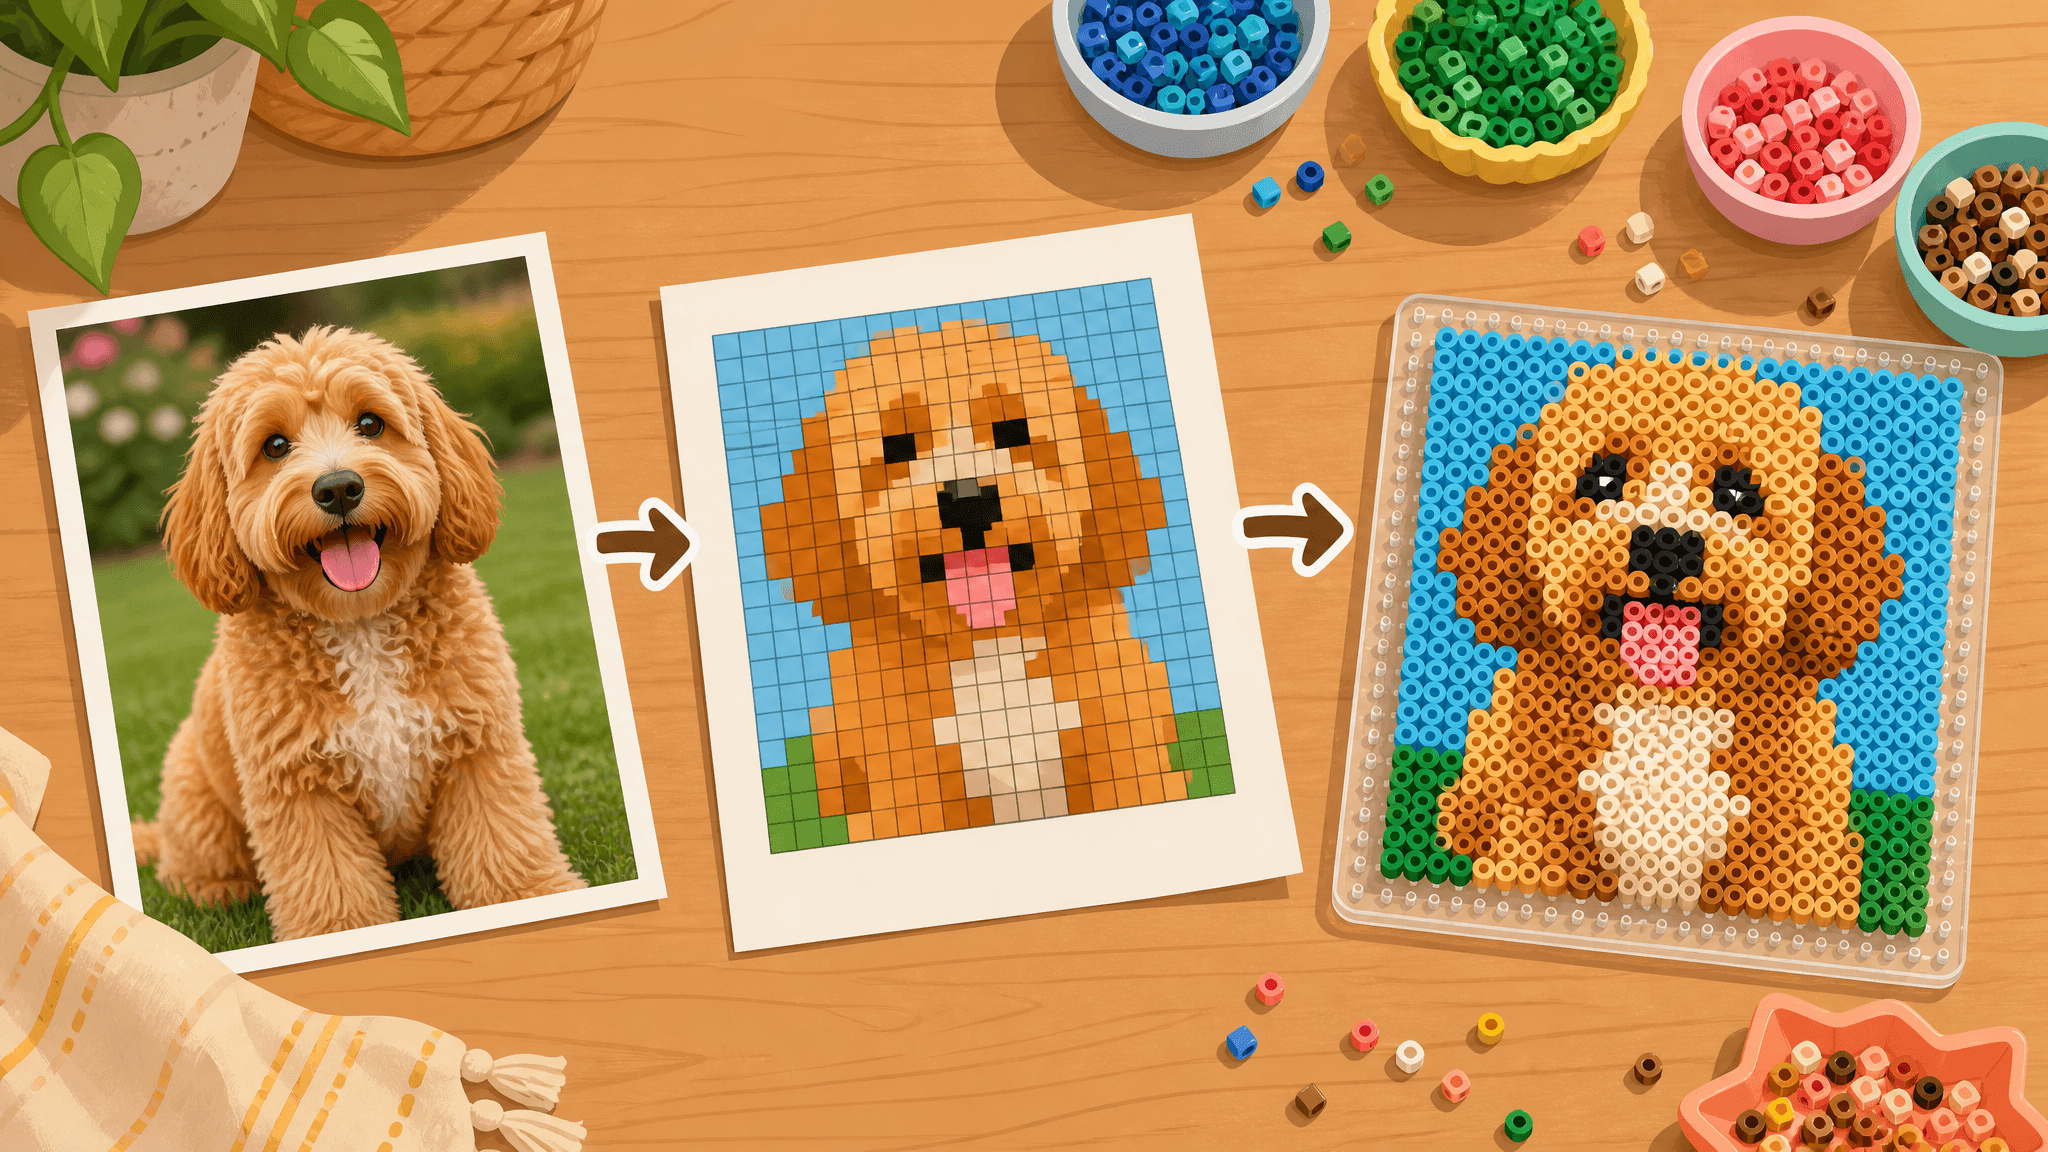
How to Turn a Photo into a Perler Bead Pattern (Free Beginner Tutorial)
A tested beginner walkthrough: turn a photo into a printable perler bead pattern with a free online tool, read and print the grid, match bead sizes and color codes, and fuse both sides following official ironing methods.

How to Create the 80s AI Photo Look: Tested Steps + Copy-Paste Prompts
Turn a photo into an authentic 80s portrait: a tested step-by-step workflow, all 9 era themes explained, 5 copy-paste prompts, and tips for a convincing result.