How to Create the 80s AI Photo Look: Tested Steps + Copy-Paste Prompts
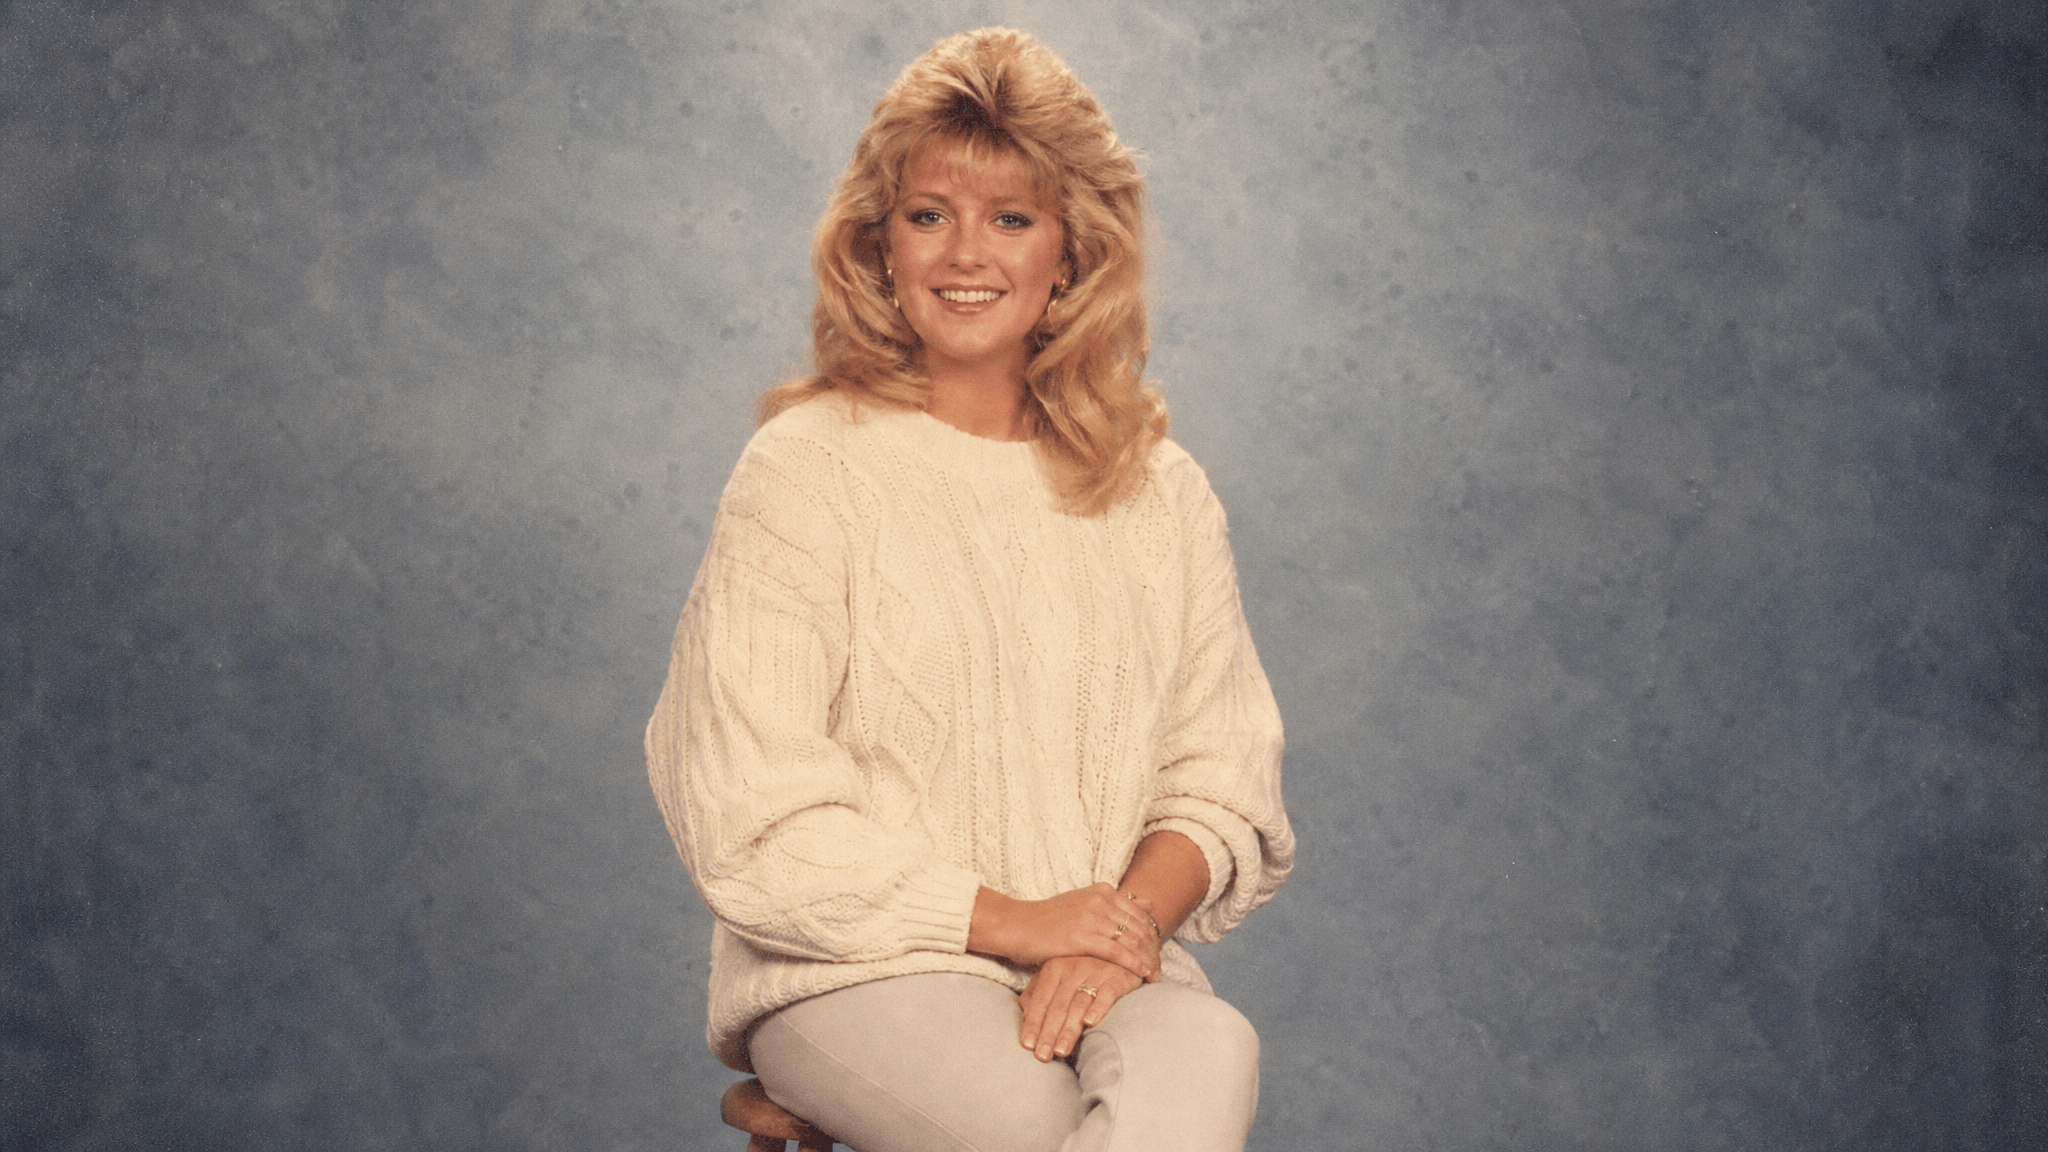
You've seen them all over Instagram: your friends suddenly transported into 1986, wearing cable-knit sweaters in front of a mottled studio backdrop, soft focus glowing around feathered hair. The 80s AI photo look is the rare trend that's equal parts nostalgia and comedy — and it's genuinely easy to make one yourself.
The fastest path: upload a photo to an AI restyling tool, pick a decade-accurate style, and let the model re-stage the scene around your face. This guide walks through the exact workflow on SketchTo's Retro 80s Style Generator — a tool built for this specific look — including all nine of its era themes, five copy-paste prompts for the custom option, and the tips that made the biggest difference in our test run.
What the 80s AI photo look actually is
The trend that swept Instagram in September 2026 works like this: you upload an existing photo and prompt an AI to recreate it as if it were shot in the 1980s — period clothing, voluminous hairstyles, soft studio lighting, and subtle film grain, as covered in Hindustan Times' step guide at the peak of the wave.
The key difference from the vintage filters on your camera roll: a filter slaps a color grade on top of your picture. AI restyling re-stages the whole scene — it can swap your hoodie for an oversized knit, replace your living room with a portrait-studio backdrop, and bathe everything in warm, tungsten-lit color, while keeping your face recognizable. Done well, you look like yourself sitting in a 1987 portrait studio. Done badly, you look like a stranger wearing a Halloween costume. The workflow and prompts below are about landing on the right side of that line.
Before you start: pick the right source photo
The single biggest quality lever isn't the prompt — it's the photo you upload.
- Front-facing and well-lit. Even, diffused light (near a window works) gives the AI the most facial detail to work with. Harsh shadows, backlighting, and sunglasses all hurt the result.
- Face clearly visible. Group shots and extreme angles force the model to guess.
- Under 5MB. That's the upload limit on the Retro 80s Style Generator; almost any phone photo qualifies after export.
You'll also need a SketchTo account. New accounts come with 4 free credits (valid for a year), and a generation on the default model costs 2 credits — so you can make roughly two portraits before paying anything.
Step-by-step: your first 80s portrait
Here's the full workflow. In our test run — upload, theme select, transform, download — the finished portrait took about 30 seconds.
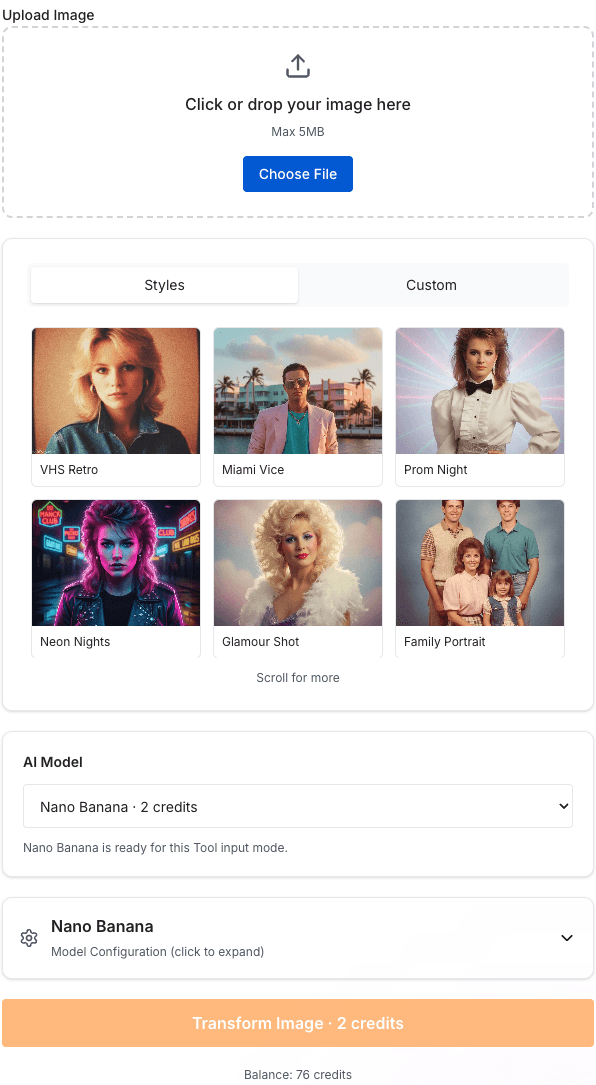
1. Open the tool and upload your photo. Head to the Retro 80s Style Generator and click or drag-drop your image into the upload box. A clear, front-facing portrait gives the model the most to work with.
2. Pick a theme from the Styles tab. The tool ships with nine presets, each modeled on a distinct 80s scene — from the department-store studio portrait to a neon club night. Themes are the reliable path: one tap, no prompt writing, and each one produces a dramatically different mood. (Full breakdown below.)
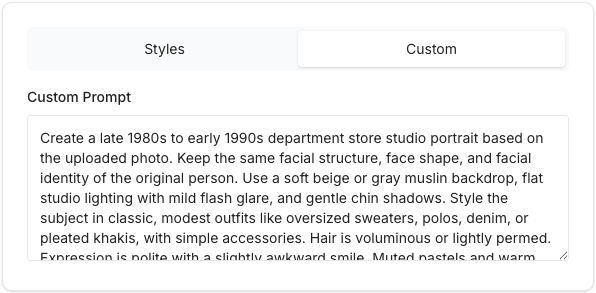
3. Or switch to the Custom tab for precise control. If you have something specific in mind — a mullet, a Members Only jacket, a laser-beam backdrop — the Custom tab accepts a free-form prompt alongside your photo. Copy-paste templates for five classic aesthetics are in the next section.
4. Check the model and credit cost, then transform. The tool offers several image models with costs shown before you generate — the default Nano Banana runs 2 credits per image, while premium options like Nano Banana Pro (8 credits) trade cost for finer detail. Hit Transform Image and wait well under a minute.
5. Compare with your original, then download. The result view shows your new portrait next to the source photo. If the vibe is off, adjust the theme or prompt and run it again; when it lands, download the full-resolution file — the film effects are baked in at full quality, ready to print or post.
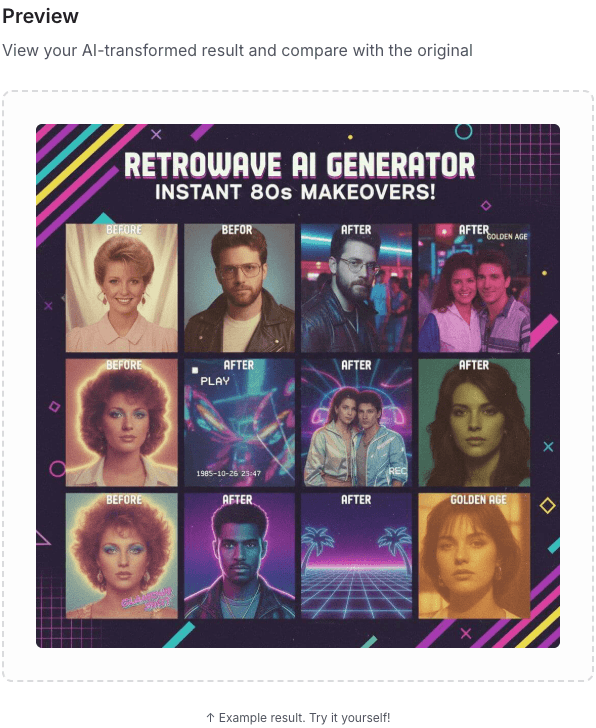
Example result shown in the tool's preview panel on sketchto.com.
The 9 themes, decoded
Each theme recreates a specific 80s subculture rather than one generic "retro" grade. Here's what each does and when to pick it:
| Theme | The look | Pick it when you want |
|---|---|---|
| Department Store Portrait | Warm studio portrait: muslin backdrop, flat frontal lighting, soft focus — the classic mall-studio session | The authentic "mom's old photo album" portrait |
| Family Portrait | Group-photo staging with coordinated outfits and a cozy indoor setting | A couple or family shot with retro warmth |
| Glamour Shot | Soft-focus drama, feathered hair, airbrushed glow — mall glamour studio energy | Maximum 80s glamour, tongue slightly in cheek |
| Prom Night | Pastels and taffeta, formal posing, dance-floor backdrop | A formal-wear portrait for prom or wedding nostalgia |
| Miami Vice | Pastel suit, sunset palette, palm-tree horizon — the TV-crime aesthetic | A cool, cinematic full-body vibe |
| Neon Nights | Moody club lighting, neon signs, night-life color | An edgy night-out portrait |
| Synthwave Portrait | Chrome-and-sunset palette, grid horizons, retro-futurist glow | A stylized, video-game-adjacent look |
| VHS Retro | Low-resolution tape texture with tracking lines — home-video authenticity | Candid, "found footage" nostalgia |
| Aerobics Fitness | Bright leotards and headbands, high-key gym lighting | Playful workout-era energy |
Copy-paste prompts for the Custom tab
Themes cover the classics, but the Custom tab is where you get exact. These five templates match the most-requested 80s aesthetics. Replace anything in [brackets], and keep the "retain my facial features" line — it's what keeps the result looking like you.
Department-store studio portrait:
Transform this photo into an authentic 1980s department store studio portrait.
Retain my facial features and natural skin tone. Dress me in [an oversized
cable-knit sweater], style my hair with period-accurate volume, and place me
against a mottled gray-blue studio backdrop with flat, frontal flash lighting,
soft focus, warm faded film colors, and subtle grain. It should look like a
real photograph from a 1980s portrait studio envelope — no sepia tone, no
excessive aging effects.
VHS home-video still:
Recreate this photo as a still frame from a 1980s VHS home video. Keep my face
recognizable. Stage [a living room with wood-paneling and a couch], dress me in
period-accurate casual clothes, and apply the look of an analog tape recording:
muted colors, slight color bleed, scan lines, mild tracking distortion at the
bottom edge, and a timestamp in the corner reading [DEC 25 1987].
Neon night out:
Turn this photo into a 1980s night-out portrait lit by neon signs. Retain my
facial features. Put me in [a black leather jacket over a bright tee], style my
hair in an 80s shape, and set the scene on a rain-slicked street at night with
pink and cyan neon reflections, shallow depth of field, and the warm-cool color
contrast of 1980s night photography. Keep it looking like a real photo, not
digital art.
Synthwave scene:
Restyle this photo as a 1980s synthwave album cover portrait. Preserve my
identity and expression. Dress me in [a pastel blazer with rolled sleeves],
backlight me with a chrome-and-sunset gradient sky, add a glowing grid horizon
and distant palm silhouettes, and finish with soft lens flare and film grain.
Bold retro-future mood, but my face stays photorealistic.
Glamour shot:
Transform this photo into a glamorous 1980s portrait studio "glamour shot."
Retain my facial features exactly. Style my hair with feathered volume, add
[soft glam makeup], and dress me in [a satin blouse]. Light me with a soft
glow-heavy diffusion filter, gentle vignette, airbrushed skin texture, and a
dreamy pastel backdrop — the classic mall glamour studio look from 1985,
realistic film photo quality.
One variable at a time is the rule: change the outfit or the backdrop, not both, or you'll lose track of what moved the result.
Tips from our test run
These are the adjustments that mattered when we ran the workflow — your photo and taste will vary:
- Let themes do the heavy lifting first. Run your photo through two or three themes before writing any custom prompt. It calibrates your eye for what the tool changes — wardrobe, hair, lighting, backdrop — and what it keeps.
- Spend credits where they show. The 2-credit default model produced a convincing result in our test run. The premium models (up to 8 credits) trade cost for finer detail — a reasonable pick if you plan to zoom in on faces and fabric or print the result, though we didn't benchmark them side by side.
- Iterate on one variable. Liked the outfit but not the lighting? Say so in the custom prompt rather than rewriting everything.
- Expect you, not a twin. The tool's whole positioning is preserving your facial structure while re-staging everything else. If a result drifts toward a stranger, add a short "keep my face exactly recognizable" line and regenerate.
- Download at full resolution once you're happy. The file you download is the quality you keep — there's no upscale step after the fact.
Once your free credits run out
Generations on this tool cost between 2 and 8 credits depending on the model you pick — the default stays at the low end. If you catch the retro bug, SketchTo sells credit packs and subscription plans, and unused credits on paid plans last up to a year.
The bottom line
Learning how to create the 80s look is mostly about feeding the AI a good photo and choosing a specific decade scene instead of a vague "make it retro" instruction. Pick a theme that matches the moment you're after — mall portrait, VHS tape, neon club — grab a prompt template if you want finer control, and let two free credits show you the before-and-after.
Ready to see yourself in 1986? Open the Retro 80s Style Generator, upload a photo, and pick your decade.
Transform Your Images with AI
Turn sketches into stunning images, remove backgrounds, swap faces, and more — all powered by AI.
Try Sketch To FreeShare
SketchTo Team
Tech writer covering AI tools, image processing, and creative workflows.
Related Articles
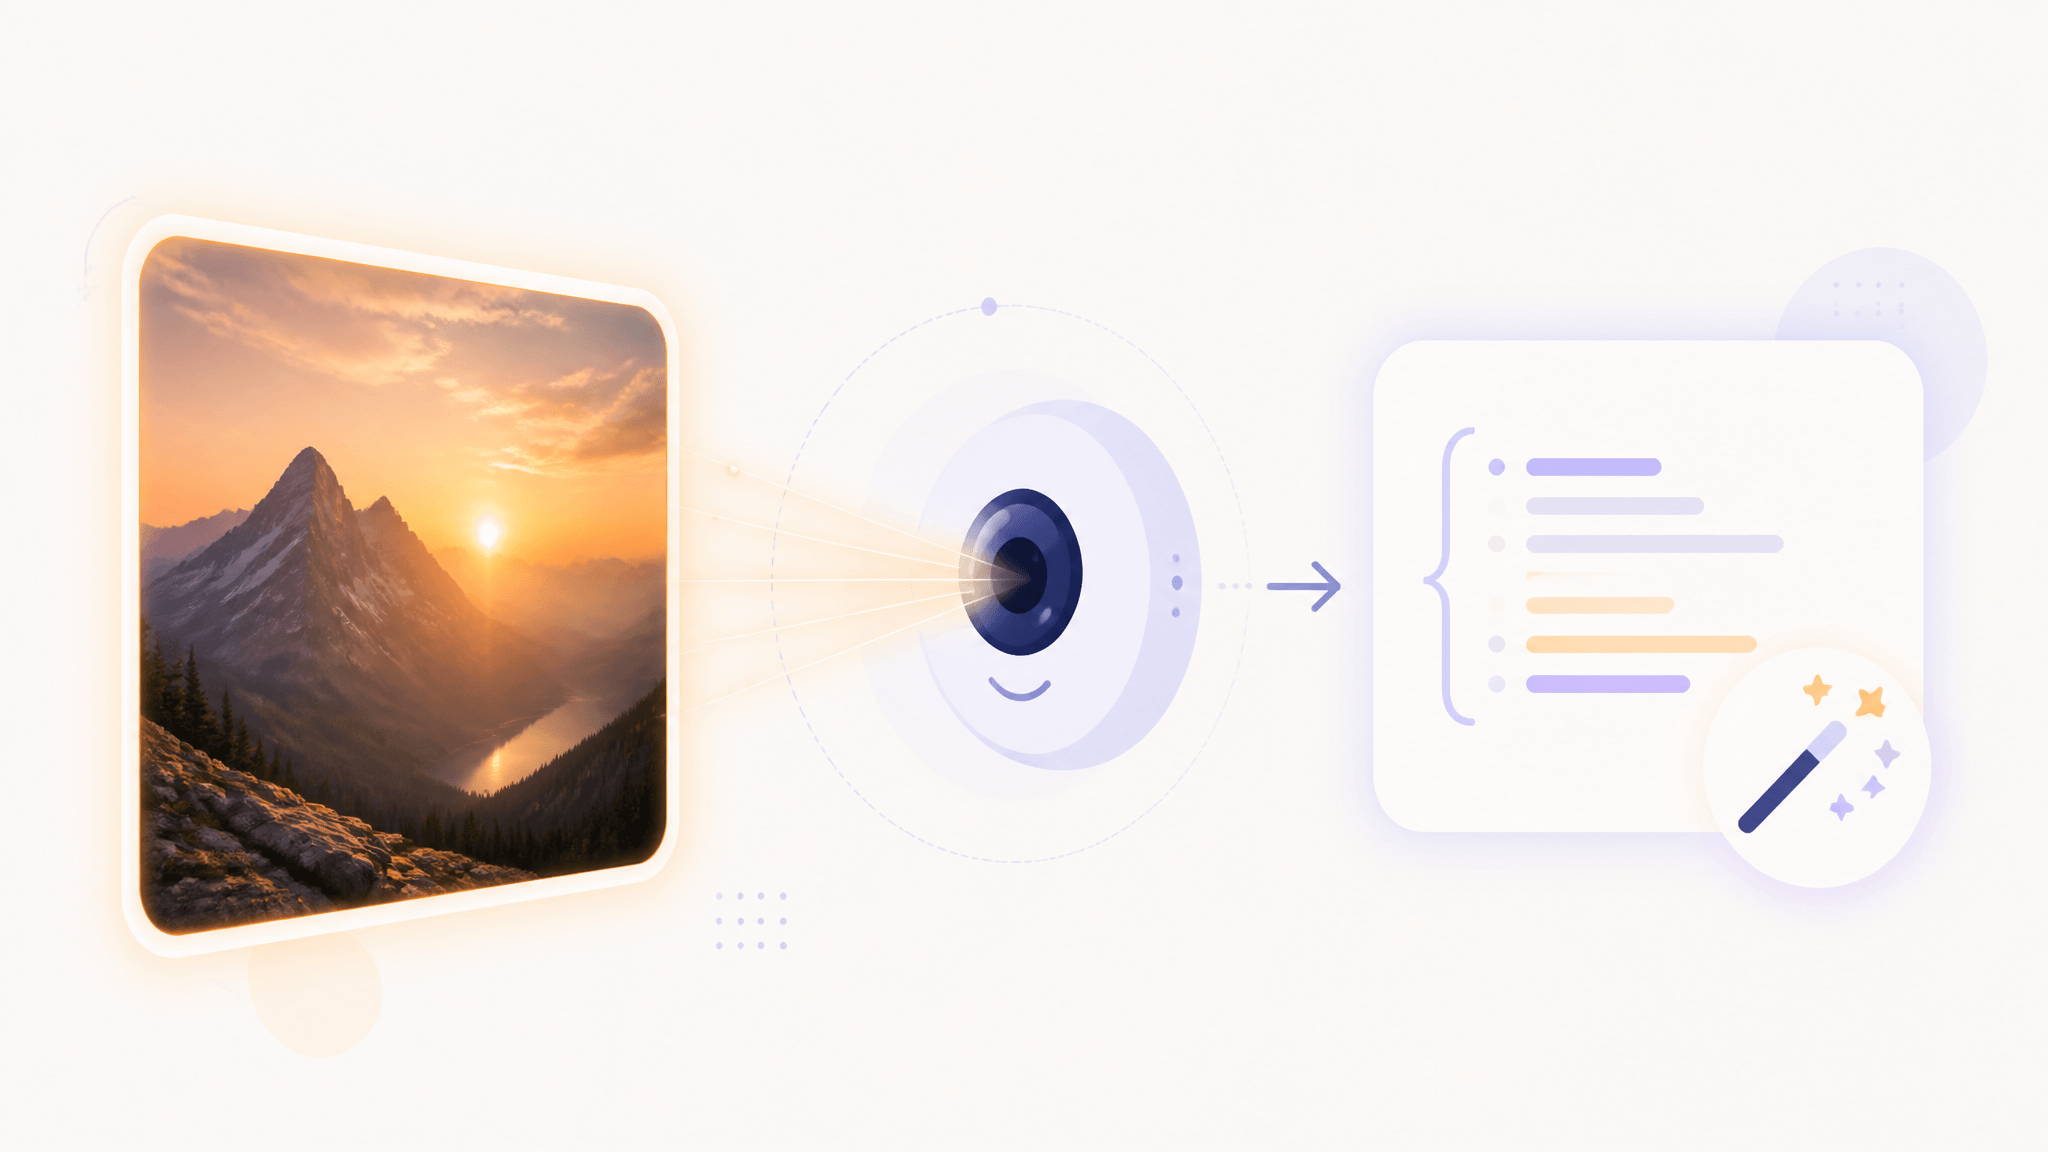
Image to Prompt with DeepSeek V4.1-Flash: A Beginner's Guide
DeepSeek V4.1-Flash reads images natively. Learn the documented API workflow to turn any image into a reusable AI image prompt — real prices, real limits, and a template to adapt.
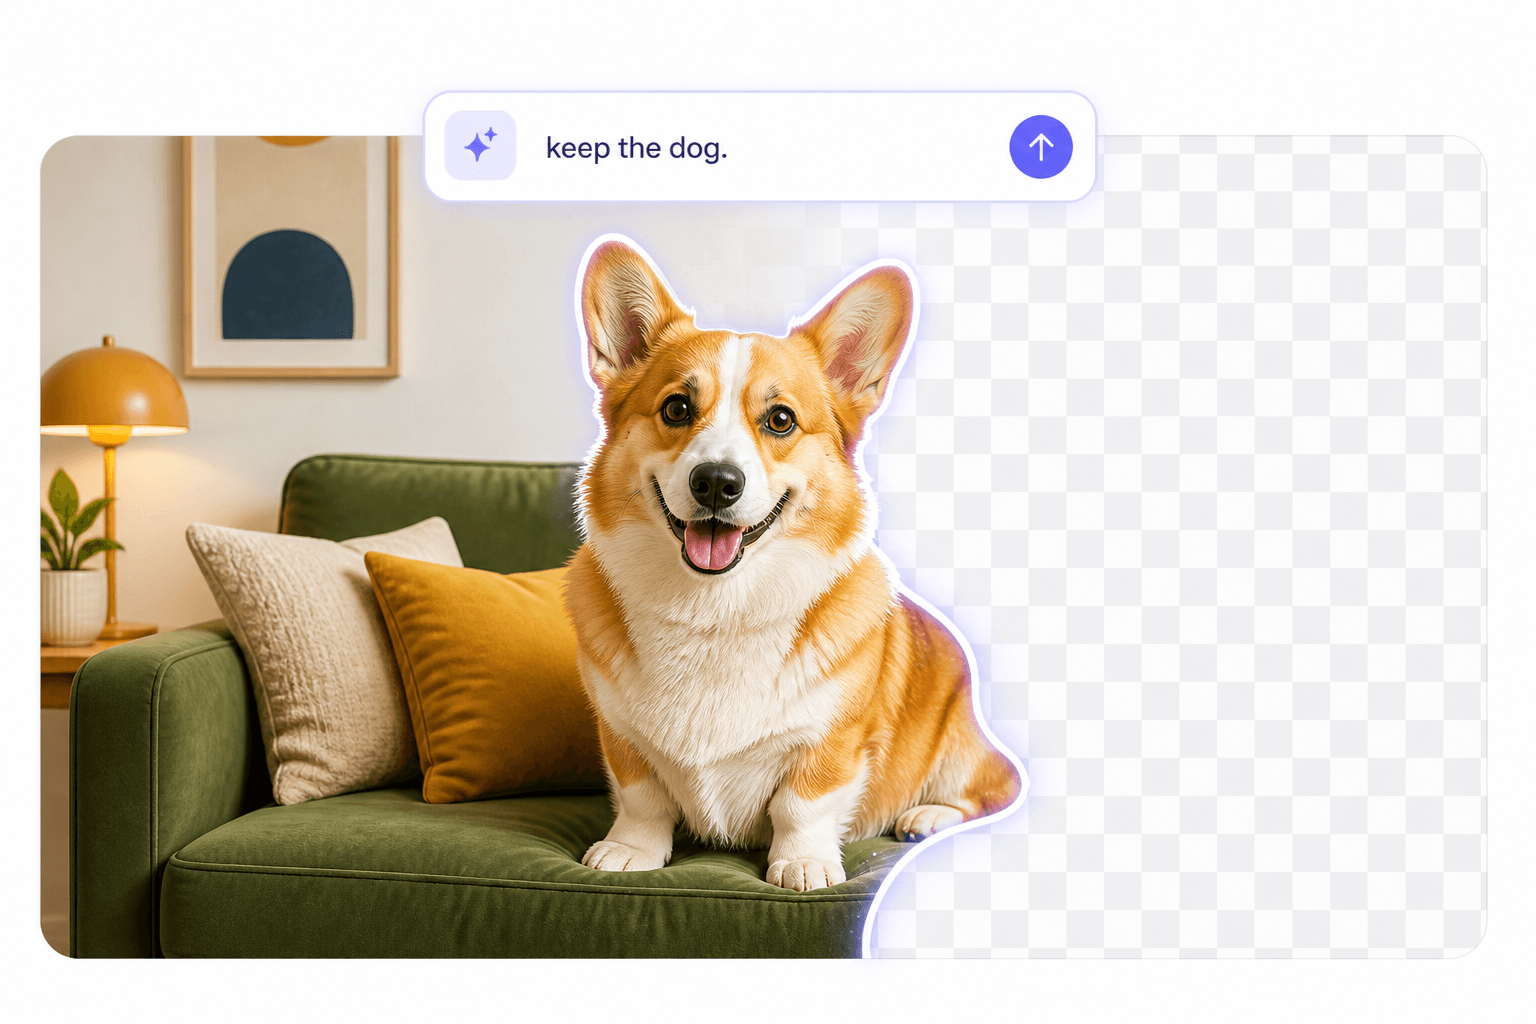
Promptable Background Removal: How Text-Prompted Cutouts and Auto Inpaint Masks Work
Promptable background removal lets you name what stays instead of trusting a one-click remover. Learn binary masks vs alpha mattes, auto inpaint mask generation, and three ways to do it today.
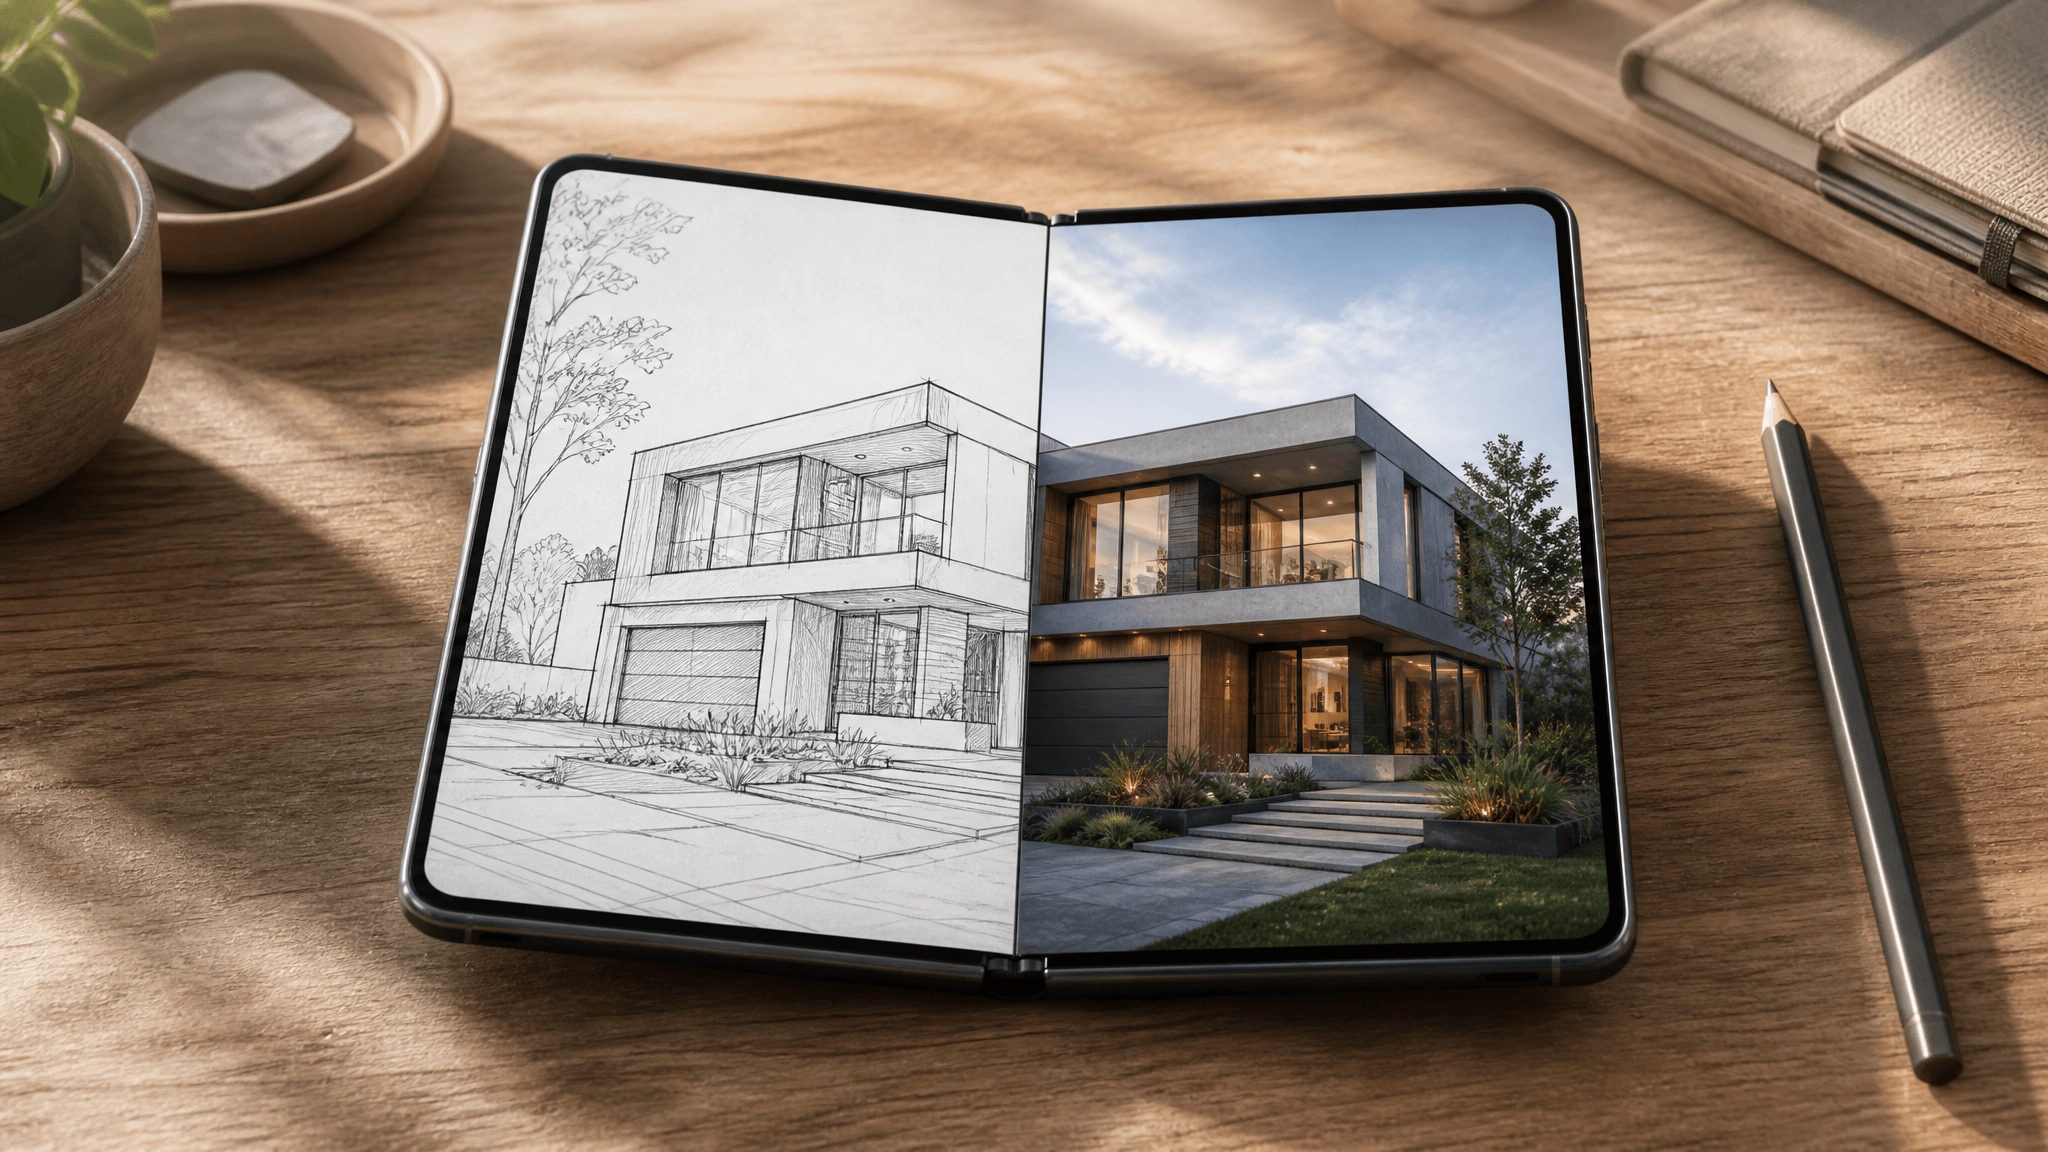
Sketch to Image AI on iPhone Duo: From Big-Screen Sketch to Finished Render
iPhone Duo's 7.6-inch folded canvas is the largest drawing surface ever on an iPhone. Here's the practical workflow to turn those sketches into polished AI renders — what Apple's built-in Image Wand does, and when a dedicated sketch-to-render tool with style and model control does it better.