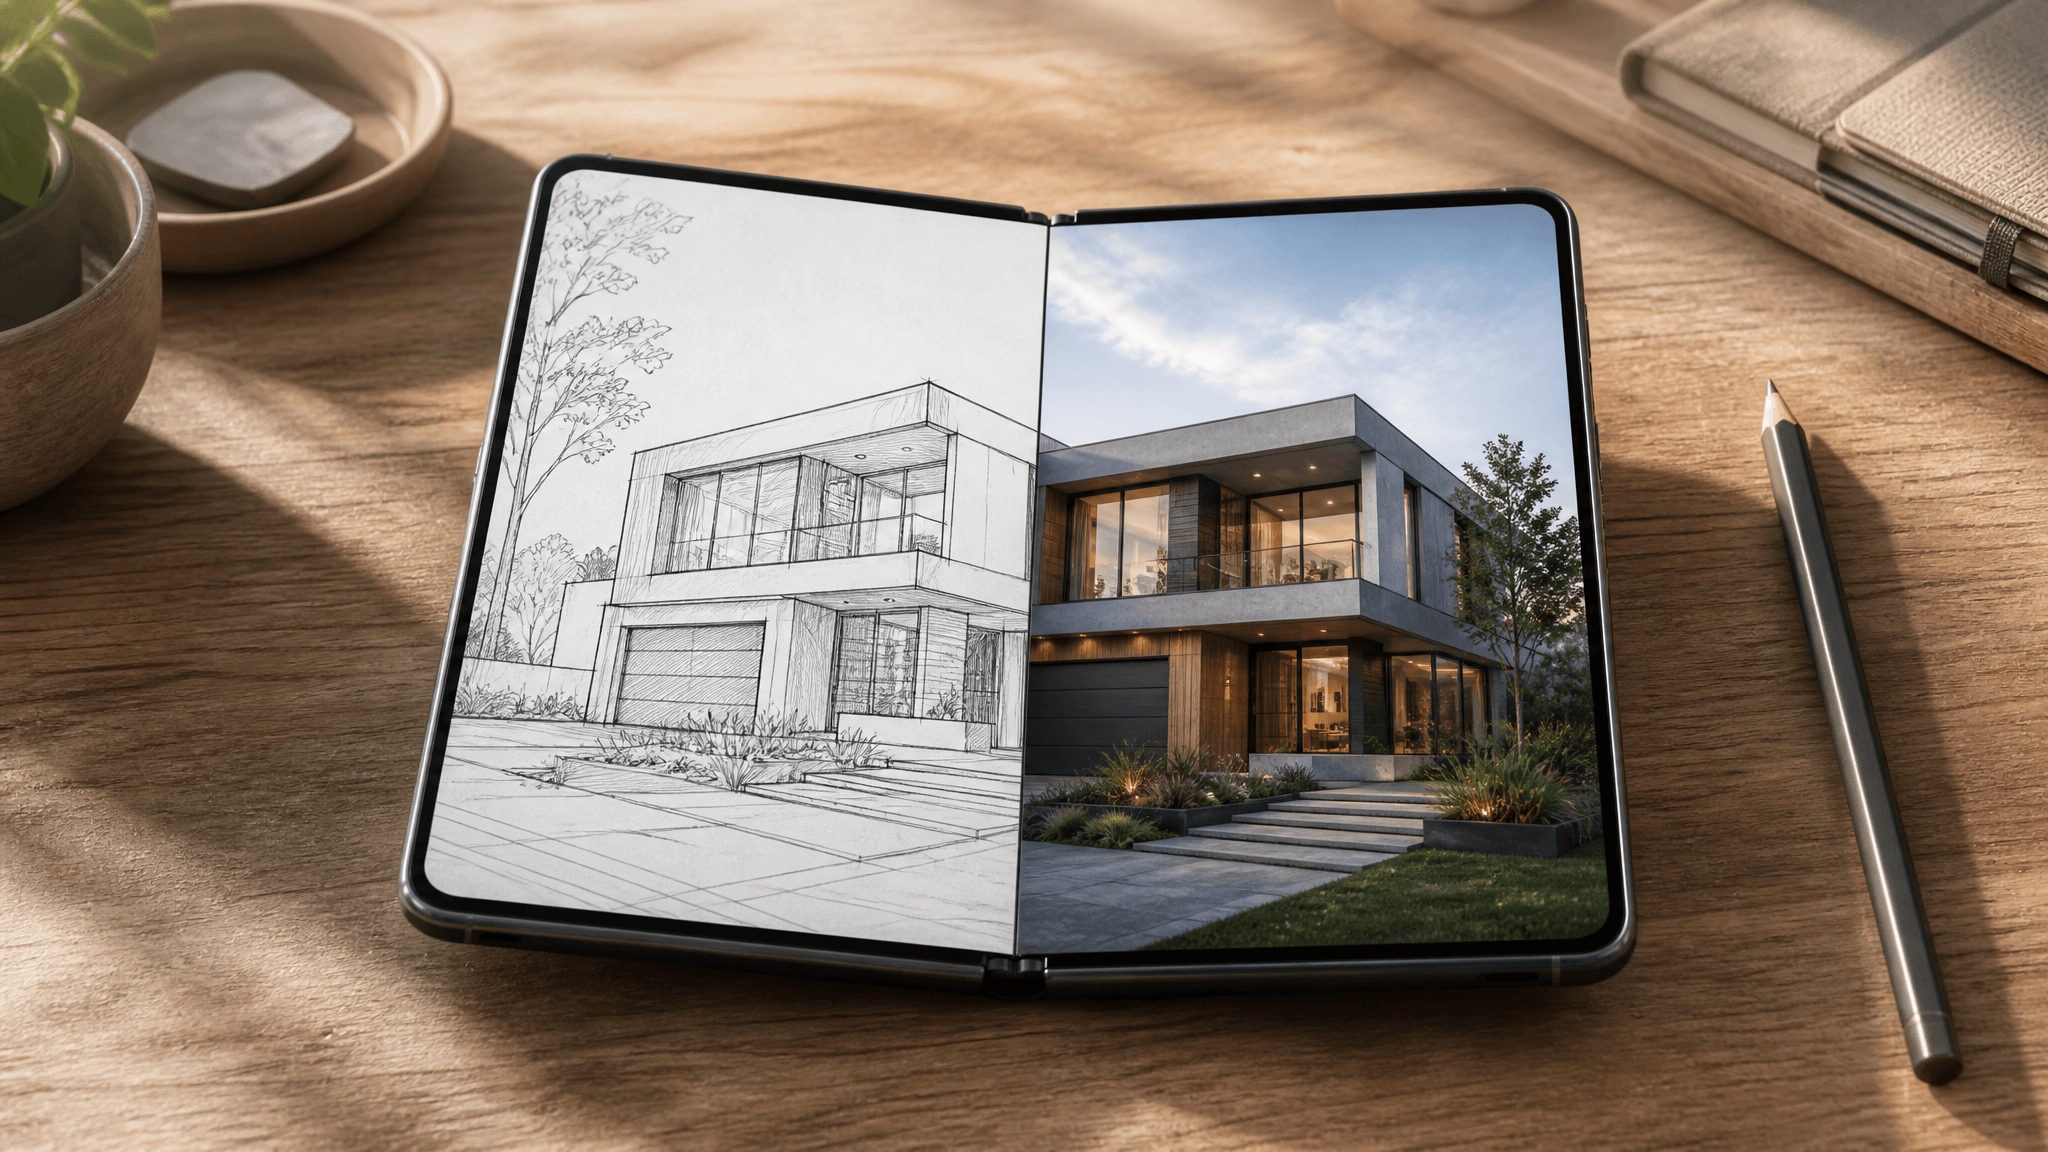
Sketch to Image AI on iPhone Duo: From Big-Screen Sketch to Finished Render
Apple's first foldable iPhone opens into a 7.6-inch canvas — the largest drawing surface ever put on an iPhone. If you sketch ideas on your phone, that alone is news. But a bigger canvas only matters if you can take a rough sketch somewhere useful, so here's the practical part: two ways to turn a sketch into a finished, presentable image — Apple's built-in Image Wand, and a dedicated sketch-to-render workflow with style and model control — plus the exact steps, styles, and credit costs for each.
One date matters before anything else: iPhone Duo goes on sale October 23, 2026 (pre-orders open October 16), and Apple Pencil support arrives "later this year." You don't need to wait — the sketch-to-image AI workflow below works today with any sketch you can photograph or export, and it gets more natural once you can draw directly on that big screen with a Pencil.
Key takeaways
- iPhone Duo opens to a 7.6-inch inner display — 50% larger than an iPhone 18 Pro Max — with a nano-texture finish that reduces glare while you draw.
- Apple Pencil (USB-C) support is confirmed but coming later in 2026; finger drawing in Notes or Freeform works from day one.
- The built-in path is Image Wand in Apple Notes: circle a sketch, get an image. Fast, free, native — with limited control.
- The dedicated path is a sketch-to-render tool: upload your sketch, pick a style and model, and keep the look you intended. On SketchTo, models cost 2–8 credits per render and the price shows before you generate.
- New SketchTo accounts start with 4 free credits — enough to test the workflow end to end.
Why a 7.6-inch folded canvas changes phone sketching
Phone sketching has always been a compromise: thumbs and fingertips on a 6-inch slab. iPhone Duo's inner display is 50% larger than an iPhone 18 Pro Max, and both screens share the same aspect ratio, so a drawing scales cleanly whether the phone is open or closed. The nano-texture glass cuts glare and reflections — the kind of small detail that matters when you're hunched over lines for twenty minutes.
Two hardware facts make the sketching story real rather than speculative. First, Apple has confirmed Apple Pencil (USB-C) support is coming to iPhone Duo later this year, explicitly for taking notes, sketching, and marking up documents on either display. Second, iOS 27 brings Split View to iPhone for the first time, so you can pin a reference photo on one half of the inner screen and draw on the other — the two-window setup artists have been doing on tablets, now in a pocketable device.

Source: Apple Newsroom, "Apple unveils iPhone Duo," September 9, 2026.)
Until the Pencil arrives, finger drawing in Notes or Freeform on the big canvas is how most people will start. Either way, the moment you have a sketch you like, the next question is the same: how do you get from rough lines to a finished image?
The built-in path: Image Wand
Apple already ships a sketch-to-image AI feature. In the Notes app, you sketch with the Handwriting Tools, then circle the sketch with Image Wand and Apple Intelligence generates a full image from it. No upload, no new app, no credits — it's the fastest route from doodle to picture on an iPhone.
Its limits show up when you care about the result. Image Wand decides the style for you; there's no way to say "render this as a cinematic exterior" or "keep it photoreal but change the materials," and there's no model choice if the first result isn't right. For quick visual notes, that's fine. For a sketch you want to show a client, post, or build on, "whatever the model felt like" is rarely the brief.
The dedicated path: sketch-to-render with style control
A dedicated tool treats your sketch as the composition and gives you control over everything else. Here is the documented workflow on SketchTo's Sketch to Render tool, step by step:
- Export your sketch. Any image works: a drawing photographed on paper, a finger sketch from Notes, a Pencil sketch from an iPad. Keep it under 5MB — that's the tool's upload limit.
- Open Sketch to Render and drop your image into the upload area. Try the Sketch to Render tool →
- Pick a style. Nine presets cover the common destinations: Photorealistic, Cinematic Scene, Interior Design, Architectural Exterior, Product Industrial, Game Concept, Technical 3D, Stylized Cartoon, and Watercolor Artistic. The style choice does most of the work in steering the render.
- Pick a model by budget. Costs are shown before you generate: Nano Banana and FLUX 2 Pro run 2 credits, GPT Image 2 runs 3, Seedream 4.5 runs 4, and Nano Banana Pro — the most expensive option in the list — runs 8. New accounts get 4 free credits, enough to try a 2-credit model twice or a 4-credit model once before deciding whether the results justify topping up.
- Generate and compare. The preview view shows your original sketch beside the render with a drag-to-compare slider, so you can judge exactly what the model kept and what it invented. Re-roll or switch models if the first pass misses.
 )
)
The difference from Image Wand isn't speed — it's repeatability. Same sketch, same style, different model: three informed attempts instead of one take-it-or-leave-it result.
Sketch habits that produce better renders
The models are good, but they can't invent structure you didn't draw. A few habits, drawn from how these tools behave, consistently improve what comes back:
- Close your shapes. A wall whose lines trail off gives the model permission to guess where it ends. Closed outlines anchor the composition.
- Commit to one perspective. If lines contradict each other about where the vanishing point sits, the render will inherit the confusion.
- Use line weight for importance. Bolder lines read as "this matters" — useful for steering a photorealistic render toward your actual subject.
- Photograph paper sketches flat, in even light. Shadows and keystoned angles are noise the model has to interpret; a straight-on, evenly lit photo removes that ambiguity.
- Keep labels minimal. Text in a sketch tends to render as garbled text. Draw what you mean instead of writing it, and put specifications in the tool's prompt field where they belong.
None of this guarantees a great render on the first roll — these models interpret, and interpretation varies. It just stacks the odds, and it costs nothing to apply before you spend a single credit.
What's real today, and what's coming
To keep the timeline straight: the 7.6-inch canvas, Split View, and Image Wand are usable now; iPhone Duo itself ships October 23, 2026 starting at $1,999, with Apple Pencil (USB-C) support announced for later in the year. The render workflow described here is documented from SketchTo's live tool interface — it works with any sketch image you have today, from a photo of a napkin doodle to an iPad drawing.
The practical takeaway: the biggest iPhone drawing canvas in history is about to make sketching on a phone genuinely comfortable, and the sketch-to-image AI step is already solved. Draw the idea while it's fresh — then let a render show you what it looks like finished.
Transform Your Images with AI
Turn sketches into stunning images, remove backgrounds, swap faces, and more — all powered by AI.
Try Sketch To FreeShare
SketchTo Team
Tech writer covering AI tools, image processing, and creative workflows.
Related Articles
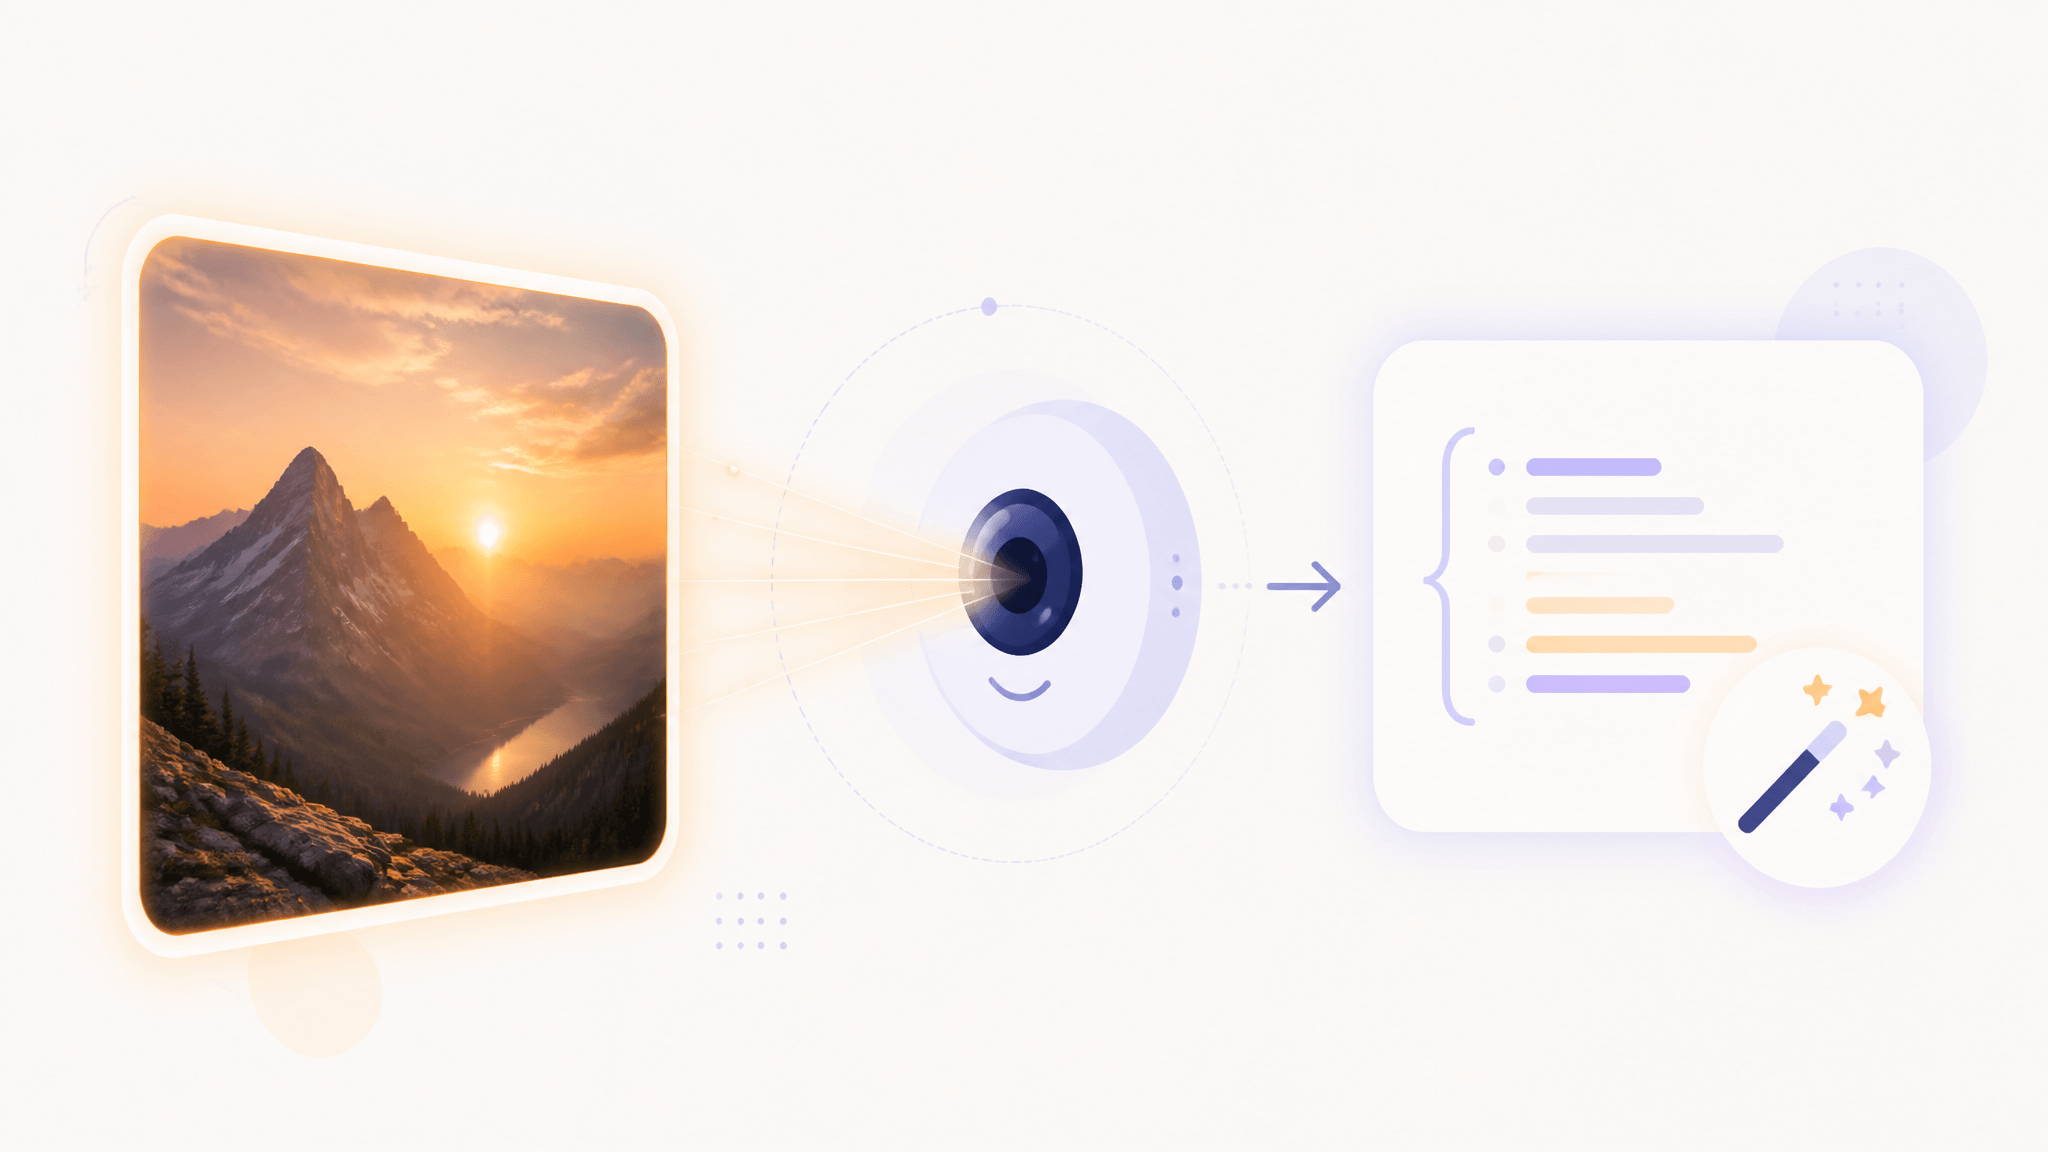
Image to Prompt with DeepSeek V4.1-Flash: A Beginner's Guide
DeepSeek V4.1-Flash reads images natively. Learn the documented API workflow to turn any image into a reusable AI image prompt — real prices, real limits, and a template to adapt.
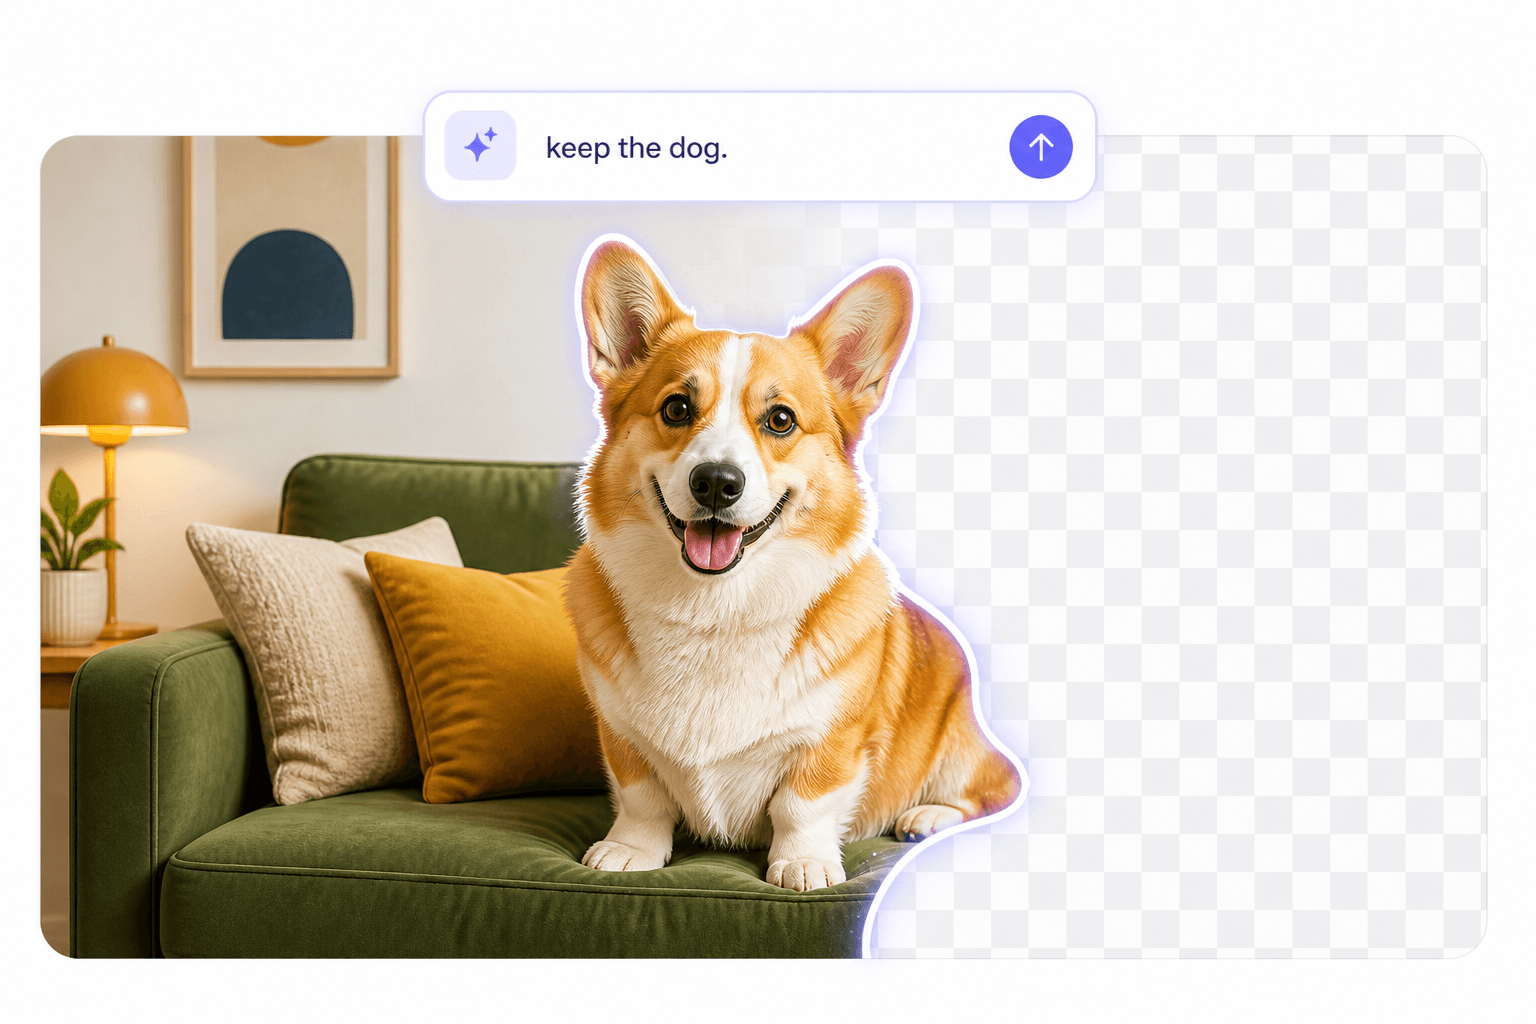
Promptable Background Removal: How Text-Prompted Cutouts and Auto Inpaint Masks Work
Promptable background removal lets you name what stays instead of trusting a one-click remover. Learn binary masks vs alpha mattes, auto inpaint mask generation, and three ways to do it today.
AI Prompts for Product Photography: A Background and Label Test
We tested two AI prompts for product photography on a labeled tea tin through SketchTo's AI Background Changer. Exact prompts, real outputs, and a 60-second inspection checklist — with the honest limits of a one-run test.